Tag Archive | MISTI

Kick Your Feet Up!


Today I’m sharing a birthday card that I made for my husband’s birthday back in August. Image and sentiment is from Art Impressions – Sit Back Laugh Lines – 5421.

My Creative Time – Rectangle Frame Die was used to die cut the rectangle out of Copic Marker X-Press It Blending Card using a Cuttlebug. The image was then stamped onto the paper using a MISTI and Memento – Tuxedo Black ink. It was coloured in with the Copic markers listed below and then adhered to some blue cardstock using liquid glue. I cut around the image rectangle leaving a thin border and then repeated the process with black cardstock. The sentiment was stamped with Versa Fine – Onyx Black ink  onto blue cardstock and then Ranger – Clear Super Fine Detail embossing powder was applied. A Marvy Uchida – Embossing Heat Tool was used to heat emboss the powder. This was fussy cut and adhered to black cardstock using liquid glue.

The base of the card was created using a 5.5″ x 4.25″ base made from Hammermill – Premium Cardstock 110 lb.cardstock. I applied birthday patterned paper to the base which was cut to the same size and the edges were inked with Tim Holtz Distress Ink – Faded Jeans. I centred the layered coloured image rectangle onto the card using liquid glue and then popped up the sentiment using U-Line Double-Sided Foam Tape in the top left corner to complete the card. Inside the card were more fun sentiments regarding getting older. LOL!

My husband loved it and I hope you do to!

Card Recipe:

Stamp and Sentiments:  Art Impressions – Sit Back Laugh Lines – 5421

Inks: Memento – Tuxedo Black, Versa Fine – Onyx Black, Tim Holtz Distress Ink – Faded Jeans

Paper: Copic Marker X-Press It Blending Card, Hammermill – Premium Cardstock 110 lb., Recollections – Black, Miscellaneous blue and patterned paper from stash

Dies: My Creative Time – Rectangle Frame Dies

Embossing Powder: Ranger – Clear Super Fine Detail embossing powder

Miscellaneous: Marvy Uchida – Embossing Heat Tool, MISTI – Most Incredible Stamping Tool, U-Line Double-Sided Foam Tape

Image coloured with Copic Markers:

Skin: E21, E11, E00, E000, R22, R20

Hair: E35, E34, E31

Jeans: B99, B97, B95, B91

Shirt: B04, B02, B01, B00

Chair and Slippers: E79, E74, E29, E27, E25, E23, C5, C3

Remote: N7, N4, N2

Socks: C5, C3, C2, C1, Colorless Blender

Wall: R89, R59, R39, C3, C2, C1, Colorless Blender

Floor: E39, E37, E35, E33

Hope you like it and have a great week!

Monster-ous Birthday Wishes!


Today I’m sharing a birthday card that I made using the image and colouring class from Kit and Clowder – Bonus Class – July – August 2024 – Cute Monster. Had so much fun with this class learning how to blend colours and make spiky fur!

The image was printed onto Copic Marker X-Press It Blending Card using a HP printer set to High Quality Grayscale at the size of 3.75″ x 3.24″. It was coloured in using the instructional video from Alyce from Kit and Clowder and then fussy cut.  The cut image was applied to Recollections – Black cardstock and fussy cut again. The sentiment from Your Next Stamp – Silly Monsters was applied using Ranger Embossing Powder White – Extra Fine Detail and VersaMark ink onto Recollections – Black cardstock. A MISTI was used to get a clear stamped image. The embossing powder was heat embossed with a Marvy Uchida – Embossing Heat Tool. The sentiment was then fussy cut.

A card base at the size of 5.5″ x 4.25″ using Hammermill – Premium Cardstock 110 lb. cardstock was created. Tim Holtz Distress Inks – Peacock Feathers was applied all around the inside edges of the card with a blender brush. The patterned monster paper from Forever In Time – Party Monsters Perfect Prints was cut to the size of 5-3/8″ x 4-1/8″ and Tim Holtz Distress Inks – Shaded Lilac was applied all around the edges using a blender brush and finger dauber. This was adhered directly to the base using liquid glue. U-Line Double-Sided Foam Tape was applied to the monster and the sentiment and both were popped up onto the centre of the card. Lastly, Kraftin’ Kimmie – Underwater Dots and Stickles – Diamond were applied to the finished card to add some bling.

Card Recipe:

Stamp: Kit and Clowder – Bonus Class – July – August 2024 – Cute Monster class image

Sentiment: Your Next Stamp – Silly Monsters (CYNS047) – Retired

Inks: HP High Quality Grayscale, VersaMark, Tim Holtz Distress Inks – Peacock Feathers, Tim Holtz Distress Inks – Shaded Lilac

Paper: Copic Marker X-Press It Blending Card, Hammermill – Premium Cardstock 110 lb., Recollections – Black, Forever In Time – Party Monsters Perfect Prints

Embossing Powder: Ranger Embossing Powder White – Extra Fine Detail

Miscellaneous: Marvy Uchida – Embossing Heat Tool, MISTI – Most Incredible Stamping Tool, U-Line Double-Sided Foam Tape, Kraftin’ Kimmie – Underwater Dots, Stickles – Diamond

Hope you like it and have a great week!

Retired – Bye Bye!


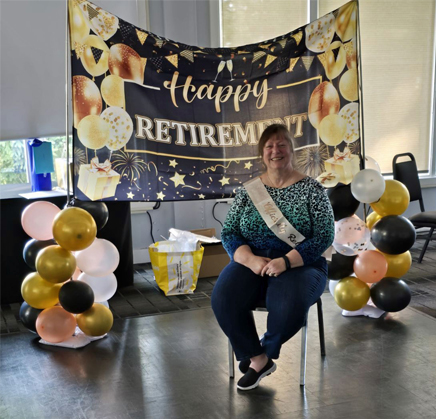
I finished my last day of work on Friday, August 16, 2024. My official date will be Saturday, September 14, 2024 as I tacked on my vacation pay on the end. 🙂
My co-workers gave me an amazing retirement party and parting gifts and we all had a wonderful time. I shall cherish the memories for a long time to come.

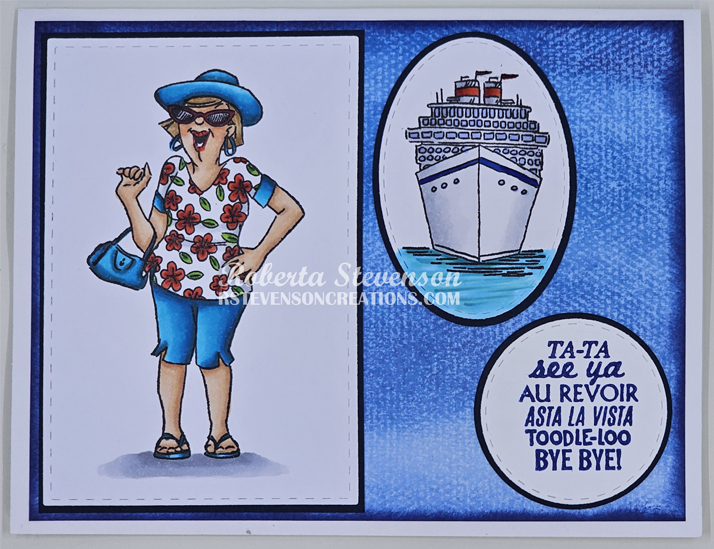
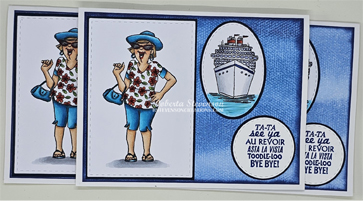
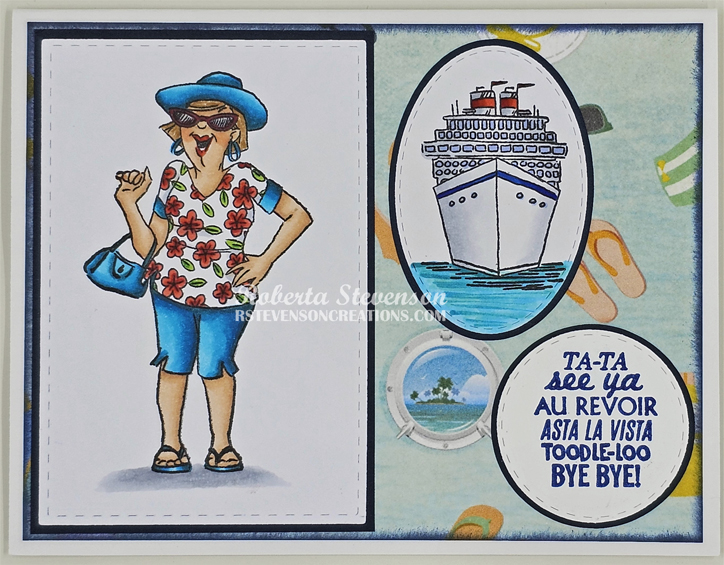
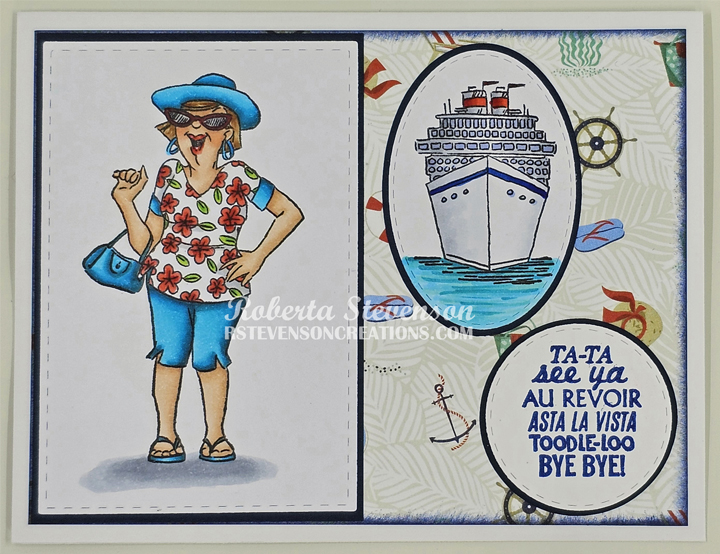
Today I’m sharing a retirement card that I made for my co-workers who were on my immediate Systems Administrator’s team and also the Networking team whom I had worked closely with over the last 13.5 years. Each of the card fronts were created using various stamps from Art Impressions – Pack Your Bags Set.

With My Creative Time dies listed below, a Cuttlebug and papers from Copic Marker X-Press It Blending Card, I die cut the rectangles and ovals. Hammermill – Premium Colour 100 lb. paper was used to die cut the circles. Recollections – Midnight Navy Cardstock was then cut into rectangles 3-7/8″ x 2-5″8″. Using my Cricut and Cricut Design Space, I measured the circle die cut and oval die cut and then created my own solid cuts. To do this I used some white plain printer paper until I was satisified with the cut, then I set the device to cut out 19 of each out of the Recollections – Midnight Navy Cardstock.

The images were stamped onto Copic Marker X-Press It Blending Card with Memento – Tuxedo Black ink and a MISTI. The MISTI was so perfect to use because I made 19 cards in total, so I just positioned the stamps once and then kept substituting the die cut papers until I was done. This made the stamping so easy. I used the same process for the sentiment, except I chose to use Versa Fine – Majestic Blue this time.

The images were coloured in with the Copics listed below. Once all of the images were coloured and the sentiments were stamped, I assembled the 2 pieces for each shape together with liquid glue and set them aside.

The bases of the cards were created using a 5.5″ x 4.25″ base made from Hammermill – Premium Cardstock 110 lb.cardstock. Papers from Creative Memories and PhotoPlay listed below were then cut to the size of 5.25″ x 4″ each. The edges were then inked with Tim Holtz Distress Ink – Chipped Sapphire.

To assemble the card, I used liquid glue to attach the background papers and each of the shapes. These were all adhered to each card. To create the notes on the inside, I used Microsoft Office Word and created 4 sentiments per 11″ x 8.5″ sheet of landscaped paper by creating text boxes at the size of 5.25″ x 4″. Once they were all printed out, I just cut them to size and adhered them with double-sided tape.

Card Recipe:

Stamp and Sentiments:  Art Impressions – Pack Your Bags Set – 4392

Inks: Memento – Tuxedo Black, Versa Fine – Majestic Blue, Tim Holtz Distress Ink – Chipped Sapphire

Paper: Copic Marker X-Press It Blending Card, Hammermill – Premium Colour 100 lb., Hammermill – Premium Cardstock 110 lb., Creative Memories – Deep Blue Sea (12″x12″) Designer Pack, PhotoPlay – SetSail – Sail Away (12″x12″), PhotoPlay – Anchors Away – Sun Deck (12″x12″), Recollections – Midnight Navy Cardstock

Dies: My Creative Time – Rectangle Frame Dies, My Creative Time – Scalloped Stitched Oval Dies, My Creative Time – More Stitched Circles MCT-D136, Cricut, Cricut Design Space Shapes

Image coloured with Copic Markers:

Skin: E21, E11, E00, E000, R46, R20, R14, R08, YR02

Hair: E35, E34, E31

Clothing and Accessories: BG09, BG05, BG02, BG01, R46, R14, R08, G14, YG23, C2, C1

Glasses: N2, R39

Ship: C3, C2, C1, C0, C00, B29, B63, B28, B26, R46, R14, R08

Water: BG32, BG13, BG07, BG01, B02

Hope you like it and have a great week!

Birthday Break


Hi There,

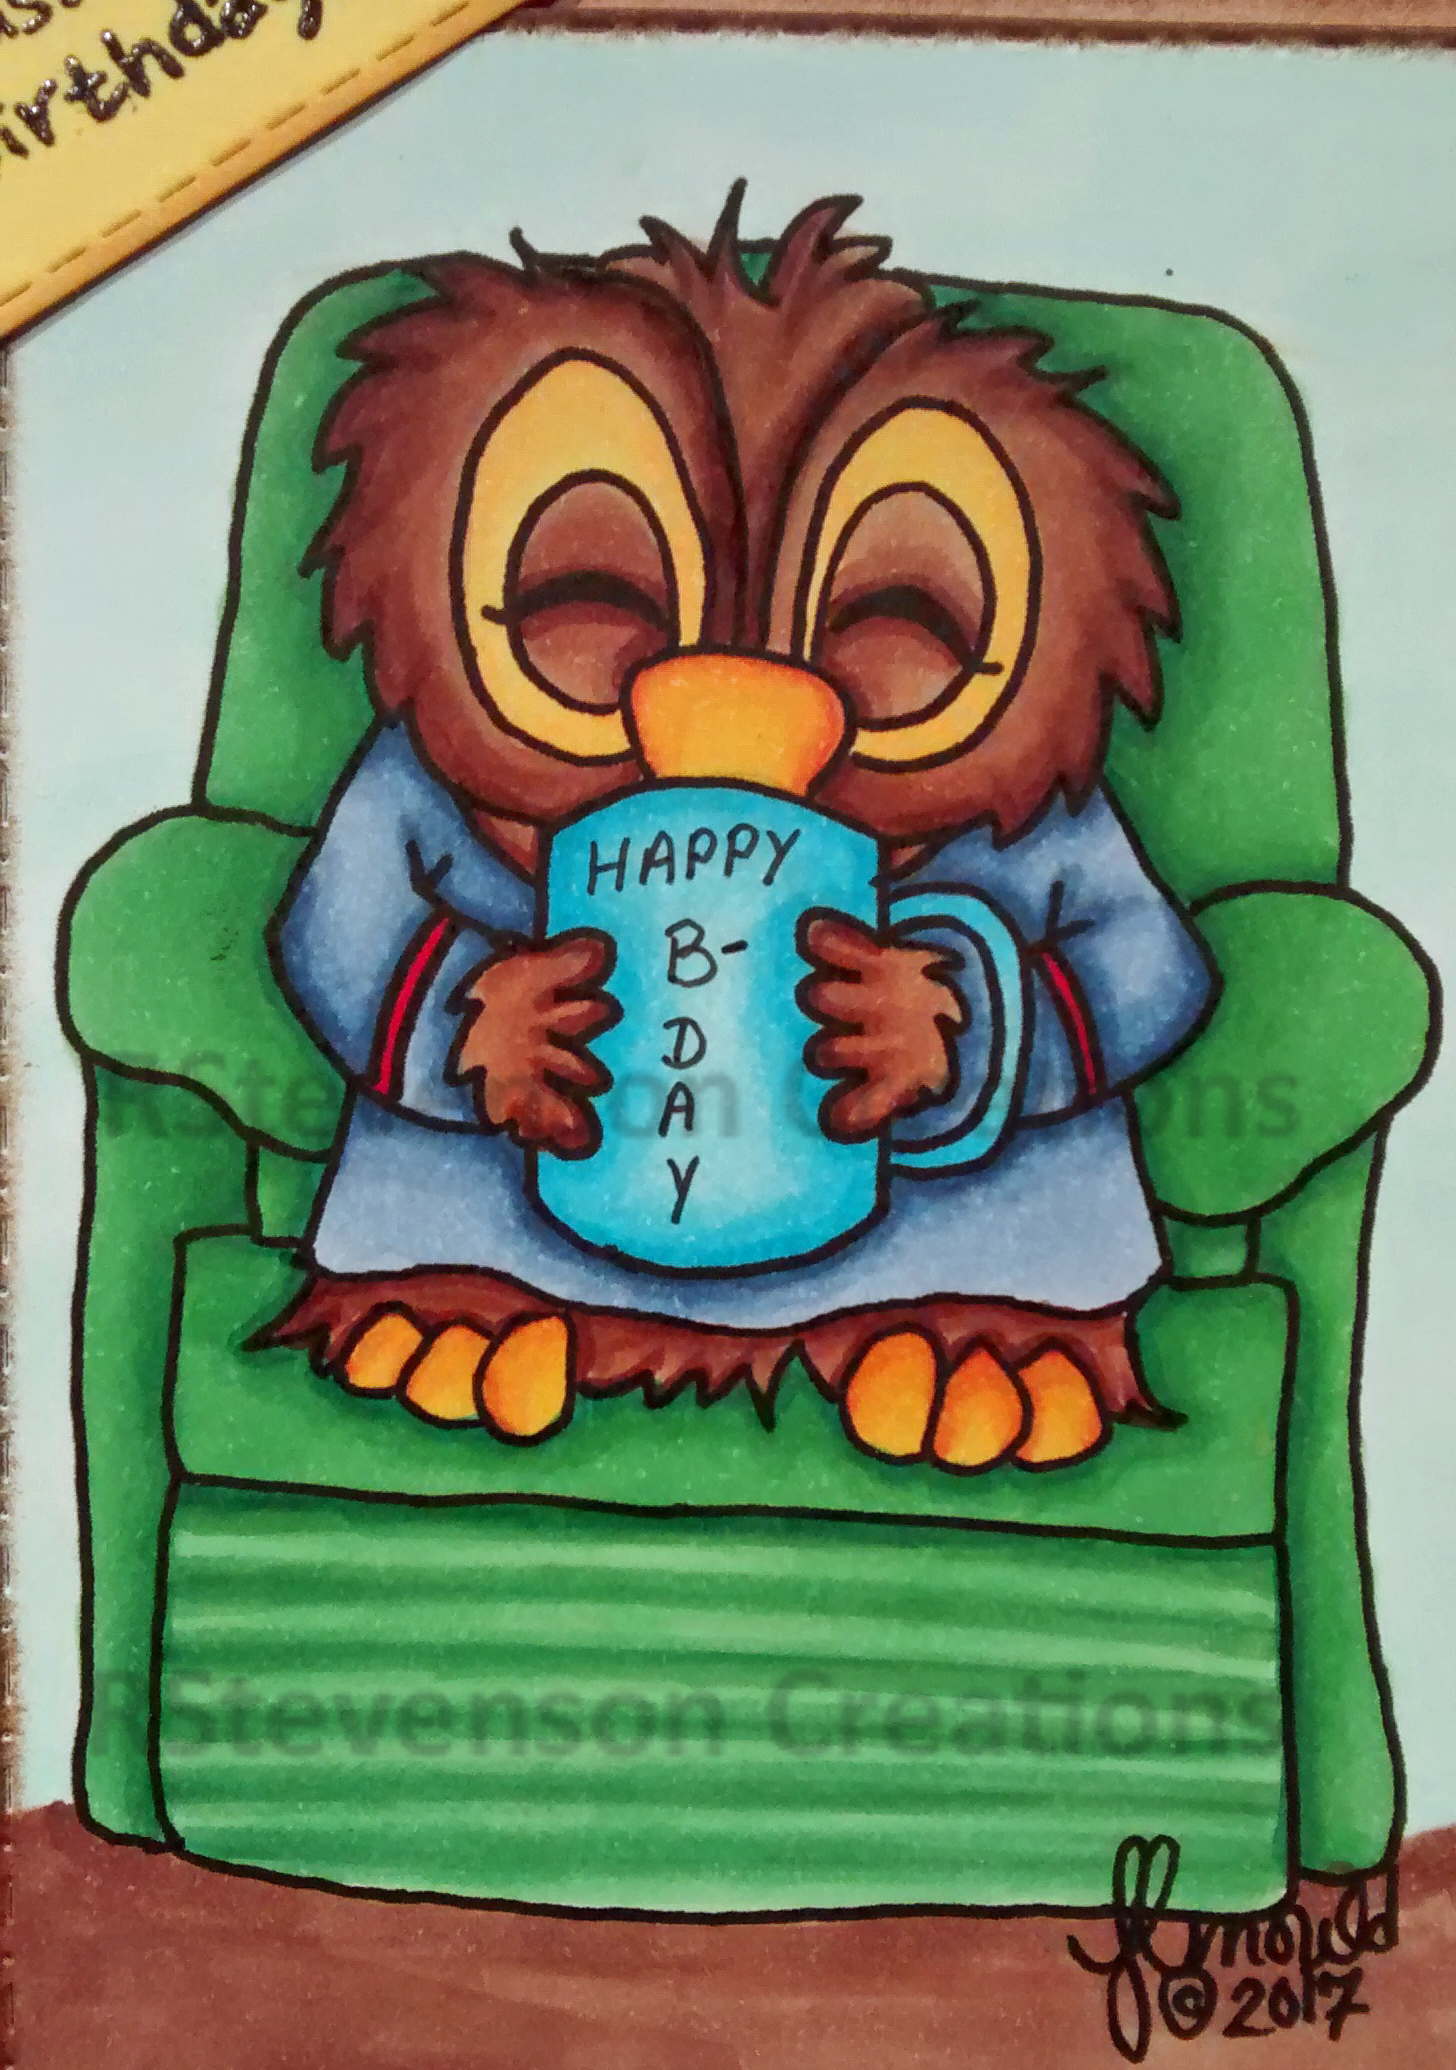
Sharing a birthday card that I made using digital stamp Brentwood Owl from jessicalynnoriginal.relaxingwithcoffee_allrightsreserved_2017, printed onto Copic Marker X-Press It Blending Card. Used sentiment from AI – Art Impresssions PopCards – 4859 – Oldie PopCard on the front. Create  my own background using Craftin Desert Diva’s – Got Coffee stamps. Coloured in image with a mixture of Copic and Spectrum Noir markers.

Close up:


Die cut images out with: Die-namics Stitched Rectangle STAX and Craftin Desert Diva’s Craftin Desert Diva’s Fancy Frames.


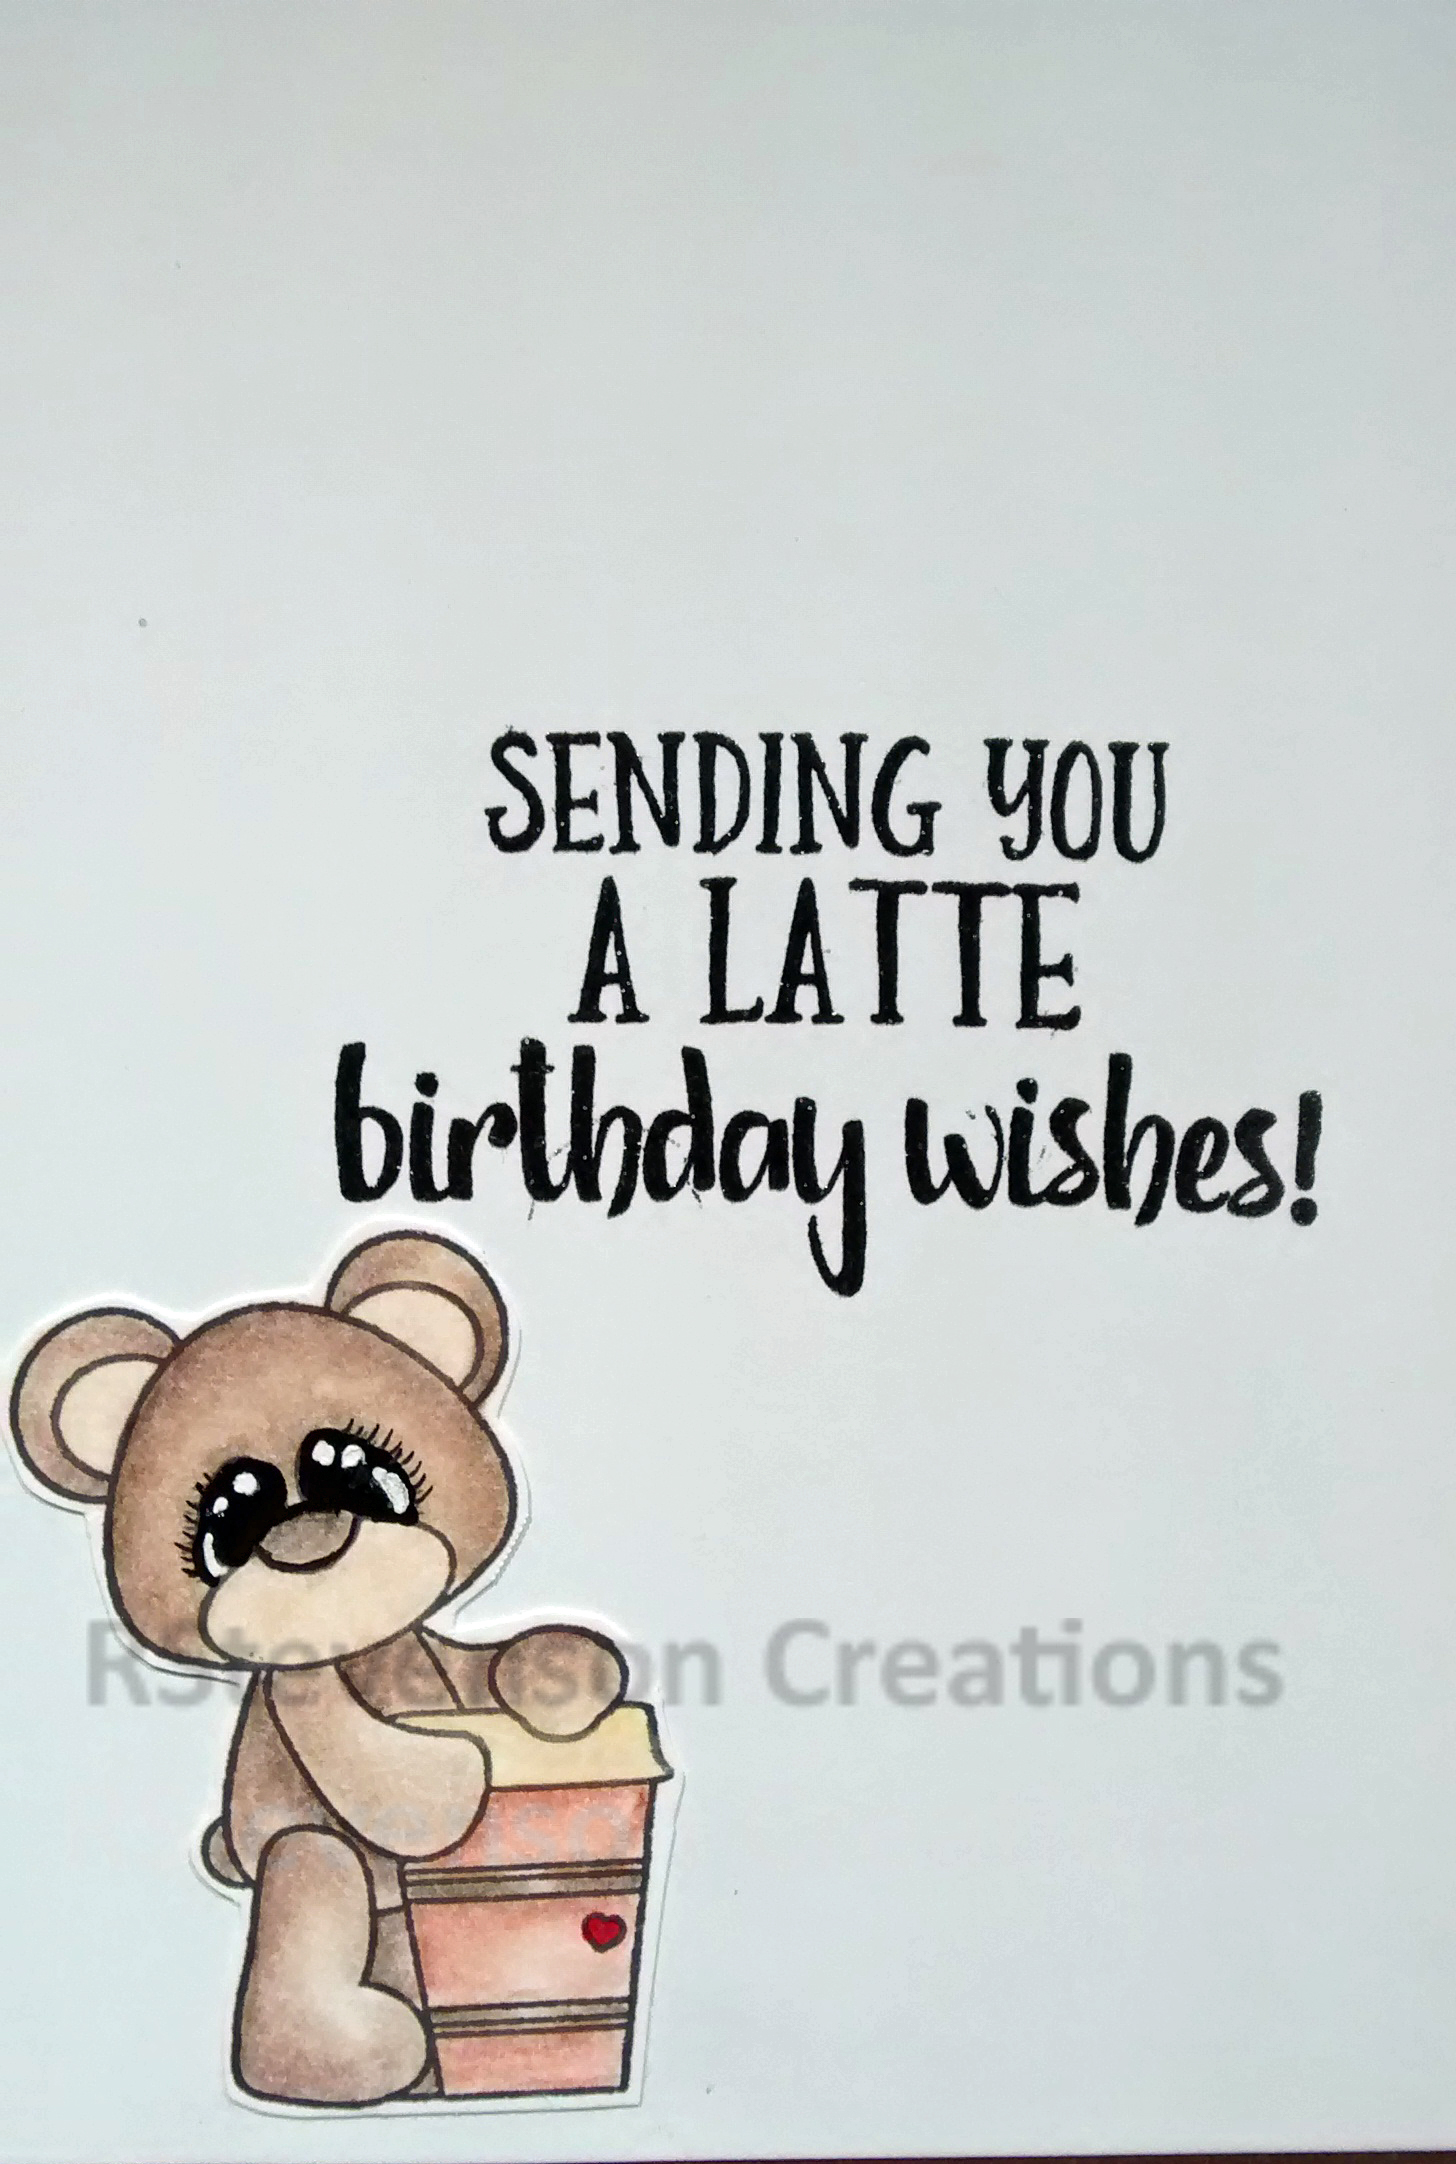
Inside the card:


Stamped sentiment with MISTI, Versa Fine – Onyx Black and Ranger – Clear Super Fine Detail embossing powder using stamps from My Creative Time – MCT-275 You Deserve a Break.

Images – Craftin Desert Diva’s – Got Coffee. Coloured with Copics.

Hope you like it!


Birthday Card – Simply Betty


Hi There,

We were challenged by Betty Roberts and Rio Judy Ford to come up with a creation for the SBS Friends – August Progressive Challenge. Below is my creation.

Using digital stamps from Simply Betty – StrawberryRio and StrawberryChantay, I coloured the images in with Copic markers.

Sentiment on front of card is also from Simply Betty – StrawberryRio.

Here is a close-up of StrawberryRio.

On the inside:

Closeup of StrawberryChantay:

Die cuts used on the front of the card are:

Spellbinders – Labels Four – S4-190
Spellbinders – Labels Five – S4-229
My Creative Time – Scallopped Stitched Oval Dies MCT-D93

Embossing: Cuttlebug Embossing Folder – Swiss dots

Inside of card: Sentiments stamped using MISTI and Versa Fine – Onyx Black. Then embossed with Ranger – Clear Super Fine Detail embossing powder.

Stampin Up – Remembering Your Birthday
Stampin Up – Party With Cake

Edging: Tim Holtz Distress Inks – Candied Apple

Background paper on front: American Crafts – Dear Lizzy Neopolitan Paper Pad (6x6in)

Happy Birthday – Whimsy Elephants


Hi There,

Sharing another Birthday card that I made using Whimsy Stamps – What a Loot! C1121 shown on the front of the card and Whimsy Stamps – Jelly Bean – C1015, shown on the inside.

Here is a close-up:

Inside of card:

Stamped  both images using my MISTI and Memento – Tuxedo Black ink.

Coloured images with Copics and Spectrum Noir Alcohol Markers.

Sentiment on the front is from Stampin Up – Hostess Happiest Birthday Wishes 2 0f 2.

On the inside – Sentiment is from Craftin Desert Diva’s – It’s All About Zoo.

Background paper – Doodle Bug Designs Inc. – Sugar Shoppe – 6″ x 6″ paper pad.

Circles die cuts are from: My Creative Time – More Stitched Circles.

Edge card and circles with Tim Holtz Distress Inks – Peacock Feathers and Tim Holtz Distress Ink – Picked Rasberry.

Hope you like it!

Entered into http://onecrazystampercom.blogspot.ca/2017/03/march-challenge-anything-goes.html.