Archives

My Cup of Tea


Coffee Loving Cardmakers is currently hosting the 2020 Fall / Winter Coffee Lovers Blog Hop! For my third entry into this hop, I chose the adorable stamp You’re a Squeak Heart  (Kraftin’ Kimmie Stamps) and die cut from My Creative Time – You Deserve A Break (Retired).

The image was coloured with copic markers. I coloured in the image and then fussy cut around it. For the tea cup die, I folded the base cardstock in half and then put the My Creative Time – You Deserve A Break die slightly over the edge. I die cut the cup once again, this time using the paper from Your Next Stamp – The Perfect Blend Designer Paper. I edged around the tea cup with Tim Holtz Distress Ink – Evergreen Bough. Then I glued the background paper on top of the base and also glued on the other tea cup die cuts.

For the little tag, I first stamped the sentiment with Versa Fine – Onyx Black and then embossed it with Ranger – Clear Super Fine Detail embossing powder. This was then heat set with Marvy Uchida – Embossing Heat Tool. I then cut the tags using My Creative Time – Little Gift Tags (Retired) die cuts. Lastly, the sentiment and coloured image were popped up using 3M VHB – 2 sided tape.

Card Recipe:

Stamp and Sentiment: You’re a Squeak Heart (Kraftin’ Kimmie Stamps)

Inks: Memento – Tuxedo Black, Tim Holtz Distress Ink – Evergreen Bough, Versa Fine – Onyx Black

Embossing Powder: Ranger – Clear Super Fine Detail embossing powder

Paper: Copic Marker X-Press It Blending Card, Your Next Stamp – The Perfect Blend (6″ x 6″), Green and White cardstock

Die Cut: My Creative Time – You Deserve A Break (Retired), My Creative Time – Little Gift Tags (Retired)

Tools: MISTI – Most Incredible Stamping Tool, Cuttlebug, 3M VHB – 2 sided tape

Image coloured with Copic Markers:

Mouse: W7, W5, W3, RV14, RV13

Tea Cup and Tea: E35, E34, E33, BG15, BG13, BG11

Hope you like it and have a great week!

Hug in a Mug!


Coffee Loving Cardmakers is currently hosting the 2020 Fall / Winter Coffee Lovers Blog Hop! For my second entry into this hop, I chose the adorable stamp from (My Creative Time) called Cute Mugs – MCT326. 

To create this card, I first used my Cuttlebug and My Creative Time – Bunch of Fun Circle Dies to cut Copic Marker X-Press It Blending Card paper. The image was stamped onto the die-cut with Memento – Tuxedo Black using my MISTI – Most Incredible Stamping Tool to get a nice clean image. I coloured in the image with Copic markers and then stamped the image again on the same paper that I used for the background and fussy cut around the tea-cup piece. I used a black marker to go around the edges and then paper-pieced it into place using some glue. I die cut the sign using Spellbinders – Shapeabilities S4-322 Grommet Tags and also the background circle using some scrap yellow paper. The sentiment was then stamped on using Versa Fine – Onyx Black ink and Ranger – Clear Super Fine Detail Embossing Powder was applied on top. Then, I used Marvy Uchida – Embossing Heat Tool to heat emboss the powder. I also die cut some red hearts with the die-cut that came with the stamp set.

I cut the background pattern from My Mind’s Eye – Lost and Found paper and then used Tim Holtz Distress Ink – Antique Linen to go around the edges. I also used this ink to go around all of my other die cuts.

The card was now ready to assemble. I adhered the background to a base card of 6″ x 6″. Then using 3M VHB – 2 sided tape, I popped up the 2 circles and sign. I added a couple of brads to the sign before adding the tape. I ran the hearts through my Xyron Create a Sticker to make them into stickers and added them around the kitty to complete my card.

Card Recipe:

Stamp: Cute Mugs (My Creative Time)

Inks: Memento – Tuxedo Black, Versa Fine – Onyx Black, Tim Holtz Distress Ink – Antique Linen

Paper: Copic Marker X-Press It Blending Card, Hammermill – Premium Colour 100 lb., My Mind’s Eye – Lost and Found

Die Cuts: My Creative Time – Bunch of Fun Circle Dies

Embossing Powder: Ranger – Clear Super Fine Detail

Tools and Miscellaneous: MISTI – Most Incredible Stamping Tool, Marvy Uchida – Embossing Heat Tool, 3M VHB – 2 sided tape, Xyron Create a Sticker

Image coloured with Copic Markers:

Kitten: C9, C7, C5, C3, 100, R30, R20

Mug and Saucer: E53, E51, E50, Atayou Spica – Gold 11, Paper-Piercing – My Mind’s Eye – Lost and Found

Saucer: BG15, BG11, BG10, BG000

Spoon and Cocoa: C5, C3, C1, E39, E37, E35

Marshmallows and Whipped Cream: C1, C0, Y32, Y23, Y21, Colorless Blender

Hope you like it and have a fantastic week!

Entered into these challenges:

2020 Fall / Winter Coffee Lovers Blog Hop! #fallwinter2020clh

Hot Cocoa Hugs!


Coffee Loving Cardmakers is currently hosting the 2020 Fall / Winter Coffee Lovers Blog Hop! For my first entry into this hop, I chose the adorable #YNS (Your Next Stamp) called Hot Cocoa Hugs – CYNS491 I couldn’t resist these adorable little mice. Winter is coming and who doesn’t love hot chocolate???

Stamped the image onto Copic Marker X-Press It Blending Card with Memento – Tuxedo Black using my MISTI – Most Incredible Stamping Tool, cut at 5.5″ x 4.25″. The image was coloured with Copic Markers and then I created a mask and put it over top of the coloured image.

I used Tim Holtz Distress Ink – Evergreen Bough, Tim Holtz Distress Ink – Cracked Pistachio and Tim Holtz Distress Inks – Peacock Feathers to create my background and then removed the mask. I used the Bookmark and Tags Die Set (Whimsy Stamps) to die cut the Copic Marker X-Press It Blending Card and then used the Tim Holtz inks to colour it and go around the edges. The sentiment was then stamped on using Versa Fine – Onyx Black ink and Ranger – Clear Super Fine Detail Embossing Powder was applied on top. Then, I used Marvy Uchida – Embossing Heat Tool to heat emboss the powder.

To complete the assembly, I attached the finished image with double-sided tape to my base card of 5.5″ x 4.25″, which was made using Hammermill – Premium Colour 100 lb. paper. Lastly, I added a few mini round gems.

Card Recipe:

Stamp: Hot Cocoa Hugs – CYNS491 (Your Next Stamp)

Inks: Memento – Tuxedo Black, Versa Fine – Onyx Black, Tim Holtz Distress Ink – Evergreen Bough, Tim Holtz Distress Ink – Cracked Pistachio, Tim Holtz Distress Inks – Peacock Feathers

Paper: Copic Marker X-Press It Blending Card, Hammermill – Premium Colour 100 lb.

Die Cut: Bookmark and Tags Die Set (Whimsy Stamps)

Embossing Powder: Ranger – Clear Super Fine Detail

Tools and Miscellaneous: MISTI – Most Incredible Stamping Tool, Marvy Uchida – Embossing Heat Tool, Recollections – Boutique Fleur – Mini Round Gems

Image coloured with Copic Markers:

Mice: W4, W2, W0, R30, R22, R02, R01, Nose and Eyes – Sakura Glaze – Black, Gelly Roll Sakura #5 Pen

Mug: BG57, BG53, BG49

Saucer: BG15, BG11, BG10, BG000

Spoon and Cocoa: C5, C3, C1, E39, E37, E35

Marshmallows and Whipped Cream: C1, C0, Y32, Y23, Y21, Colorless Blender

Hope you like it and have a fantastic week!

Entered into these challenges:

2020 Fall / Winter Coffee Lovers Blog Hop! #fallwinter2020clh

Cat Lovers Hop Winnings


Hi There,

I’d like to send a special thank you to DAnn from dannscraftingwhims (on Instagram, @d.ann.c) and #thegraymuse for the happy mail that I received today. I shall wear the pin with pride. LOL!

Also thank you to Your Next Stamp (#YNS) for the gift coupon that I won from this year’s hop too! Already spent it on their new Christmas release. LOL!

Thank you so much for being sponsors and for making the hop a lot of fun again this year.

Also, thank you so much to Janis Woolbright for putting on this year’s hop again.

Looking forward to celebrating next years hop.

Canadian Christmas Greeting Card


Sharing a new card that I made for this year using High Hopes – Canadian Christmas Greeting RO48.

Here is a close-up of the characters:


Thought this would make a great card for my friends overseas, so I tried to make it as Canadian as possible! LOL!

Stamped the image with my MISTI and Memento – Tuxedo Black onto Copic Marker X-Press It Blending Card. Coloured in the image using Copic markers.

Paper:

American Crafts – Hot Cocoa 6×6 in (15.2×15.2 paper pad)

Recollections – Christmas Inkjet Printable Glitter Paper – 8.5 x 11″

Added snow caps using: Nuvo Glitter Accents and sprinkling on some DecoArt Glamour Dust.

Ribbon: Celebrate It Holiday Ribbon

Dies: My Creative Time -Stitched Squares Inside and Out

Hope you like it!

Entered into contest:

http://onecrazystampercom.blogspot.ca/2017/11/november-challenge-christmaswinter-fun.html

http://highhopesstamps.blogspot.ca/2017/11/november-challenge-christmaswinter-fun.html

Arachnia Ana


Hi There,

Sharing a card that I made using Simply Betty – Arachnia Ana printed out on Copic Marker X-Press It Blending Card and coloured in with Copic markers.

Here is a close-up of Arachnia Ana.

Sentiment is also from Simply Betty.

Cat – Graphic 45 – Hampton Art – SC0579, Stamped with Versa Fine – Onyx Black and then heat embossed with Ranger – Clear Super Fine Detail embossing powder.

Background papers – Pebbles – Boo Paper Pad 6×6″ (15.2×15.2cm)

Edging – Tim Holtz Distress Inks – Black Soot

Die Cuts – Spellbinders – Curved Rectangles – S5-006, Die D-Lites Conversation Bubble 3 Etched Dies, SKU: S2-137

In Memory of Boo 2003 – 2017


It is with a very heavy heart that last night we had to make the decision to say goodbye to our little girl “Boo”.

Those of you that follow me, know how much she meant to us and we will miss her terribly. She was our world and brought us so much joy.

“Boo” came into our lives 7.5 years ago at a time when we had just lost our last cat Patience of 17.5 years. We were at our vet’s office to pick up Patient’s ashes when this beautiful black cat came flying around the corner and ran up to me at the door of the office and started purring, rubbing against me and meowing. I asked the vet’s assistant who she belonged to and she said no one. She’s looking for a home. I fell in love with her immediately and asked my husband if we could take her home. He said “No, I can’t do this right now!” I then asked if we could go to the back to see her before we left. Again, when she saw me she starting purring immediately. However, when my husband went near her, she turned around and hisses and spat at him. This was January, 2010. I told the vet’s assistant to try calling me back in 3 weeks if “Boo” still hadn’t found a home. They did, but my husband’s answer was still “No”. This was now February, 2010. I visited the vet’s office on my own a few weeks later and asked if I could see her again. They let me and I just knew that I had to have her, but still could not convince my husband. He said we were about to do some renovating and going away, so “No”. Then for some strange reason in early April of that year, I called the vet’s office again to see if she had found a home yet because I just couldn’t stop thinking about her. They said she had found a new home. Some people may think I’m totally crazy, but I got off the phone and cried for hours thinking that I had lost her for good.

3 days later a miracle happened and vet’s office called me back to say that  the family that had taken her in no longer wanted her and did I still want her. I spoke to my husband and he looked at me and said, “It is obviously meant to be, let’s go get her!” and  we did. It was one of the happiest days of my life. I will never be able to explain the immediate connection and bond that “Boo” and I shared.

After bringing her home, she hissed at absolutely everything as she walked through the door. Shoes, bench, chairs, table, everything. It was actually pretty funny! For one week, she refused to come out of our bedroom as she seemed terrified that something was going to happen to her. We also found out that she hated to step on carpet. We had put hardwood in our bedroom and laminate in my craftroom and she would dart across the hallway so that her little paws wouldn’t have to be on the carpet for too long. If her toy mouse fell onto the carpet, she would stretch her paws to get it while sitting on the hardwood. Pretty funny to watch. She loved it when we finished all of the rooms upstairs and downstairs. Going up and down the stairs was still carpet, so she was just make a mad dash.

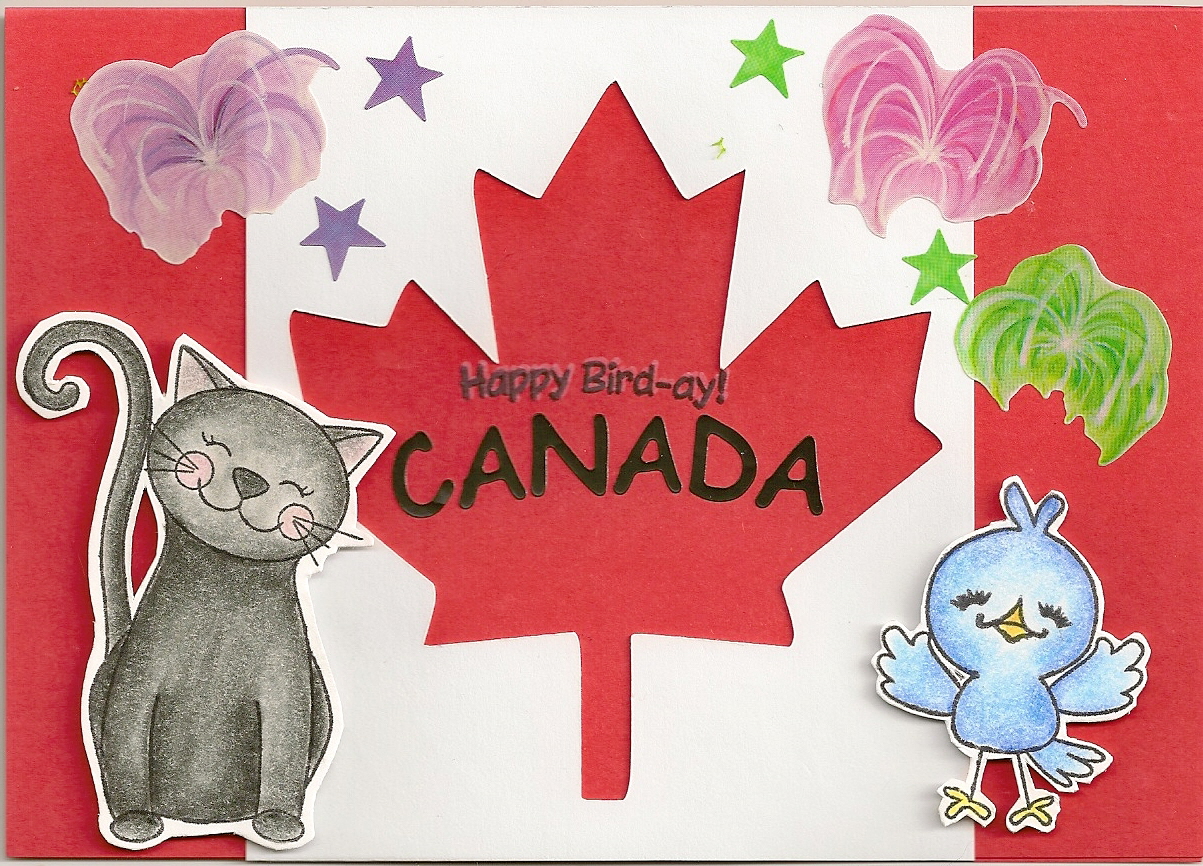
When we brought her back to the vet’s a few weeks later for a checkup, they couldn’t believe it was the same cat. They said when she was there, she was like a person without their morning coffee until she had been fed before we had gotten her. We also asked for her background history. Turned out that she was 6.5 years old, had spent the first 3.5 years of her life being severely abused and had been hit so many times that she had almost completely lost her sense of smell. We had hold the food or treats under her nose and show it to her so that she knew it was there. The amount of abuse she had gone through brought tears to our eyes. It was over a page and half long. She then spent her next 3 years going between vet’s offices in Toronto, Kingston and Mississauga, Ontario, Canada.

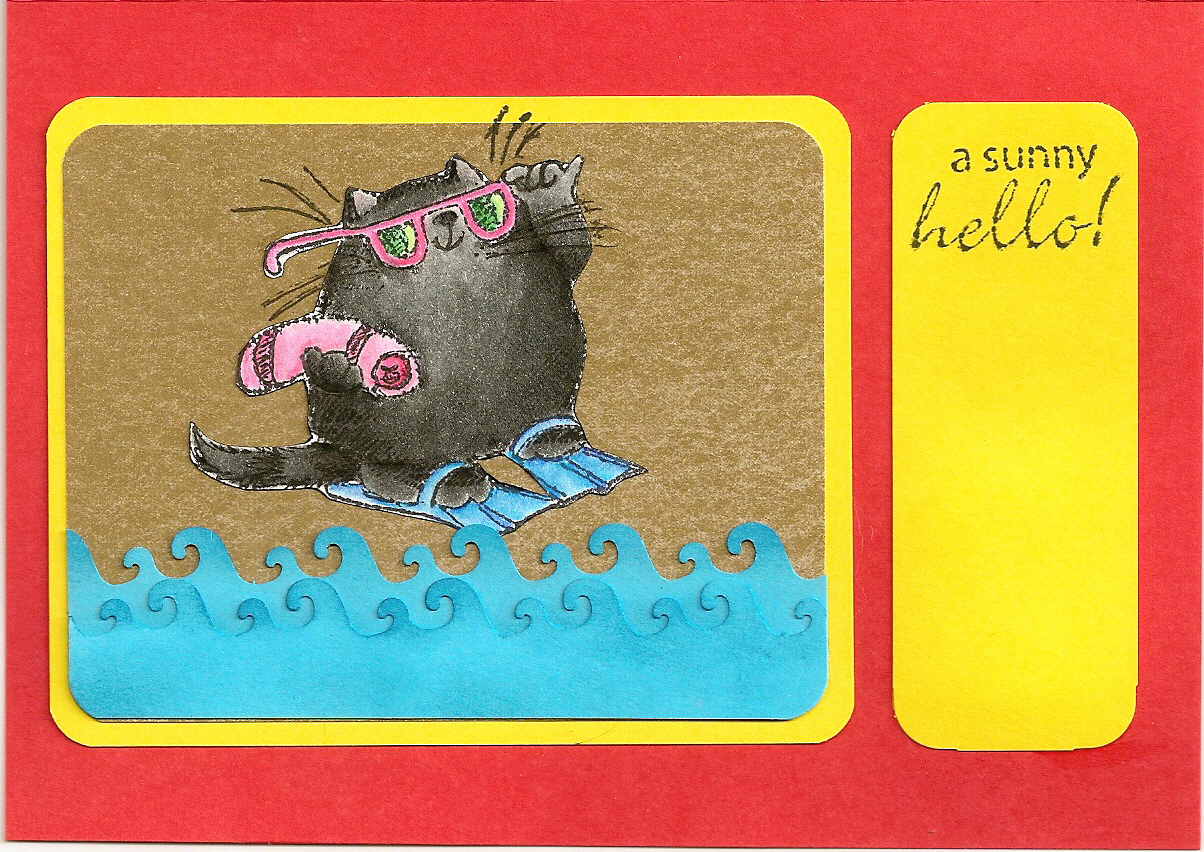
We quickly found out that her hissing and spitting was just a defence mechanism to try and protect herself, but was completely harmless. “Boo” turned out to be the most loveable cat there was. She loved to be near us at all times and loved to sit on my lap on at night. If I went away, she would sit at the door and cry sometime until I came home. She was always there to greet me and she is the only cat we have both ever known that wagged her tail constantly, especially when she was purring the loudest.

Unfortunately, 2 Canadian Thanksgivings ago we almost lost her as the company that was making her special diet food changed their recipe and she had refused to eat. She spent a week at the Vet’s office and they finally found some kitten food that she liked. She had also now become a diabetic and had to go 2 needles daily.

Last night, I asked my husband to carry her downstairs to put on my lap as she has had a harder time going up and down the stairs this past year. When he did, I noticed that her breathing was laboured and she seemed to be having a hard time getting comfortable. We brought her back up stairs and she was having a lot of trouble walking. We immediately contacted the emergency Vet’s office and brought her in. Unfortunately, after several tests were done, the diagnosis just kept getting worse and worse. Once we went over the X-rays, the emergency vet let us know that her lung capacity was almost non-existant and she had to big masses show up, which were cancerous. We promised “Boo” that we would never make her suffer and weren’t about to put her through Chemo for our sakes. That is when we made the hard decision, but we believe the right decision to say our goodbyes and hold her in our arms while she slipped away peacefully.

She brought us 7.5 years of happiness and we gave her a lot of love and a good life for her remaining life from the moment we got her. She even grew to love my husband after the first year, when she realized that he was a good man and would never hurt her. Anyone who knows us personally knows just how much love we gave her.

Thanks everyone, for listening to her story.

P.S.

There will be no more cards from Boo to the vet in my blogs. This is her final posting.

Dancer


Hi There,

Here is my finished card from the Kit and Clowder April Markers Class.

Image is from: Mo’s Digital Pencil called “Sparkle”.

Here is a close-up.

On the inside I used this sentiment:

Also made this little kitten out of wool for my Secret Pal as she said she liked cats. Making 2 pom-poms and following the directions from “Klutz – Pom-Pom Kitties”. Thought it turned out to be adorable.

For the card background I used paper from Recollection Signature – Kaitlin. LOVE this paper. I then edged the sides with Tim Holtz Distress Inks – Peacock Feathers. Along the top, I used punch from Creative Memories – Scallop Stitch. Then used the Sookwang tape and added Glitter Ritz – Ice Blue Micro Fine Glitter. Next I weaved some white ribbon through the base of the scallops.

Image was coloured in using a mixture of Copics and Spectrum Noir markers.

Stamped the sentiments and added them to the card. Hope you like it!

It’s all About You Birthday Card


Sharing a birthday card I made using my new digital stamps from Simply Betty.

jarret-2016-bd

jarret-2016-bd-cu


For this card, I decided to use:

Sentiment: Penny Black – “T for Transparent” – Sprinkles and Smiles clear set.

Squares are cut out using dies from My Creative Time -Stitched Squares Inside and Out.

Background paper for small square is from: Party Girl by Samantha Walker.

Main background paper is from DCWV – The Birthday Wishes Stack. 6 x 6″ paper pad.

Used Spectrum Noir Markers to colour the image:

Face: FS2, FS4, TN4, FS3, FS9

Eyes: GT1, GT2, GT3

Lips: DR4, DR6, CR7

Hair: TN2, TN4, TN9

Tongue: PP1


Coffee Time Kitty


Hi There,

Back to share another card with you. It is a freebie from Craftin Desert Diva’s called Coffee Time Kitty. I was hoping to share it in the Coffee Blog Hop too, but I was a little late! LOL!

Kitty-PerkUUp

Here is a close up:

Kitty-PerkUUpCU

To make this card, I printed out the image in grayscale and then coloured the image in using PrismaColor Premier pencils and Gamsol. I cut out the image using My Creative Time -Stitched Squares Inside and Out and then went around the edges with Tim Holtz Distress Inks – Dusty Concord.

For the fancy border, I used Spellbinders Lacy Squares – S4295.

The sentiment is from Craftin Desert Diva’s – Got Coffee stamps. Created flag by using die cut from Craftin Desert Diva’s – Flag Banner Dies.

Added in some ribbon on the side made by American Crafts.

Hope you like it!

Entered into Craftin Desert Diva’s Digi June Challenge which can be found here: https://www.facebook.com/groups/1428163220758119/. (Craftin Desert Diva’s Gallery).

Coffee Blog Hop – JessicaLynnOriginal


Hi There,

Sharing my card that I made for the JessicaLynnOriginal Coffee Blog Hop.

The digital stamp was a freebie for this contest located on JessicaLynn’s site.

JessicaBlogHop

Here is a close-up:

JessicaBlogHop-CU

Coloured the image with Spectrum Noir markers and then added in highlights \ shading with PrismaColor Premier pencils.

Created background behind owl with Craftin Desert Diva’s – Got Coffee stamps and VersaMark Ink.

Sentiment is also from the same set.

Other background paper is from: Teresa Collins – Summer Stories Designer Cardstock Paper – 6 x 6″ Designer Pad.

Die cuts are from: My Creative Time -Stitched Squares Inside and Out, My Creative Time – More Stitched Edges and

Craftin Desert Diva’s – Flag Banner Dies

Entered into contest for JessicaLynnOriginal Coffee Blog Hop.

Hope you like it!


dt roberta

Hi Everyone,  I’d like to announce that I am very happy to be a new member of the Too Cute By Jessica Design Team. YAY!

Xmas Card for Hubby


Hi There again,

Thought I’d share the XMas card that I made for my husband this year. He thought he was getting a really romantic card when he saw the front of it!!!! He was wrong, but he really laughed when he saw the inside.Todd XmasF - Copy

To make the card I used Recollections – Winter 4.25 in x 5.5 in (10.7 cm x 13.9 cm) card for the base.

The deer are from Miss Kate Cuttables – Birch Trees with Deer. I used Cricut Design Space and the Cricut Explore to cut it out.

Glitter Paper is – Recollections Christmas Ink Jet Printable Glitter Paper.

I stamped Merry Christmas with Memento Ink.

Todd Xmas In

For the inside – Used stamp from Hampton Art – Art Impressions – SCO715 – Christmas Reindeer Games.

Stamped image with Memento – Tuxedo Black ink. Coloured with a mixture of Copics and Spectrum Noir Alcohol  Markers. Then used Wink of Stella – Clear on the Christmas tree balls and earrings.

Cut frame out with Craftin Desert Diva’s – Fancy Frames.

Used Sharpie Gold – Medium Point for going around frames on both the front and inside of card.

Hope you like it!


Singing Elves


Back to share a couple of singing elves cards that I made.

Singing Elves1

Singing Elves2Here is a closer look.

Singing Elves Close Up

Used my Cricut Explore and Cricut Design Space to cut out the images for the elves using an .svg cut supplied by Peach Keen stamps when I purchased the set.

Stamped the images with Memento Tuxedo Black ink.

The elves and sentiment are from:

Peachy Keen Stamps – PKSC-31 July 2014.

I coloured them in with a mixture of my copic markers and Spectrum Noir Markers.

The “Fa la la la la” is heat embossed with VersaMark and Ranger Super Fine Detail Embossing Black Powder. Stamp is from Craftin Desert Diva’s “Rudy”.

Oval frame if from: Die-namics – Exclusive Designs for “My Favourite Things”.

Scalloped frame is from Craftin Desert Diva’s – Fancy Frames.

Gold around frames – Sharpie – Gold Medium Point.

Around oval – Tim Holtz Distress Ink – Vintage Photo.

Paper – Music – Pebbles – “Home for Christmas”

6 x 6 in. (15.2 cm x 15.2 cm)

1st card – Background paper – American Crafts – “Holiday”

6 x 6 in. (15.2 cm x 15.2 cm)

2nd card – Background paper – American Crafts – “Kringle and Co”

6 x 6 in. (15.2 cm x 15.2 cm)

White cardstock and some green and gold ribbon.

Hope you like it!


Belated Birthday Card


Mikes BD 2014

Hi Everyone,

Here is a card that I made for my bosses birthday.

He loves golf, so I thought it would be a cute card to make him from our team.

The doll is cut out at approx. 3″ from the Cricut Everyday Paper Dolls cartridge.

I also cut out the accessories to match using scraps of cardstock paper that I had from other projects. The grass is cut out with my Martha Stewart’s Icicle punch.

His face is stamped with the new Peach Keen Face Stamp from the PK-1410 Christmas in July Face Assortment. I used the 3/4″” face.

I also used Copics to highlight his clothing, hat, bag and eyes. I highlighted his eyes with Inkssentials Opaque white pen. Then I used a little bit of pink chalk for his cheeks.

Finally, the sentiment is from PKSC-12 December 2012.

Happy Bird-ay Canada!


Canada Day 2014Ft Canada Day 2014In

Hi There,

Happy Canada Day everyone! Here is “Boo’s” new card for the vet this year. For those of you who don’t know her, “Boo” is our black cat. We met Boo about 4 years ago, fell in love with her and brought her home to live with us. She was 6.5 years old. She was a rescue cat and because here name was Boo, I thought it would be fun to make a card for Hallowe’en from her. The vet and staff loved it and I’ve been making cards for the vet for every occasion from her since. Hope you like this one!

Supplies: Front of Card

Peachy Keen Stamps PKSC-06 June 2012, Bird and Sentiment

Peachy Keen Stamps PK-1350 Cool Cats

Cricut – Go Canada! Cartridge; Fireworks from Creative Memories.

Inside of Card:

Penny Black 30-180 Sunny Days

PrismaColor Premier Coloured Pencils, Blender stumps and Blending solution for colouring.

CardMaker Magazine Challenge 1 – Cut It Out


Snowman-and-SnowLadyThis is my card for the CardMaker Magazine Challenge 1.

To create this card, I cut out the 2 snowmen from the Cricut Snow Friends Cartridge. The snow lady was cut out at 1.35″ W x 2.41″ H and the snowman was cut out at 2″ W x 2.41″ H. I used the “Be Creative Tape” 115 m on regular paper and then cut out the snow people. Once they were both cut out, I pulled off the tape and coated the figures with “Glitter Ritz Crystal Clear“. The characters clothing were all cut out using “Neenah Classic Crest Paper for Copic: Solar White“. The snowman’s face was stamped using Peachy Keen’s PK-484 Snowmany Face Assortment (3/4″ face) using Memento Tuxedo Black. I then coloured the nose using Copic‘s YR04, YR07. The tongue and mouth were coloured with Copic‘s RB1, R39, R27, and R29. Boots – Black 100. Cheeks for both snow people – Spectrum Noir – CR4. Hat, scarf and mitts – BG13 and BG18. I then added some sparkle on the bottoms of the lady’s hat and her pompom with Martha Stewart Tinsel Glitter Blue Topaz.

For the snowlady, I used the Peachy Keen PK-460 Happy Lashes Assortment (3/4″ face) and stamped it with Memento Tuxedo Black. The lady’s hat, scarf and mitts were coloured in with Copic‘s V04, V06 and the Copic Colourless Blender was used to lift some colour in the hat and on the mitts. The shirt was coloured with Copic V09. The arms were coloured with E47. I then added some sparkle on the bottoms of the lady’s hat and her pompom with Martha Stewart Tinsel Glitter Mica.

The sentiment from “Fun ‘n’ Flair Stamps” FNF-03 Snowmany Wishes” was stamped onto regular cardstock using Memento Tuxedo Black and then I used “Be Creative 40 mm Tape” and Glitter Ritz Crystal Clear and burnished it to make it sparkle. I then went around the edges with Copic BG18.

The base card is from “Recollections” – Winter set. On the bottom of the card I used “Aleen’s Glitter Snow” and sprinkled some Glitter Ritz Crystal Clear on it while it was still wet to make it sparkle. Once it was dry. I then burnished it also.

To finish off the card, I used some foam Christmas Trees that I had picked up at Micheal’s and used various coloured Stickles to make little Christmas tree balls. At the base of the trees and along the branches, I used DecoArt Glistening Snow Writer.

Hope you like it!