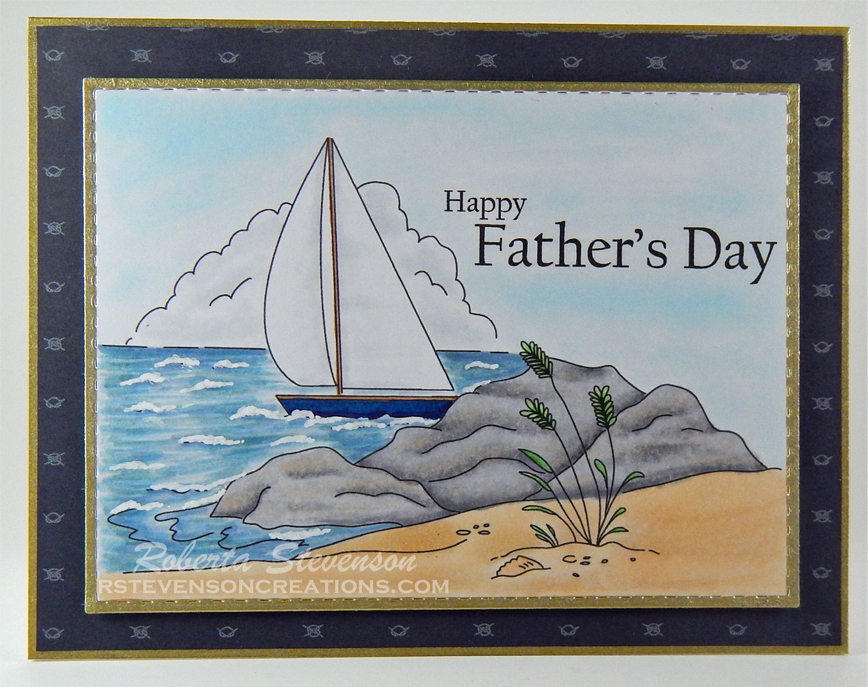
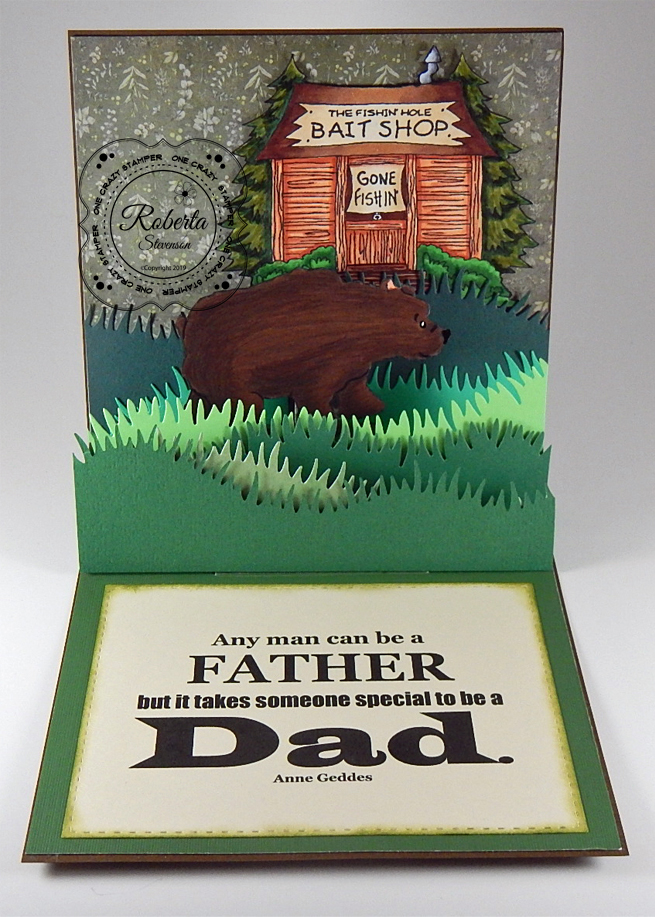
Today I’m sharing a Father’s Day card using Polkadoodles – Fishing Gnome For Men – Bundle that I made for my dad who lives to fish! Happy Father’s Day to all of the father’s out there and I hope you all enjoy your special day!

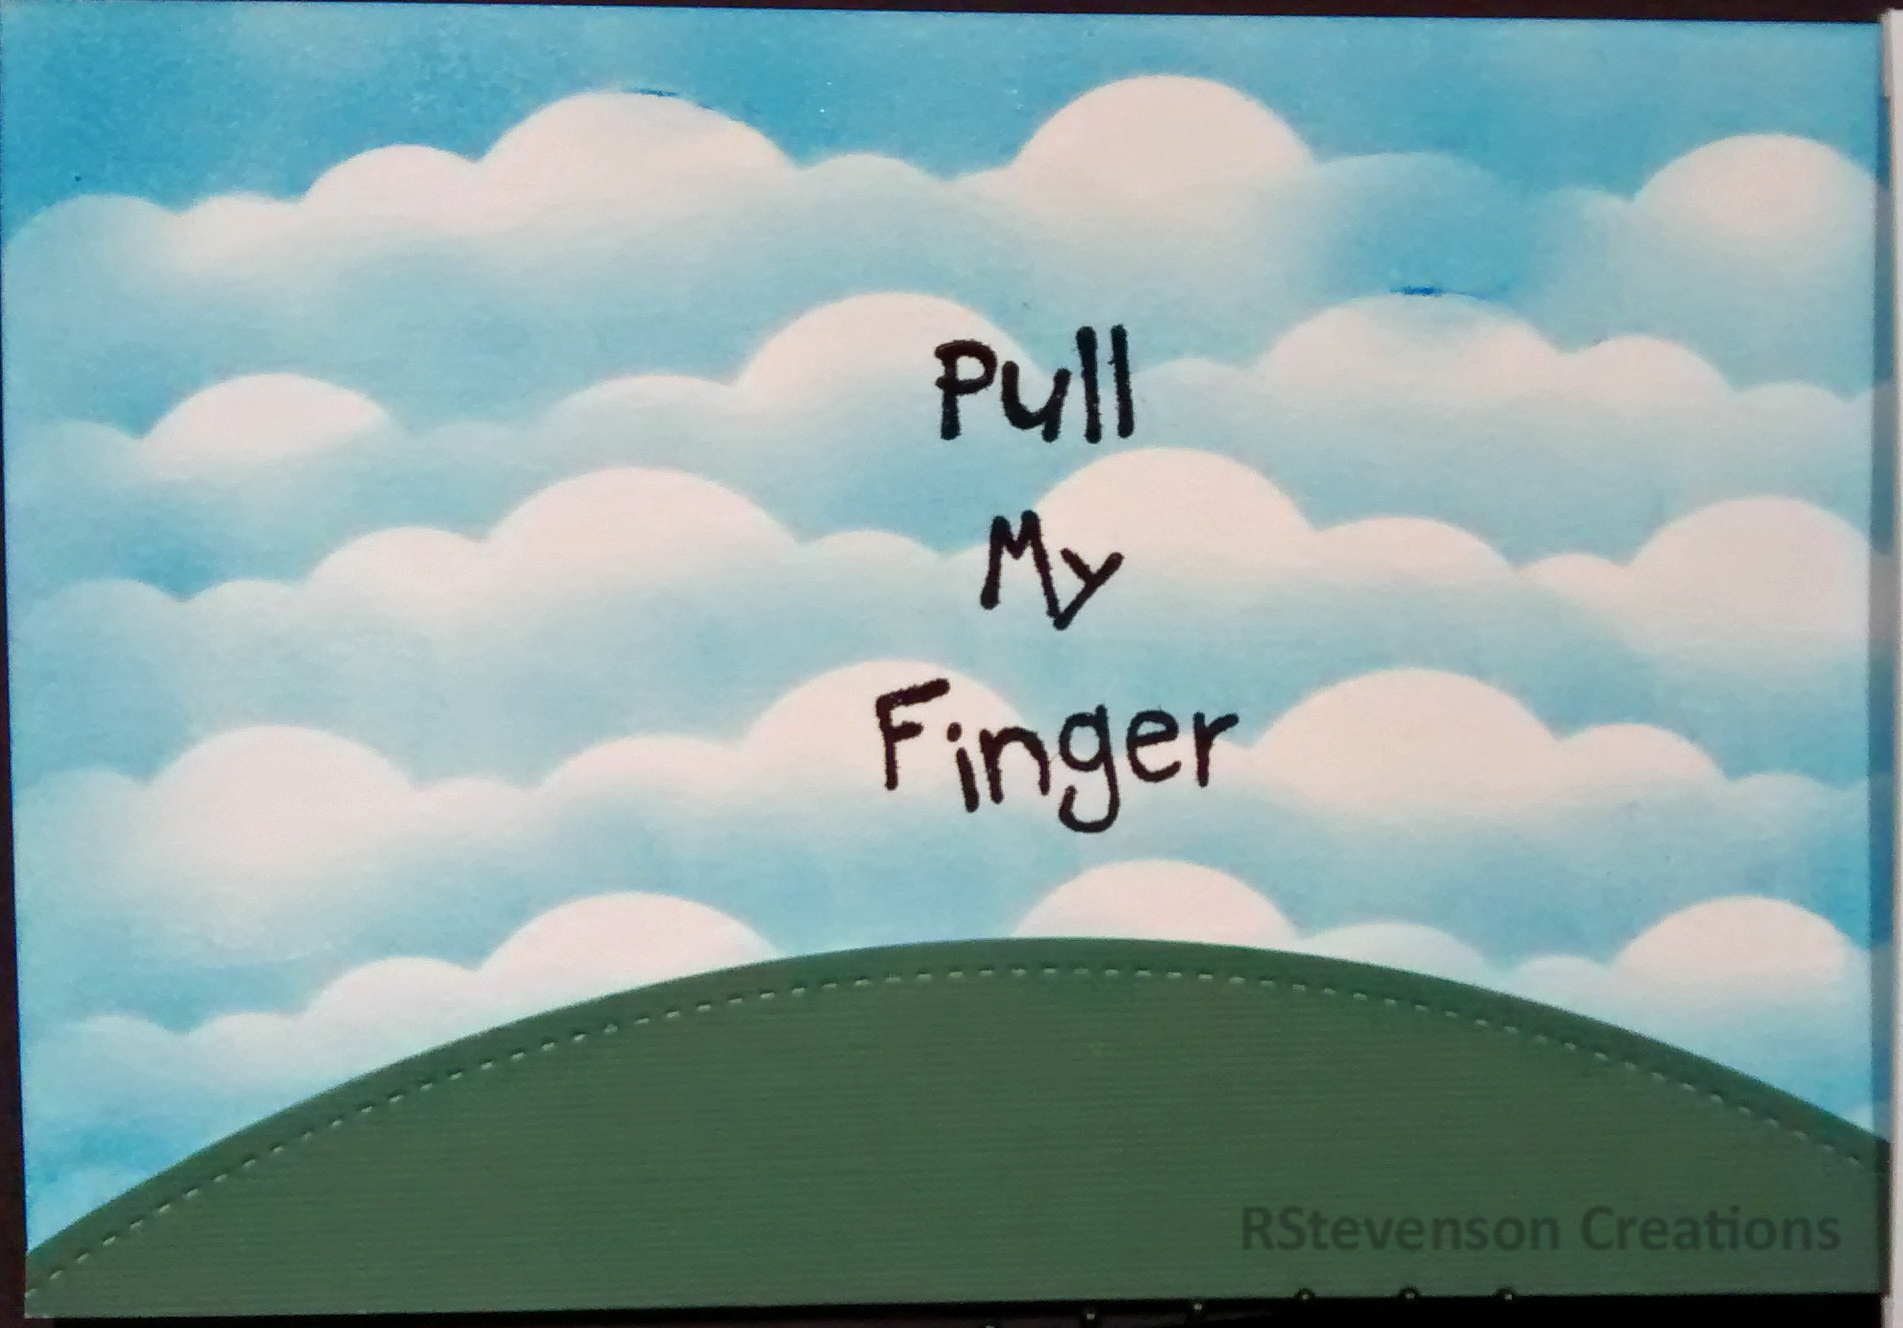
In Microsoft Word, I created a 5.5″ x 5.5″ outline and then imported the background paper first. Next, I created another box as a guideline and inserted the image into it and centered it on the patterned paper. I then brought in the little bait box and sized it to fit next to the chair. Lastly, I inserted the sentiments from the same digital stamp set and changed the background on them to a blue, leaving the black outline around the text. I moved one sentiment to the top and the other to the bottom. Once I was satisfied on how everything looked, I printed it out onto Copic Marker X-Press It Blending Card with my HP Printer.
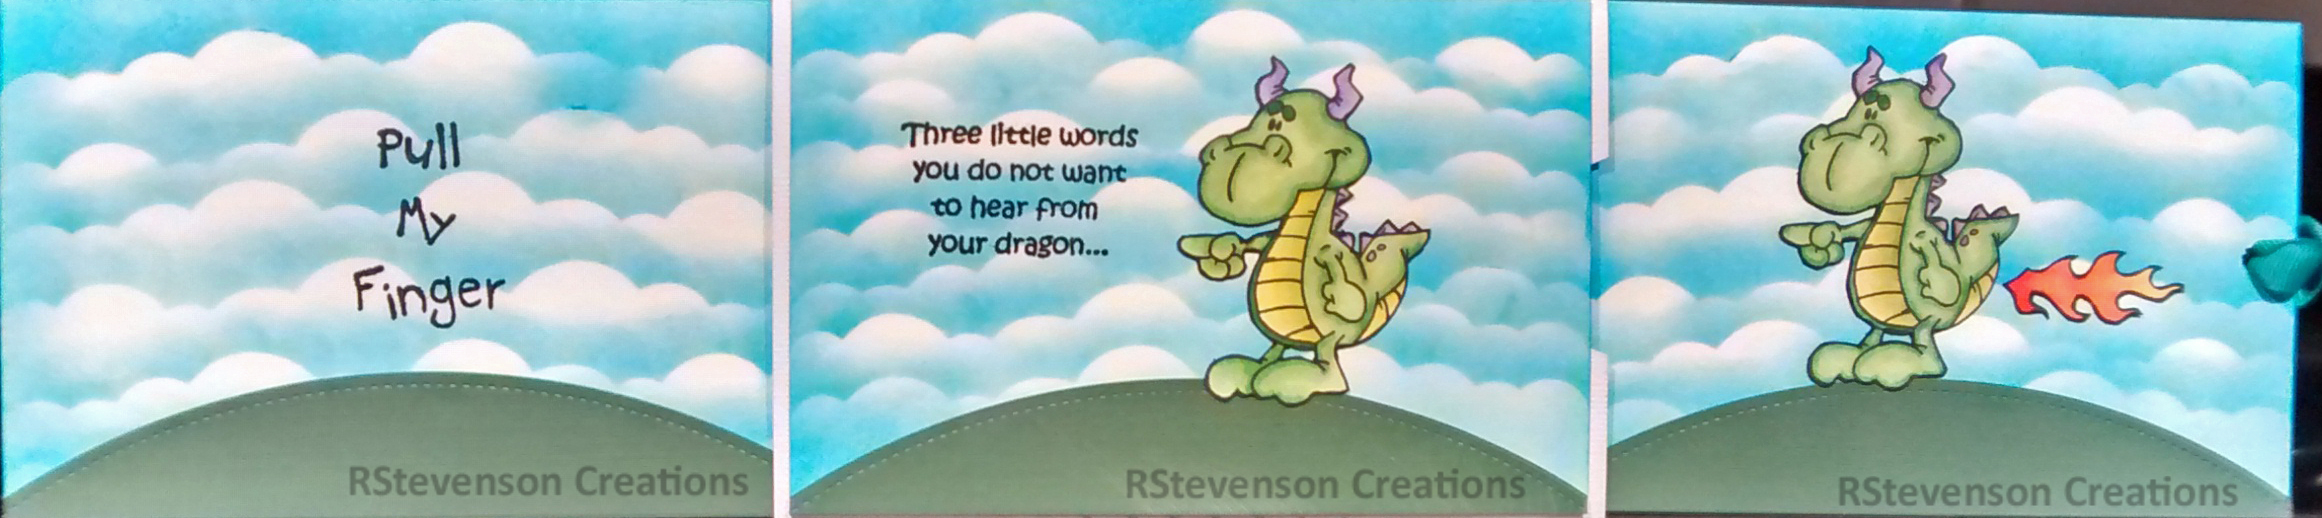
The image was coloured in with the Copics listed below and then attached to the base card of 5.5″ x 5.5″. Lastly, I added some stickles to the dragonflies wings to give them a little bit of added sparkle.
Card Recipe:
Stamp and Sentiment: Polkadoodles – Fishing Gnome For Men – Bundle
Inks: HP Printer, Tim Holtz Distress Ink – Faded Jeans
Paper: Copic Marker X-Press It Blending Card, Hammermill – Premium Cardstock 110 lb., Polkadoodles – Gnome Men Fishing – printable paper patterns
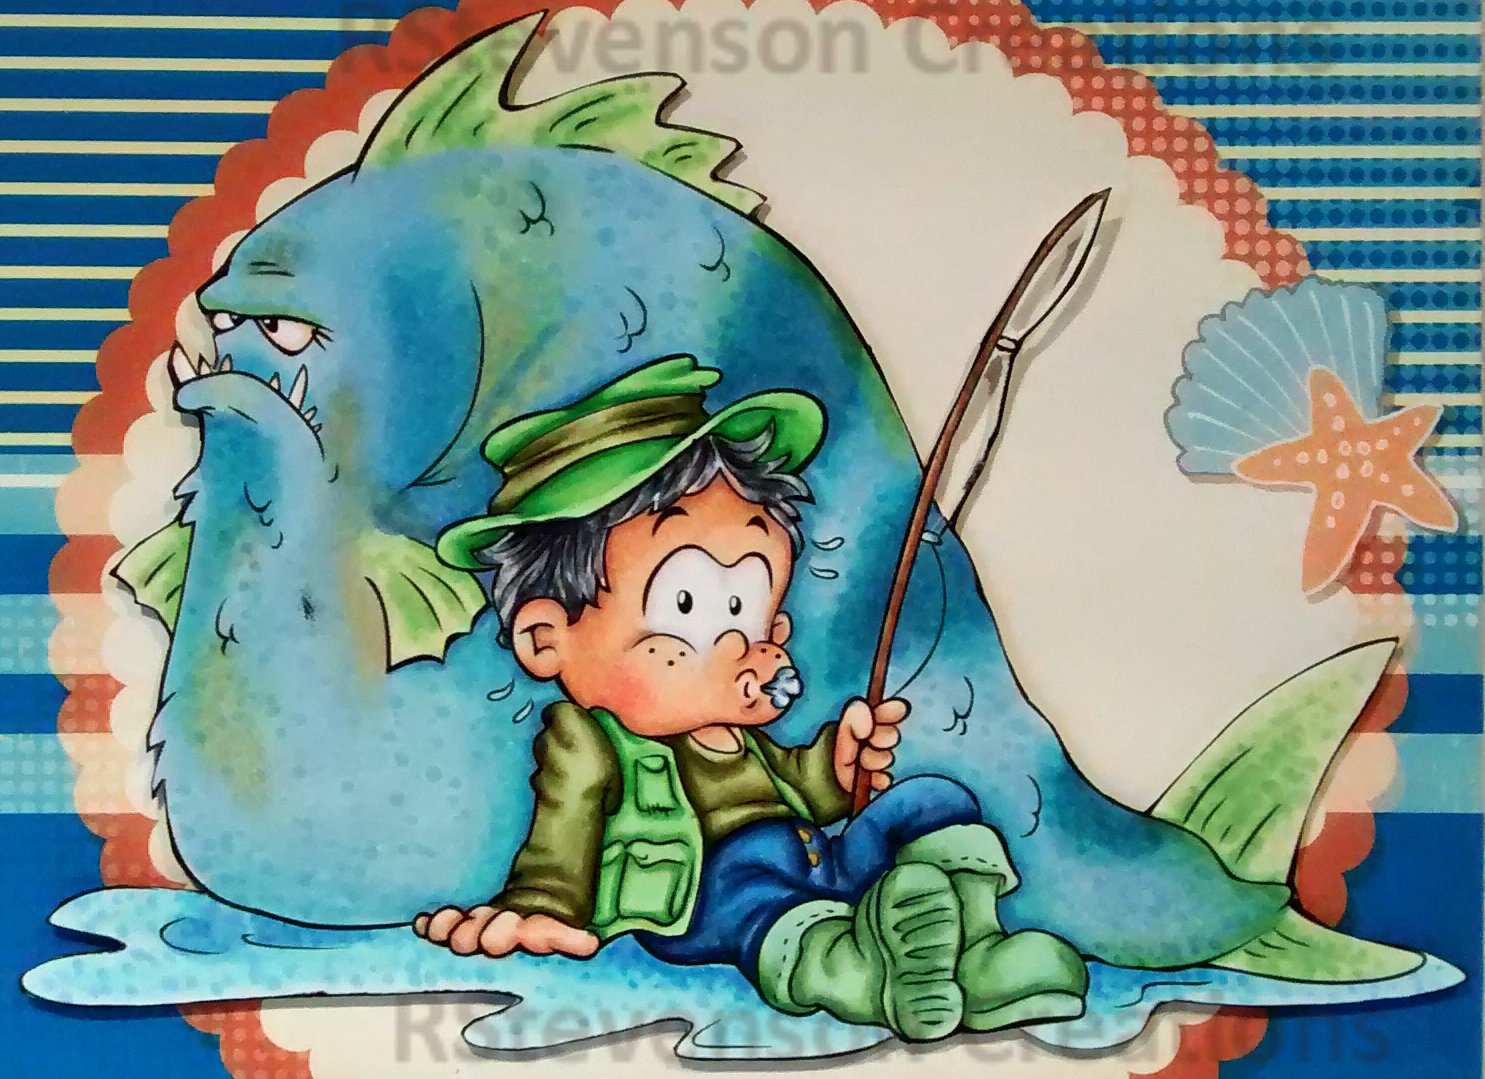
Image coloured with Copic Markers:
Skin: E21, E11, E04, E00, E000
Beard: E29, E25, E23, E21
Hat: B99, B97, B95, B91
Shoes: B99, B97, B95, B93, B91, N2, N1, N0
Shirt: B26, B23, B21
Cattails: E27, E25, E23
Fishing Rod and Ball: E59, E57, E55, YR09, YR07, YR04, YG07, YG06, YG03, Y08, Y06
Water: B24, BG13, BG11, BG10, BG02, BG01, BG000
Bag and Bait Box: E89, E87, E84, E81, C3, C2, C1
Grass and Leaves: G19, YG25, YG23, YG21
Chair: E49, E47, E44, E34
Dragonflies: BV00, BV000, BG10, Stickles – Diamond
Sky and Clouds: B01, B00, B000, B0000, BG70, C0, C00, Colorless Blender
Hope you like it and have a great week!

Also entered into
https://polkadoodle.blogspot.com/2024/06/wk-24-card-making-paper-craft-challenge.html