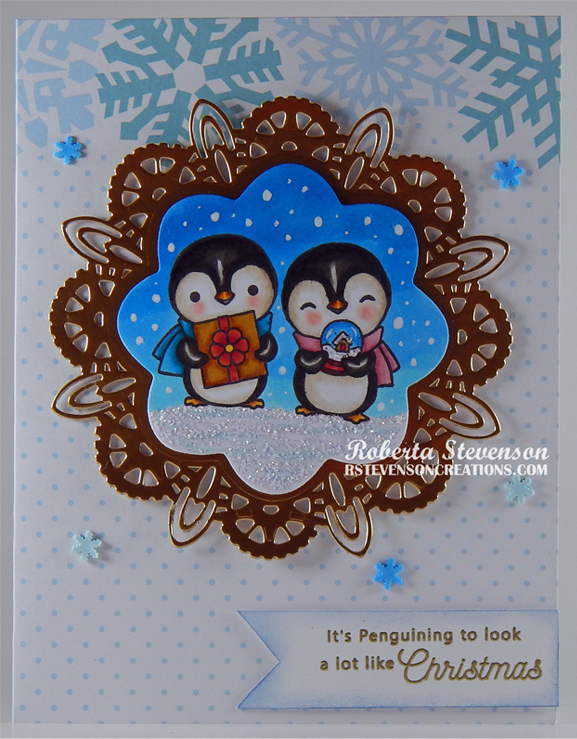
Today I’m sharing a Christmas card that I made following a video for the Penguin Bauble Colouring class by Alyce Keegan at Kit and Clowder during the November Summit Class.

The image provided by Alyce was printed out with my HP Printer onto Copic Marker X-Press It Blending Card using High Quality Grayscale and coloured in with Copic markers. Once I finished colouring the image, it was fussy cut leaving a slim border. The sentiment was stamped onto some white cardstock in my stash using VersaFine – Majestic Blue ink, MISTI and Kraftin’ Kimmie – It’s Penguining To Look A Lot Like Christmas! stamp. Ranger – Clear Super Fine Detail embossing powder was applied over top of the ink and it was heat embossed with a Marvy Uchida – Embossing Heat Tool. Lastly, I used a Sharpie – Gold Medium Point – Water Based Paint pen to go around the edges.
The base card was created to the size of 6″ x 6″ out of Hammermill – Premium 110 lb. cardstock. Gold cardstock from Chloe’s Crafts Paper Pad was applied directly to the base of the same size using liquid glue. Waffle Flower Crafts – Nesting Squares were used to die-cut Crafter’s Companion – Snowflake Swirls designer paper for the background and Moonstone – Hunkydory – Vintage Filigree Frame die was used to die cut Chloe’s Crafts Paper Pad – Navy Blue paper. I applied both of these directly to the the front of the card using liquid glue and then popped up the finished image and sentiment onto the card using U-Line double-sided foam tape.
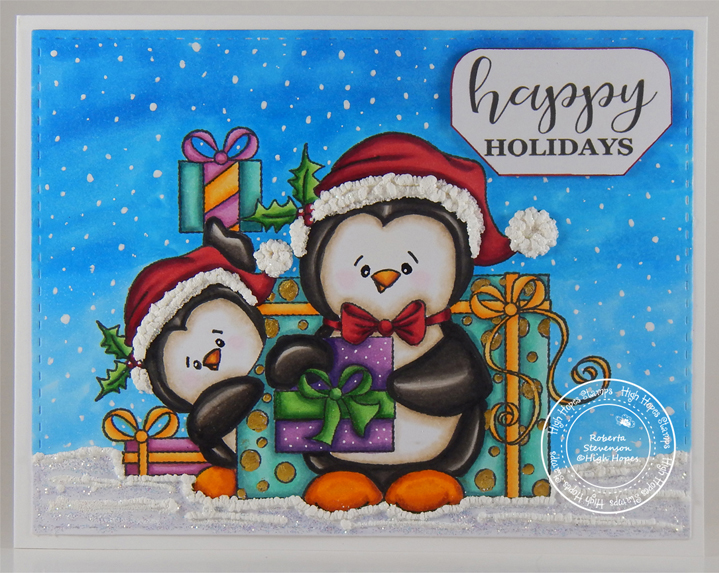
Below is the original coloured image before creating the card to go with it.

Card Recipe:
Stamp: Kit and Clowder – Penguin Bauble
Sentiment: Kraftin’ Kimmie – It’s Penguining To Look A Lot Like Christmas!
Inks: HP Printer High Quality Grayscale, VersaFine – Majestic Blue
Paper: Copic Marker X-Press It Blending Card, Hammermill – Premium Cardstock 110 lb., Chloe’s Crafts Paper Pad – 02-3129420 (6″ x 6″), Crafter’s Companion – Snowflake Swirls (12″ x 12″)
Die Cuts: Moonstone – Hunkydory – Vintage Filigree Frame, Waffle Flower Crafts – Nesting Squares
Miscellaneous: U-Line Double-Sided Foam Tape, White Gelly Roll Sakura #10 Pen, Ranger – Clear Super Fine Detail embossing powder, Marvy Uchida – Embossing Heat Tool, Sharpie – Gold Medium Point – Water Based Paint pen, U-Line Double-Sided Foam Tape
Hope you like it and have a great week!