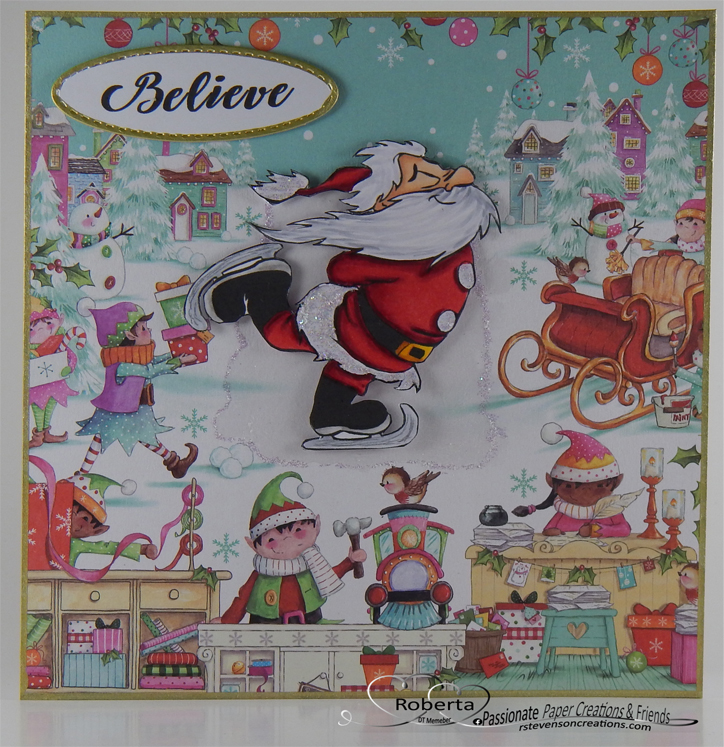
Come and check us out on Passionate Paper Creations & Friends FB group
as we are currently sponsoring KLM Designs for the month of December.
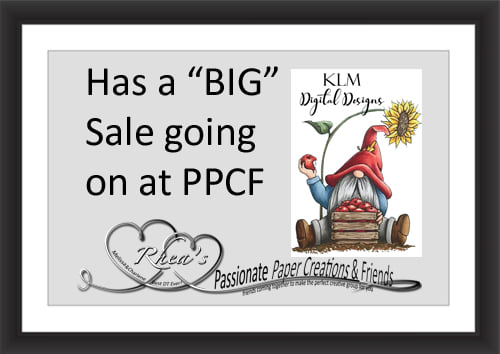
If you are a member of Passionate Paper Creations & Friends FB group
you can go to the top of the page and get a shopping discount.
Not a Member? Come Join! https://bit.ly/2VwG9iz.
We are a fun loving group with a lot of inspiration.
*******************************************************
Thank you KLM Designs for sponsoring us. Today, I’m sharing a card I made using KLM Designs – Owl and Sentiments. I really love your adorable images and working with them.
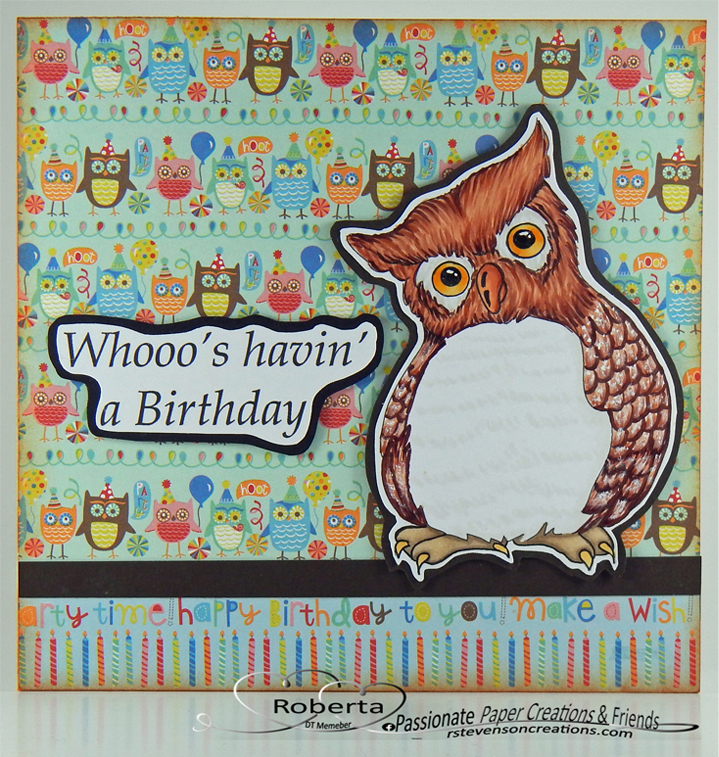
The base was created with AC Cardstock – White cut and folded to the size of 6″ x 6″. I cut the background paper from My Mind’s Eye – Hootenanny designer paper to be the same size as the background and applied it to the base using double-sided tape. From the same paper pack, I cut a piece of the designer paper to the size of 6″ x 1″ and glued this on top of the background at the bottom of the card. I cut a piece of Recollections – Brown cardstock to the size of 6″ x 5/8″ and applied that above the wording on the bottom of the card. Tim Holtz Distress Ink – Rusty Hinge was used to ink around all of the edges of the card.
The image and sentiment were both imported into Microsoft Word and printed out onto Copic Marker X-Press It Blending Card. The image was coloured in with Copic markers and then I fussy cut around it and the sentiment. I applied Sakura Glaze – Black to the eyes and Gelly Roll Sakura #10 Pen for the highlights. With a FolkArt 1837 – Perfect Liner #1 and Copic Opaque White I added in some white onto the wings. I ran the image through my Xyron Creative Station and the sentiment through my Xyron Create a Sticker and applied them to Recollections – Brown cardstock and Recollections – Black cardstock. Then I fussy cut around the 2 again. I popped them up onto the card using U-Line double-sided tape to complete the card.
Card Recipe:
Stamp and Sentiment: Owl and Sentiments – KLM Digital Designs
Inks: HP Printer Grayscale, Tim Holtz Distress Ink – Rusty Hinge
Paper: Copic Marker X-Press It Blending Card, AC Cardstock – White, Recollections – Black cardstock, Recollections – Brown cardstock, My Mind’s Eye – Hootenanny Designer Paper (6″ x 6″)
Miscellaneous: U-Line double-sided tape, Xyron Creative Station, Xyron Create a Sticker
Image coloured with Copic Markers:
Owl: E95, E93, E43, E42, E41, E18, E15, E13, E11, Y38, Y35, Y32, YR21, C9, W0, W00, Eyes (Sakura Glaze – Black and Gelly Roll Sakura #10 Pen), Copic Opaque White
Hope you like it and have a great week!
You can find more cards to inspire you at KLM Designs, KLM Digital Design Team, KLM Digital Designs and Passionate Paper Creations & Friends FB group
on the Facebook Fan page from the rest of our design team.