Tag Archive | PhotoPlay – Gnome for the Holidays Christmas

Present Gnomes


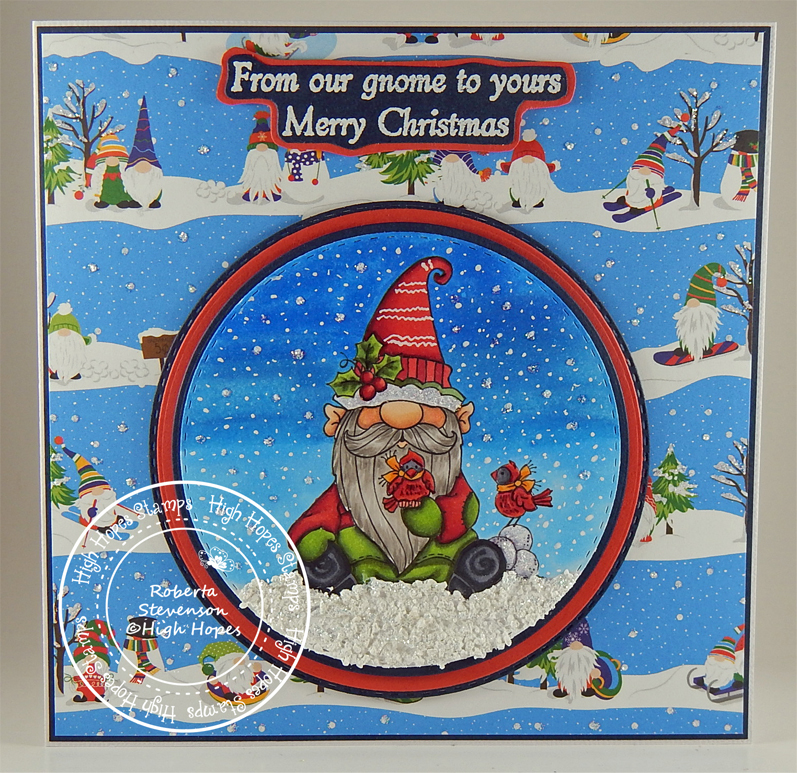
Sharing a Christmas card I made today using KLM Digital Design –  Pre-Colored – Present Gnome – Blue and Pre-Coloured – Present Gnome – Yellow from the new October 2022 release. Christmas is not that far away now and it’s time for me to create more cards for the holidays.

To make my card this week, I started with a 5.5″ x 4.25″ card base using Hammermill – Premium Colour 100 lb. cardstock. I cut the background paper from PhotoPlay – Gnome for the Holidays Christmas to be the same size and attached it to the base card with double-sided tape. I cut some green cardstock to the size of 4-7/8″ x 3-5/8″. U-line double-sided tape was attached to the piece and it was popped up onto the centre of the card. Stampin’ Up – Snowflake Splendor Designer Series Paper was cut to the size of 4.75″ x 3.5″. Using Tim Holtz Distress Ink – Salty Ocean, I inked around the base card and the snowflake piece.

The images were imported into Microsoft Word and I layered them together before I printed them out and fussy cut around them leaving a thin white border. I cut the snow piece to be 4.75″ x 1″ using Lawn Fawn – Sparkle Cardstock in “Pixie Dust” and then tore it look like drifting snow. I glued along the bottom of this piece with liquid glue and adhered it to the snowflake patterned paper. Using liquid glue, I attached the gnomes on top and behind the snow. I applied liquid glue to the finished piece and centred it onto the green cardstock. I stamped the sentiment on to a scrap piece of blue cardstock using Versamark ink and then applied Ranger Embossing Powder White – Extra Fine Detail. This was heat embossed with a Marvy Uchida – Embossing Heating Tool. I die cut the circle using a 1″ Circle punch and then applied Tim Holtz Distress Ink – Salty Ocean around it. U-Line double-sided tape was applied to the back of the sentiment and it was popped up onto the card. Lastly, to finish everything off, some Stampin’ Up – Snowflake Sequins were added around the sentiment.

Card Recipe:

Stamps: Pre-Colored – Present Gnome – Blue – KLM Digital Designs and Pre-Coloured – Present Gnome – Yellow – KLM Digital Designs

Sentiment: Lawn Fawn – Reveal Wheel Holiday Sentiments

Inks: HP Printer Grayscale, Tim Holtz Distress Ink – Salty Ocean, Versamark

Paper: Copic Marker X-Press It Blending Card, Hammermill – Premium Colour 100 lb., PhotoPlay – Gnome for the Holidays Christmas, Stampin’ Up – Snowflake Splendor Designer Series Paper, Lawn Fawn – Sparkle Cardstock in “Pixie Dust” (8.5″ x 11″)

Die Cuts: 1″ Circle Punch

Embossing Powder: Ranger Embossing Powder White – Extra Fine Detail

Miscellaneous: U-Line double-sided tape, Stampin’ Up – Snowflake Sequins, Marvy Uchida – Embossing Heat Tool

Hope you like it and have a great week!

You can find more cards to inspire you at KLM Designs, KLM Digital Design Team and KLM Digital Designs on the Facebook Fan page from the rest of our design team.

Gnome For the Holidays


It’s Wednesday, and this week, I used Snowy Gnome – TLF024 (High Hopes Rubber Stamps) for the main image from the new August 2020 release and From Our Gnome – GLL001 (High Hopes Rubber Stamps) for the sentiment. This little gnome has gone home for the holidays to celebrate with friends and family. As you can see there are a lot of activities going on in Gnome Town. This little gnome has his snowballs ready for the next snowball fun fight! LOL! While waiting for the other team to get ready, he’s decided to take a little break and enjoy nature with his little cardinal friends. Then, let the fun begin!!!

To make my card this week, I started out with a simple white card base, sized at 6″ x 6″. I cut some dark blue cardstock, just slightly smaller and adhered it to the card with Tombow Mutli-Liquid Glue. I just love this paper from PhotoPlay called Gnome for the Holidays Christmas. I thought it went perfectly with this new stamp. I cut it at about 5.75″ x 5.75″. Then I glued it to the blue paper.

I die cut multiple circles in a variety of sizes using a mixture of My Creative Time – More Stitched Circles and Lifestyle Crafts Cutting Dies – Nesting Circles using dark blue and red cardstock and also Copic Marker X-Press It Blending Card for the main image.

The image was stamped onto the Copic Marker X-Press It Blending Cardstock circle using my MISTI and Memento – Tuxedo Black. It was then coloured it in with Copic markers. For the snow, I used Recollections – Christmas Snow Paste, Martha Stewart Crafts Glitter – Crystal Fine and a spatula and let it dry overnight. Then  Stickles – Diamond was added onto the top of it. For the sky a mixture of 2 Gel pens were used and then a little bit of Stickles – Diamond to add some glitter to it. I was trying to get it to match the background paper. Once the Stickles was dry, I glued the bottom 2 layers of circles together and then the top 2 circles.  Both were done separately. The sentiment was stamped with Versa Mark and then embossed with Ranger Embossing Powder White – Extra Fine Detail and heated with Marvy Uchida Embossing Heat Tool. I fussy cut around the sentiment and glued it directly on top of some red cardstock. Then I cut around that as well.

To complete the card I popped up the bottom circles, top circles with coloured image and sentiment with the 3M VHB – 2 sided tape.

Lastly, I added some more sparkle with Stickles – Diamond by adding it to the base of the card in random places.

Card Recipe:

Stamp: Snowy Gnome – TLF024 (High Hopes Rubber Stamps)

Sentiment: From Our Gnome – GLL001 (High Hopes Rubber Stamps)

Inks: Memento – Tuxedo Black, Versamark

Paper: Copic Marker X-Press It Blending Card, PhotoPlay – Gnome for the Holidays Christmas, AC White Cardstock Dark Blue Cardstock, Red Cardstock

Die Cuts: My Creative Time – More Stitched Circles MCT-D136, Lifestyle Crafts Cutting Dies – Nesting Circles

Embossing Powder: Ranger Embossing Powder White – Extra Fine Detail

Tools: MISTI – Most Incredible Stamping Tool, Cuttlebug, 3M VHB – 2 sided tape, Stickles – Diamond, Marvy Uchida – Embossing Heat Tool

Image coloured with Copic Markers:

Skin: E21, E11, E04, E00, E000, R22, R20

Beard: W5, W4, W3, W2, W1, W0, W00

Shirt, Hat and Berries: R59, R37, R35, R24, R22, Stickles – Diamond, Gelly Roll Sakura #8 Pen

Pants, Leaves and Mitts: G99, G94, G21, YG03

Shoes: C9, C7, C5

Cardinals and Scarves: R59, R37, R35, R24, R22, C7, C5, C3, YR16, YR12

Snowballs: BV23, BV20, Stickles – Diamond

Sky: B16, B14, B12, Gelly Roll Sakura #8 Pen, Gelly Roll Sakura #10 Pen, Stickles – Diamond

Ground: Recollections – Christmas Snow Paste, Martha Stewart Crafts Glitter – Crystal Fine, Stickles – Diamond

Hope you like it and have a fantastic week!

You can find lots of inspiration from the Design Team Divas at the High Hopes blog, and the High Hopes Rubber Stamps Facebook Fan page plus you can also follow us on
Instagram, Twitter and Pinterest.