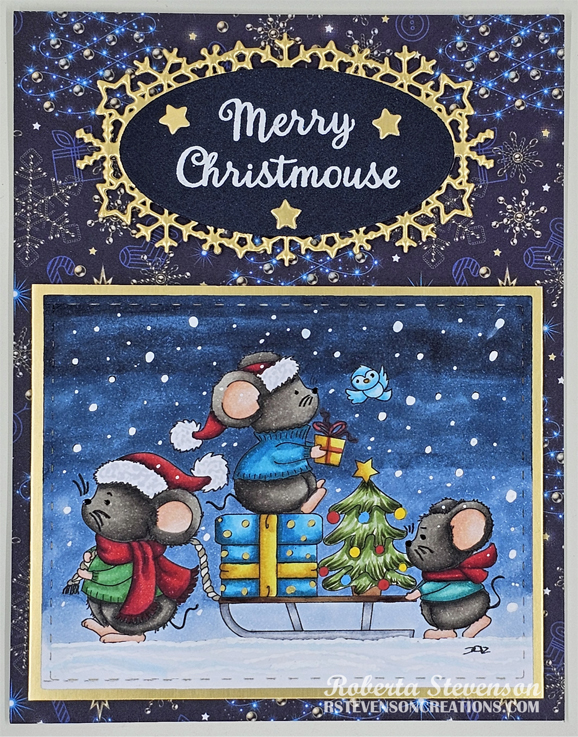
Sharing the New Year’s card I made earlier this year using Gerda Steiner Designs – Happy New Year 2026 image.
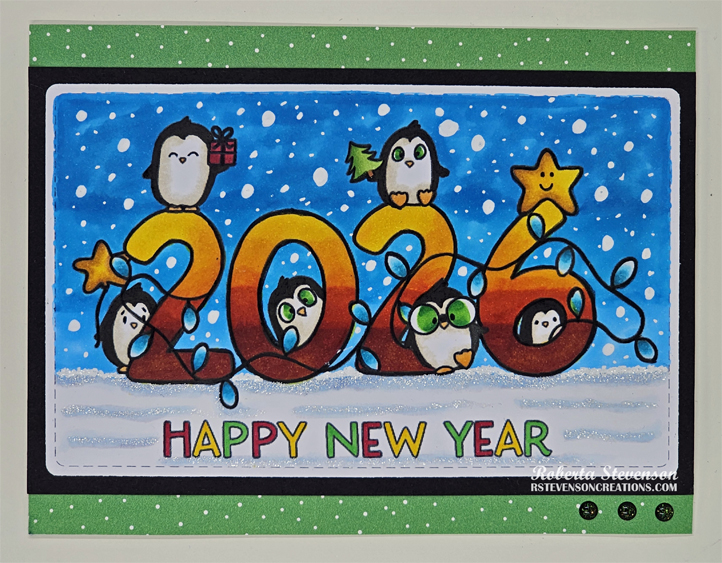
To make the card, I created the base using Hammermill – Premium Cardstock 110 lb. to the size of 5.5″ x 4.25″. Recollections – Black cardstock was cut to the size of 5.5″ x 3.75″ and 2 pieces of Lawn Fawn – Let It Shine patterned paper were cut to the size of 5.5″ x .5″ each. The patterned paper was attached to the base card on the top and the bottom with double-side tape. Next, the black paper was centred between the 2 patterned pieces and adhered to the base using a combination of double-sided tape and liquid glue.
The image was imported into Microsoft Word and printed out onto Copic Marker X-Press It Blending Card. Using my Cuttlebug and dies from Lisa Horton Crafts – Stitched Rectangle – Hello. I coloured in the image with Copic markers and then using a Prismacolor Premier Black pencil, I traced around the image and character faces to make them stand out more. Once this was completed, I added snow to the sky and along the tops of the snow banks using a Gelly Roll Sakura #10 Pen. Stickles – Frosted Lace was applied to the snow drifts to add a little bit of glitter to the snow. Lastly, YNS Sparkly glitter black dots were added to the right bottom to finish it off.
Card Recipe:
Stamp and sentiment: Gerda Steiner Designs – Happy New Year 2026
Inks: HP Printer Grayscale
Die Cuts: Lisa Horton Crafts – Stitched Rectangle – Hello
Paper: Copic Marker X-Press It Blending Card, Hammermill – Premium Cardstock 110 lb., Lawn Fawn – Let It Shine (6″ x 6″), Recollections – Black cardstock
Miscellaneous: Gelly Roll Sakura #10 Pen, Stickles – Frosted Lace, Prismacolor Premier Black pencil, YNS Sparkly Glitter Black Dots
Image coloured with Copic Markers:
2026: R39, R08, Y17, Y08
Stars: E15, YR24, Y35, Y08
Penguins: E42, E41, E40, W9, YR14, YR12, G19, YG07, YG06, Prismacolor Premier Black pencil
Tree: YG17, YG13, YG09, E15
Present: R37, R35
Lights: BG09, BG05, BG01, BG0000
Sky: B06, B05, B02, Gelly Roll Sakura #10 Pen (Snow)
Snow: BV20, BG000, Stickles – Frosted Lace, Gelly Roll Sakura #10 Pen (Snow)
Hope you like it and have a great week!