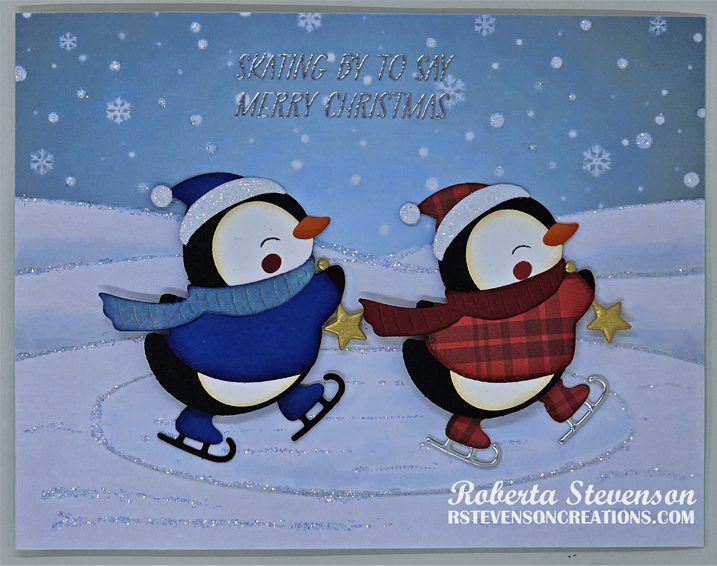
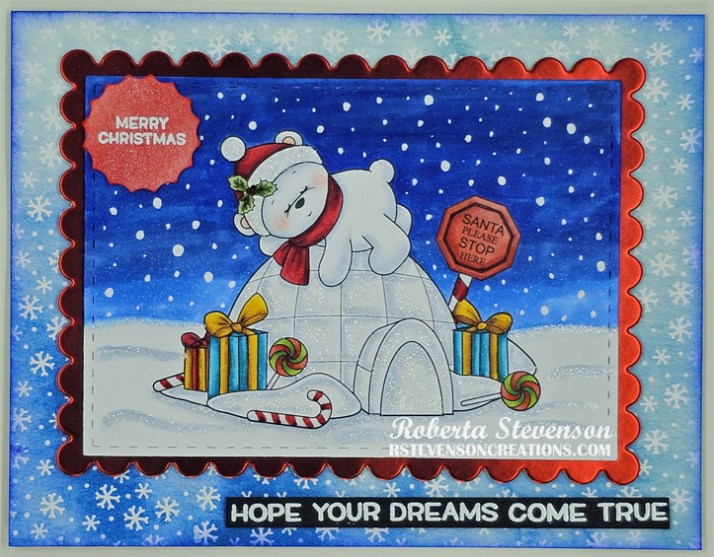
Today I’m sharing a Christmas card that I made using Pink Gem Designs – Sleeping Polar Bear and a mixture of sentiments from Lawn Fawn – Penguin Party and Lawn Fawn – Winter Skies which I thought went great with this super adorable image!

The image was printed out with my HP Printer onto Copic Marker X-Press It Blending Card using High Quality Grayscale and then die cut using a Cuttlebug and My Creative Time – Rectangle Frame Layers. The image was coloured in with Copic markers and then a White Gelly Roll Sakura #10 Pen was applied to create the snow falling from the sky. Stickles – Frosted Lace was applied to the top of the snow, snow drifts, igloo and on the white parts of the hat. I just love the way it glistens!
The base card was created to the size of 4.25″ x 5.5″ out of Hammermill – Premium 110 lb. cardstock. Using some scrap Hammermill – Premium Cardstock 110 lb., I inked the paper using a finger dauber with Tim Holtz Distress Inks – Festive Berries that I still had on it. Then using a MISTI and VersaMark ink, I used Lawn Fawn – Penguin Party for the “Merry Christmas” sentiment and Lawn Fawn – Winter Skies for the “Hope your dreams come true” sentiment. Ranger Embossing Powder White – Extra Fine Detail was applied to both sentiments and then the embossing powder was heated with a Marvy Uchida – Embossing Heat Tool. Next, I used a cutter to cut close to the sentiment on the Recollections – Black cardstock and a Cuttlebug with Nellie’s Choice Multi Frame Die – Round Lily – MFD030 to cut the smaller sentiment. Gina Marie Designs – Nested Scalloped Stitched Rectangles were used to die cut the background border out of Crafter’s Companion Luxury Cardstock – Red Matte finish. Lastly, with a cutter, Stampin’ Up – Snowflake Splendor Designer Series Paper was cut to the same size as the base card and then edges were inked around using a finger dauber and Tim Holtz Distress Ink – Blueprint Sketch.
The card was now read to assemble. U-Line Double-Sided Foam Tape was applied all of the die cuts and sentiments. They were then popped up and layered onto the card and image.
Card Recipe:
Stamp: Pink Gem Designs – Sleeping Polar Bear
Sentiments: Lawn Fawn – Penguin Party, Lawn Fawn – Winter Skies
Inks: HP Printer High Quality Grayscale, Tim Holtz Distress Inks – Festive Berries, Tim Holtz Distress Ink – Blueprint Sketch, VersaMark
Paper: Copic Marker X-Press It Blending Card, Hammermill – Premium Cardstock 110 lb., Stampin’ Up – Snowflake Splendor Designer Series Paper, Crafter’s Companion Luxury Cardstock – Red – 8.5 x 11″, Recollections – Black cardstock
Dies: Gina Marie Designs – Nested Scalloped Stitched Rectangles, Nellie’s Choice Multi Frame Die – Round Lily – MFD030, My Creative Time – Rectangle Frame Layers
Embossing Powder: Ranger Embossing Powder White – Extra Fine Detail
Miscellaneous: U-Line Double-Sided Foam Tape, White Gelly Roll Sakura #10 Pen, Stickles – Frosted Lace, Marvy Uchida – Embossing Heat Tool
Image coloured with Copic Markers:
Polar Bear: B91, C1, C0, Colorless Blender, R02, R01, R00
Hat: R59, R37, R35, R24, B91, C01, C0, Colorless Blender, Stickles – Frosted Lace
Presents and Bows: BG09, BG05, BG02, BG01, E15, YR24, Y35, Y08, R59, R37, R35
Lollipops: G16, YG25, YG23, R46, R14, R08, R37, R35, C1, C0
Santa Sign: R59, R46, R14, R08, C1, C0
Sky: B29, B28, B26, B24, Gelly Roll Sakura #10 Pen
Snow: B91, C1, C0, Colorless Blender, Stickles – Frosted Lace
Hope you like it and have a great week!