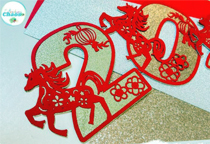
Sharing the Chinese New Year’s card I made this year using Inkadoo – Clear Horses Stamps and Extraordinary Chaos SVG’s for Year of the Horse Alphabet By Sarah Christie for all of my friends. This year is the “Year of the Horse”.
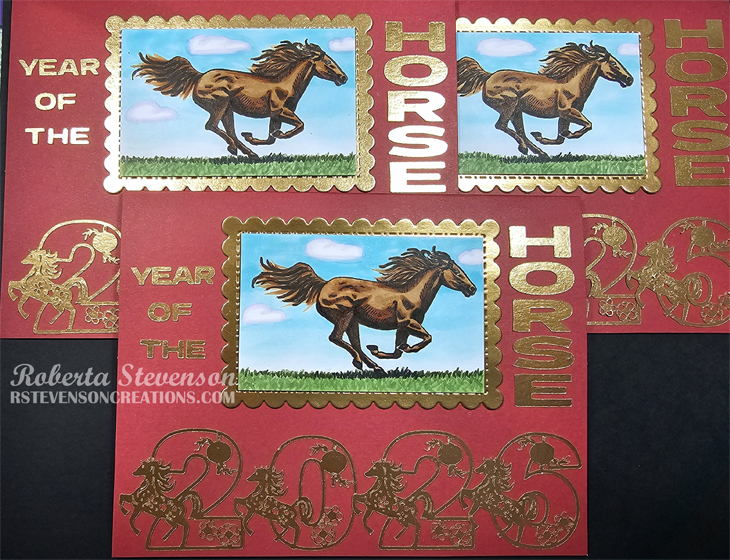
To make the card, used Recollections – Christmas card bases which were 5″ x 6.5″. The svg’s were brought into Cricut Design Space and then cut out with Cricut Explore device using Recollections – Matte Gold Foil cardstock. I had some issues with lines between the lanterns cutting out, so I hid them in Cricut Design Space and then was able to successfully cut out the numbers. I believe it was because I was cutting them out so small. The lettering was also done in Cricut Design Space using Dela Gothic One Font. The outer frame was die cut using a Cuttlebug, Gina Marie Designs – Nested Scalloped Stitched Rectangles and Recollections – Matte Gold Foil cardstock. The inner frame was die cut using Copic Marker X-Press It Blending Card and My Creative Time – Rectangle Frame Dies.
Using a MISTI and Memento – Tuxedo Black ink, Inkadoo – Horses was stamped onto Copic Marker X-Press It Blending Card. The image was coloured with Copic markers.
The card was now ready to be put together.
U-Line Double-Sided Foam Tape was added to the gold frame and the coloured image. The coloured image was popped up onto the gold frame and the gold frame was popped up onto the card. Liquid glue was added to each of the numbers and lettering and they were adhered to the front of the card.
For the inside, I created a sentiment and printed it out using an HP Printer. Google Translate was used to translate the “Happy New Year” into Chinese.
Card Recipe:
Stamp and sentiment: Inkadoo – Horses (99540) (Discontinued)
Inks: Memento – Tuxedo Black
SVG Cuts: Extraordinary Chaos – Year of the Horse Alphabet By Sarah Christie
Die Cuts: Gina Marie Designs – Nested Scalloped Stitched Rectangles, My Creative Time – Rectangle Frame Dies
Paper: Copic Marker X-Press It Blending Card, Recollections – Matte Gold Foil cardstock, Recollections – Christmas Cards and Envelopes – 5″ x 6.5″
Miscellaneous: U-Line Double-Sided Foam Tape
Image coloured with Copic Markers:
Horse: E59 E49, E37K, E35, E33, E31
Sky and Clouds: B60, B01, B00, B000, B0000, C00, Colorless Blender
Grass: G99, G94, G82
Hope you like it and have a great week!

FYI: This is what the original lantern from Extraordinary Chaos looked like before I removed the lines.