Sharing a card I made today using KLM Digital Design – Ribbiting Frog from the new July 2022 release. This image also comes with 2 more sentiments, “Sometimes you have to kiss a frog to find a Prince!” and “I find you Ribbiting“.
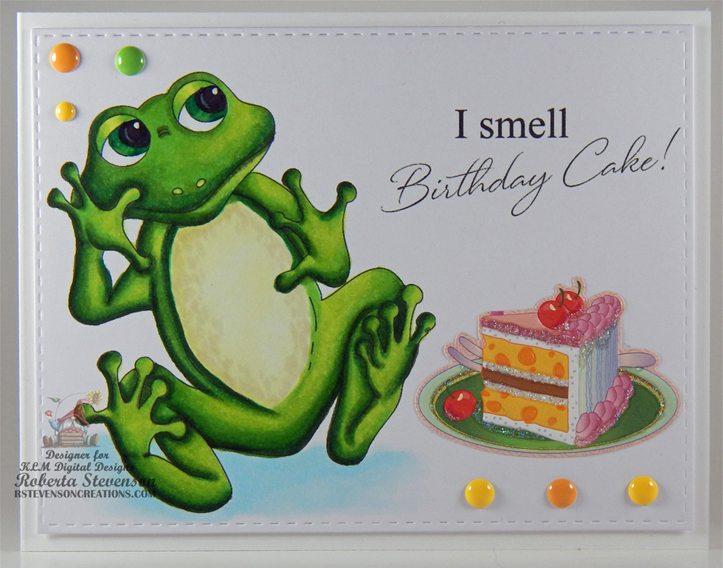
I imported the image and sentiment into Microsoft Word and printed them out onto Copic Marker X-Press It Blending Card. Using my Cuttlebug and My Creative Time – Rectangle Frame Layers, I die cut the image frame and then coloured in the image with Copic markers. I created a 5.5″ x 4.25″ card base using Hammermill – Premium Colour 100 lb. cardstock. U-Line double-sided tape was applied to the back pf the coloured image and it was popped up onto the base card. I added a piece of cake, YNS Gumdrops – Retro and YNS Gumdrops – Tropical Paradise as embellishments to complete the card.
Card Recipe:
Stamp and Sentiment: Ribbiting Frog – KLM Digital Designs
Inks: HP Printer Grayscale
Paper: Copic Marker X-Press It Blending Card, Hammermill – Premium Colour 100 lb.
Dies: My Creative Time – Rectangle Frame Layers
Miscellaneous: U-Line – 2 sided tape, Gelly Roll Sakura #10 Pen, YNS Gumdrops – Retro, YNS Gumdrops – Tropical Paradise
Image coloured with Copic Markers:
Frog: BG99, G19, G17, G14, YG67, YG17, YG06, YG03, YG00, YG0000, E81, C1, C0, T9 (Eyes: Gelly Roll Sakura #10 Pen)
Shadow: B000, B0000
Hope you like it and have a great week!
You can find more cards to inspire you at KLM Designs, KLM Digital Design Team and KLM Digital Designs on the Facebook Fan page from the rest of our design team.