Hi There,
Happy Chinese New Year! It’s the year of the pig and to celebrate it this year I made all of my friends and a few co-workers a special card! 12 of them in total this year.
For the front of the card I used Polkadoodles Piggy 1 from their Work & Play10 Country Life – Digital Craft Collection. I created the sentiment using WordArt in Microsoft Word.

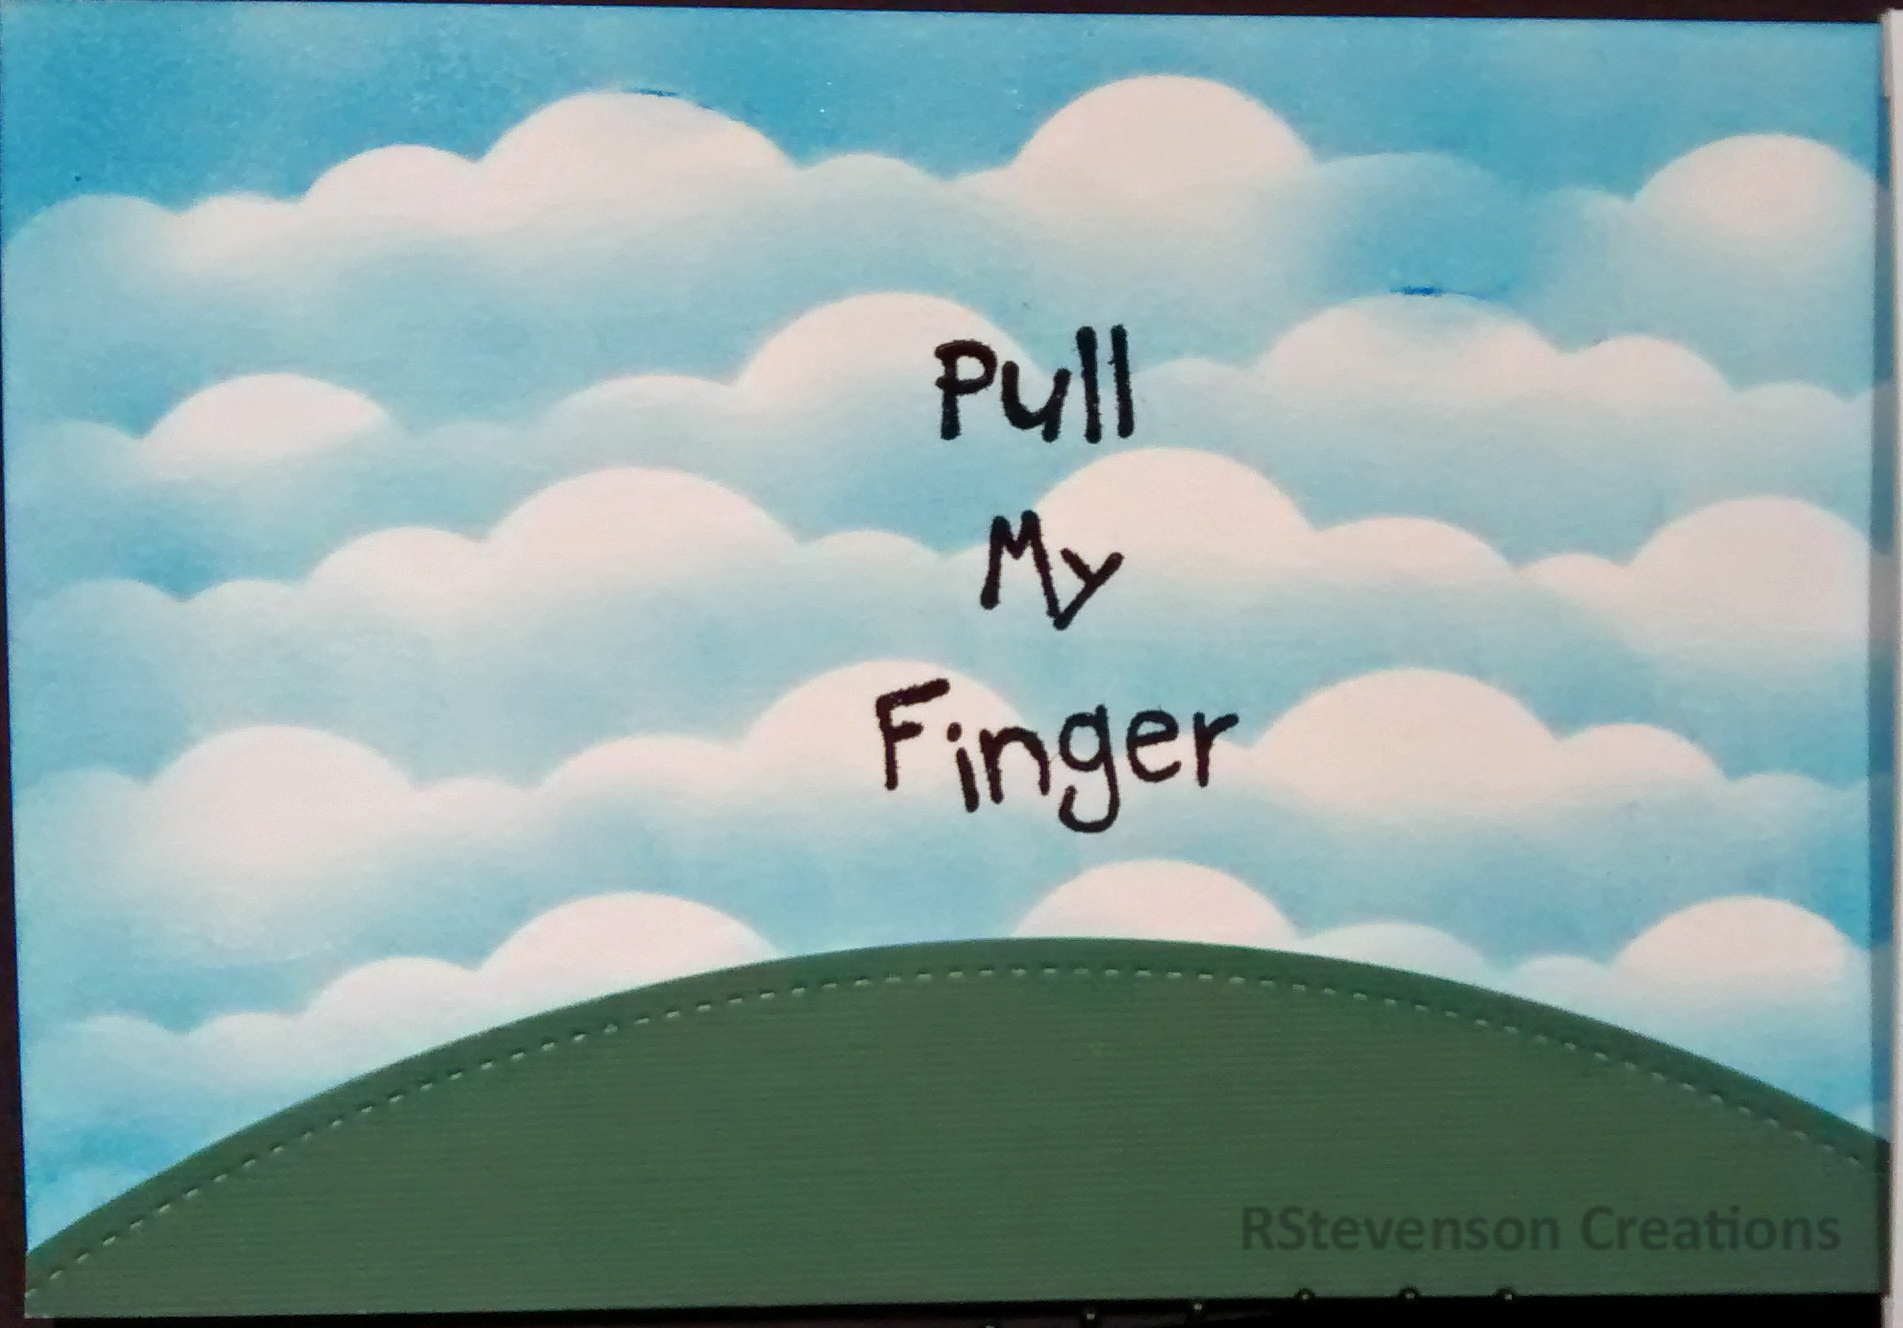
Here is a close-up of one card.

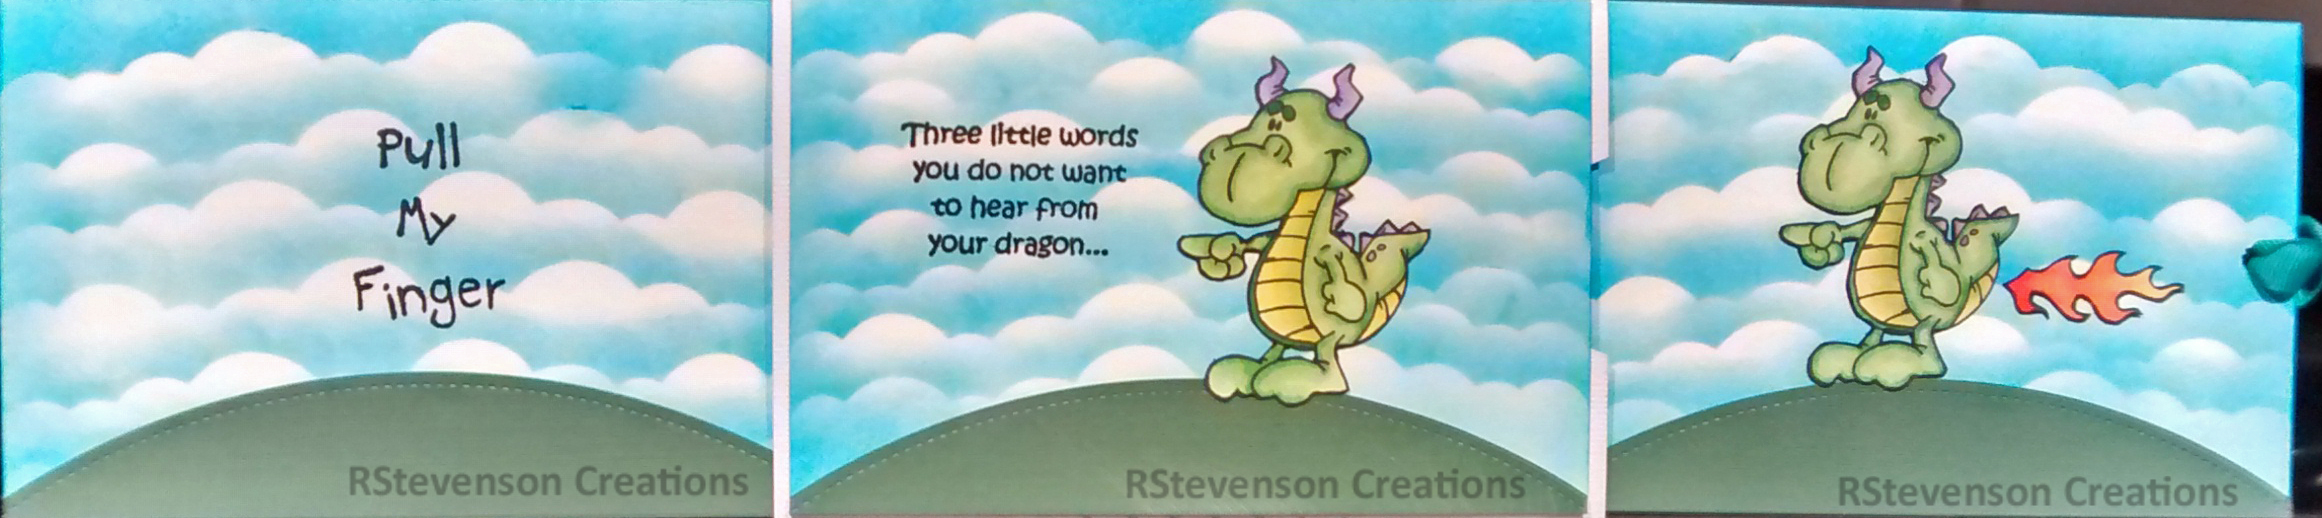
This is a close-up of the little pig.

On the inside I used my MISTI (Most Incredible Stamping Tool) and stamped the sentiments using Versa Fine – Onyx Black and Ranger – Clear Super Fine Detail embossing powder using Craftin Desert Diva’s Dragon Festival Stamps.
Dragon boat is also from the same stamp set. Little pig is from Lawn Fawn LF-1595 – Hay There!

This is a close-up of the dragon boat and little pig.

All images were stamped onto Copic Marker X-Press It Blending Card using Memento – Tuxedo Black ink and then coloured in with Copic markers.
They loved them and I hope you do too!
Copic Markers Used:
Pig: R000, R00, R01, R02, RV10, RV11, C1, R17, R20
Dragon: R39, R29, R27, R24, R17, E15, Y28, Y26, Y24
Border around die cut: Sharpie – Gold Medium Point – Water Based Paint
Die Cut: Your Next Stamp – Stitched Rectangle Die Set (YNSD214), Lawn Fawn LF1596 – Hay There