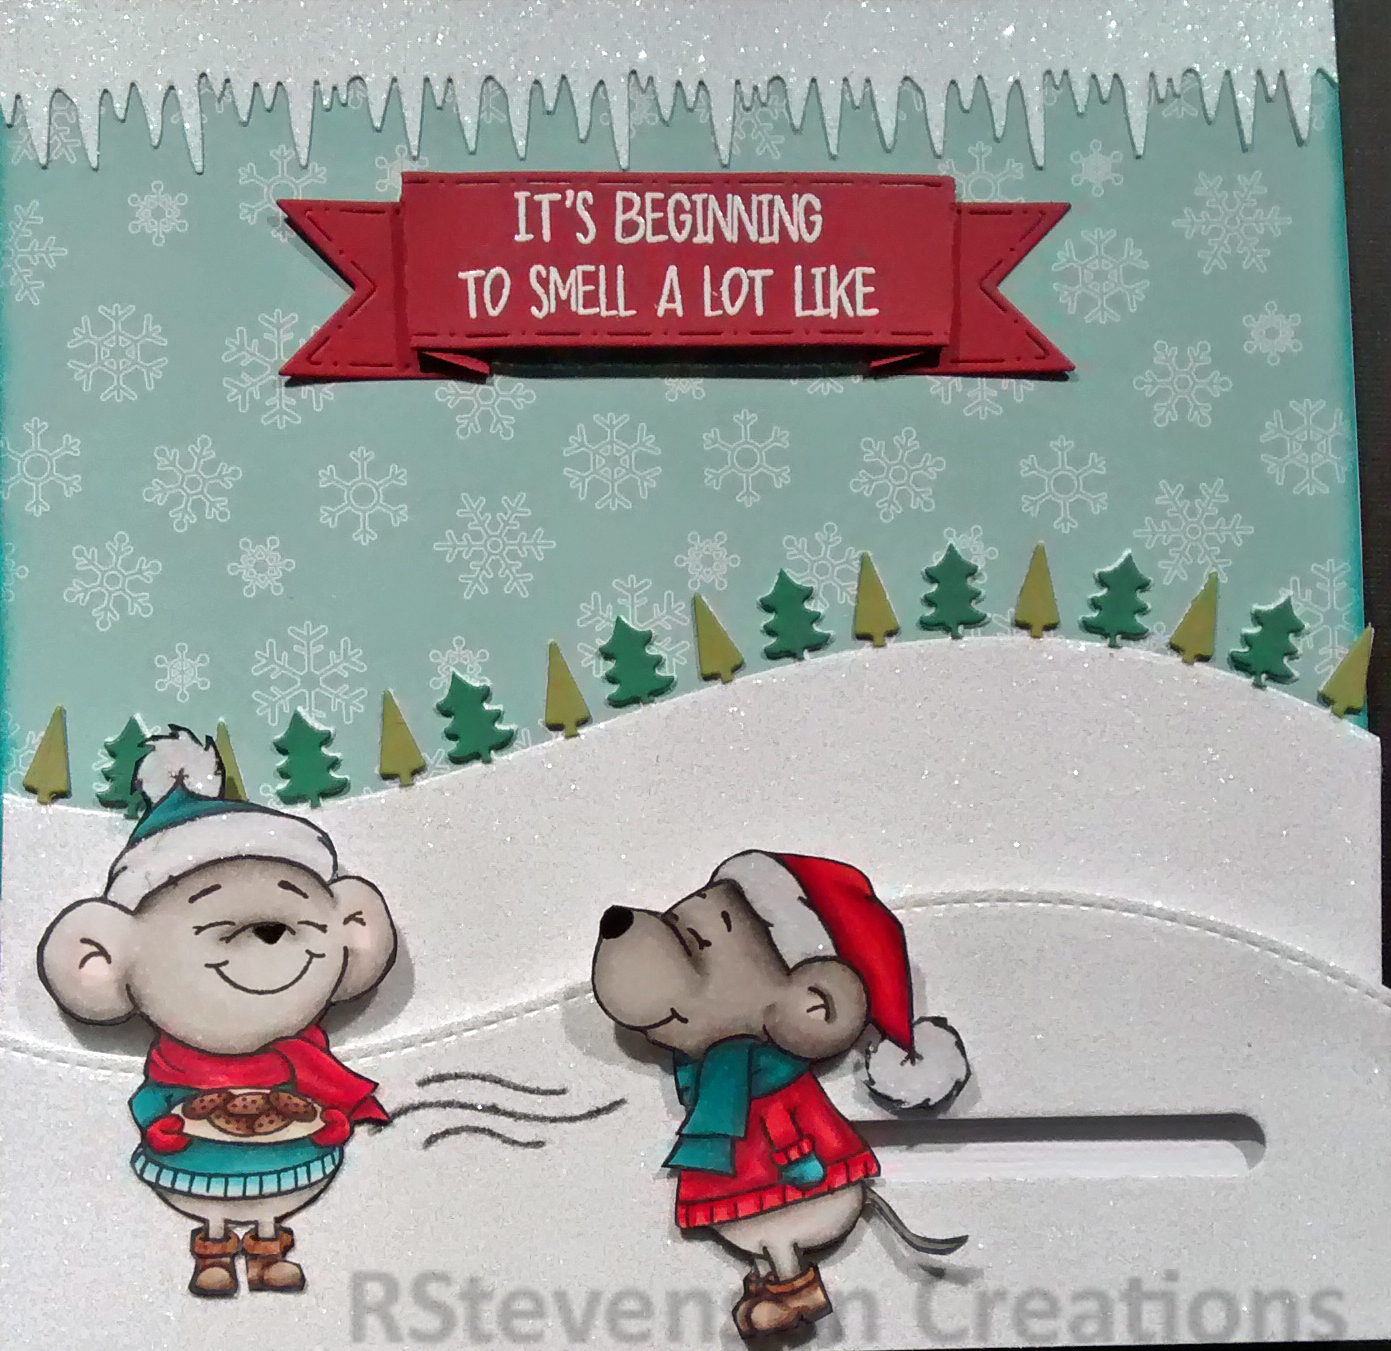
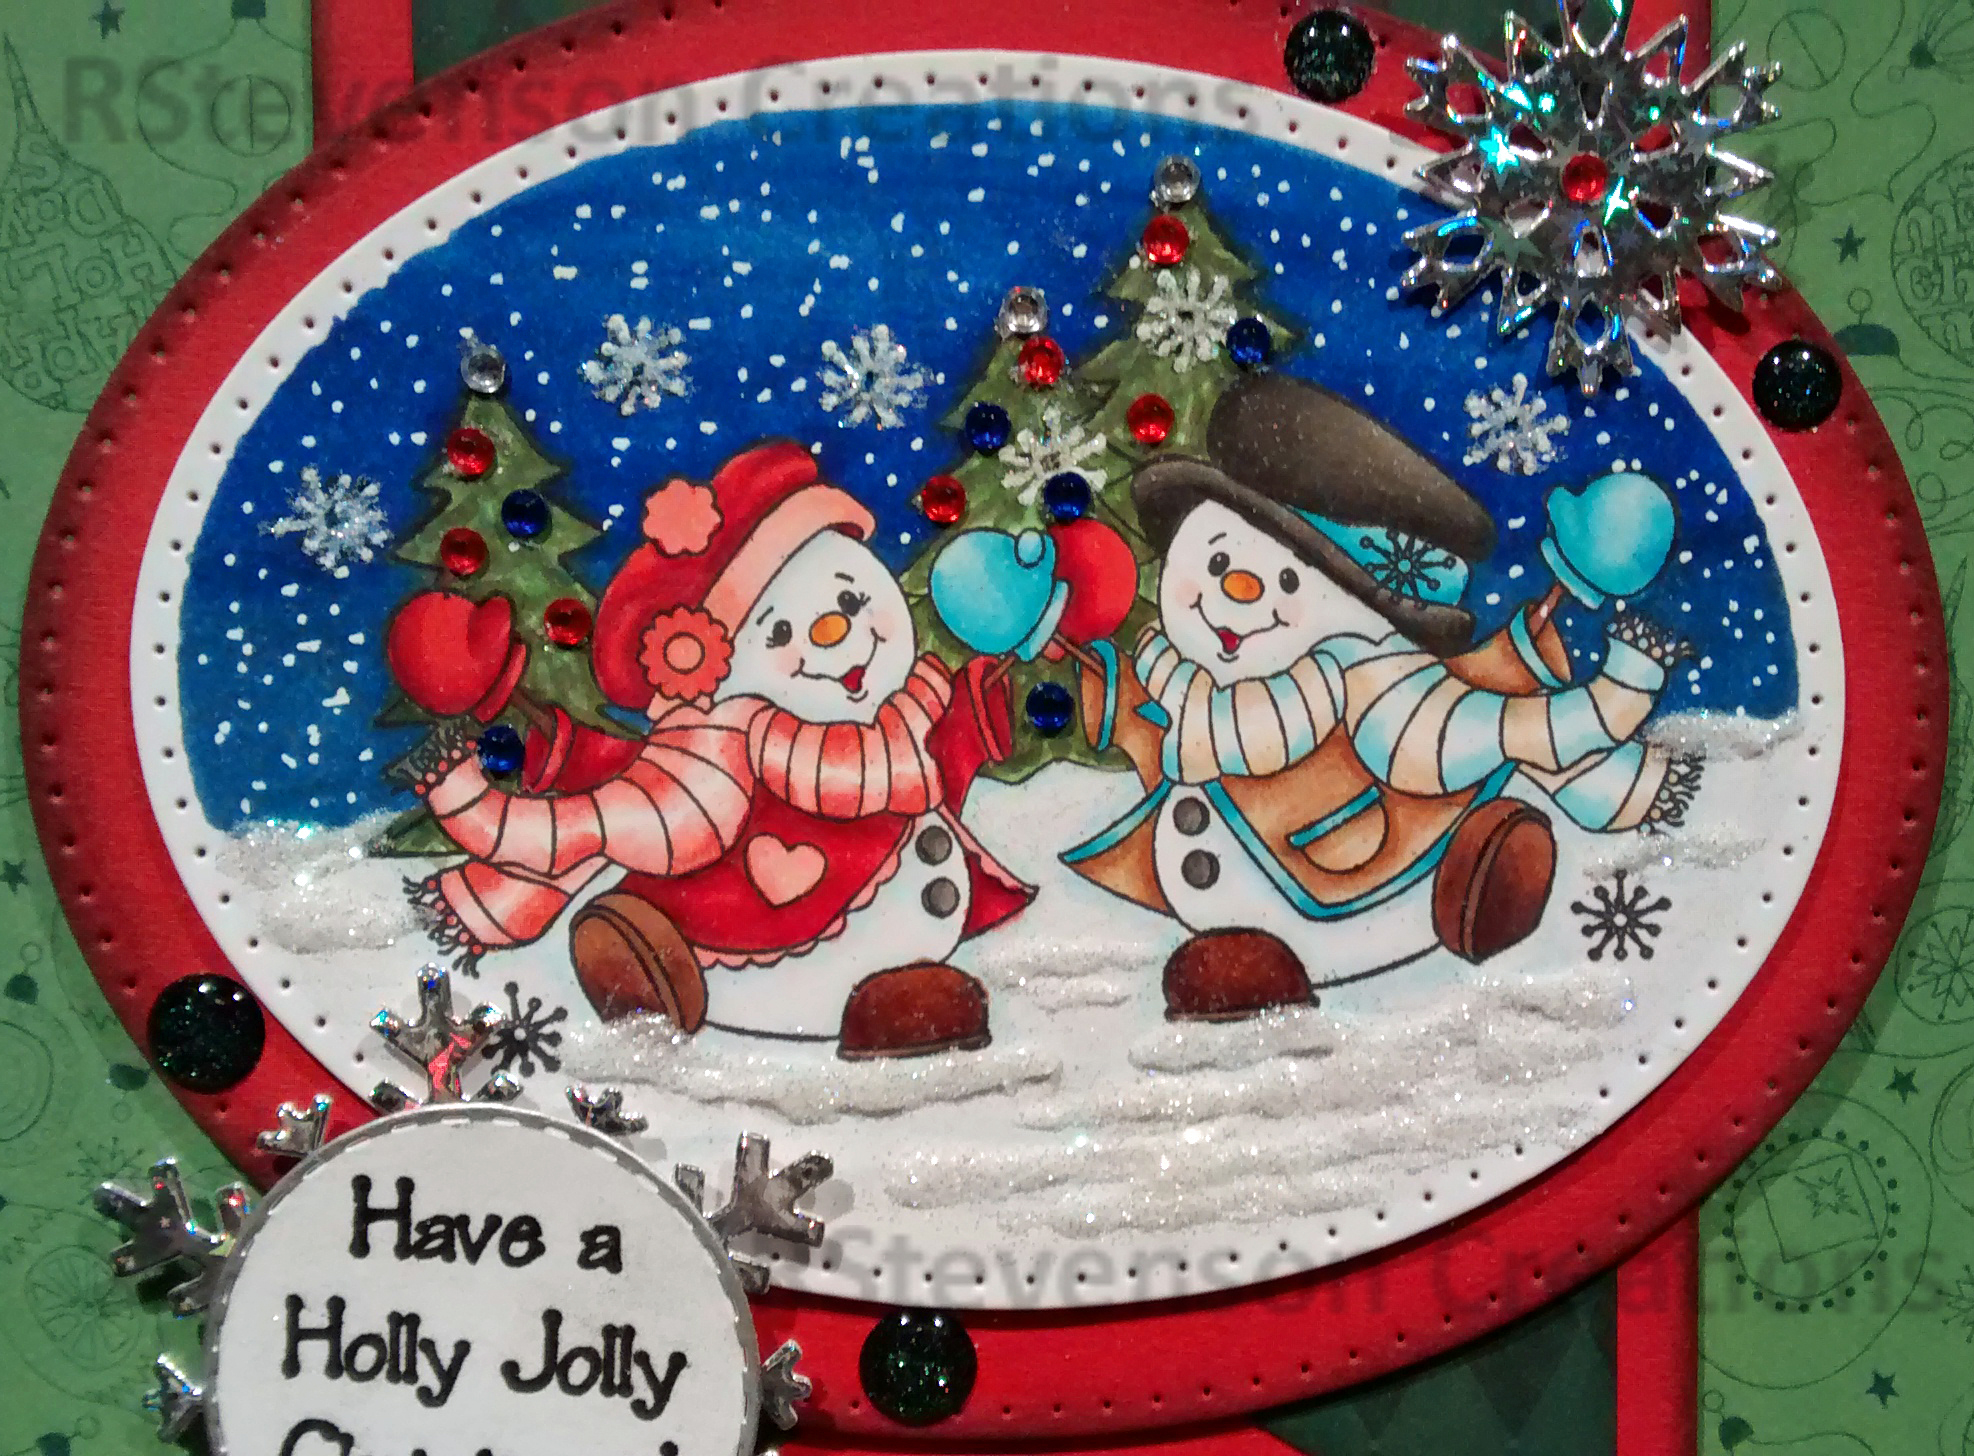
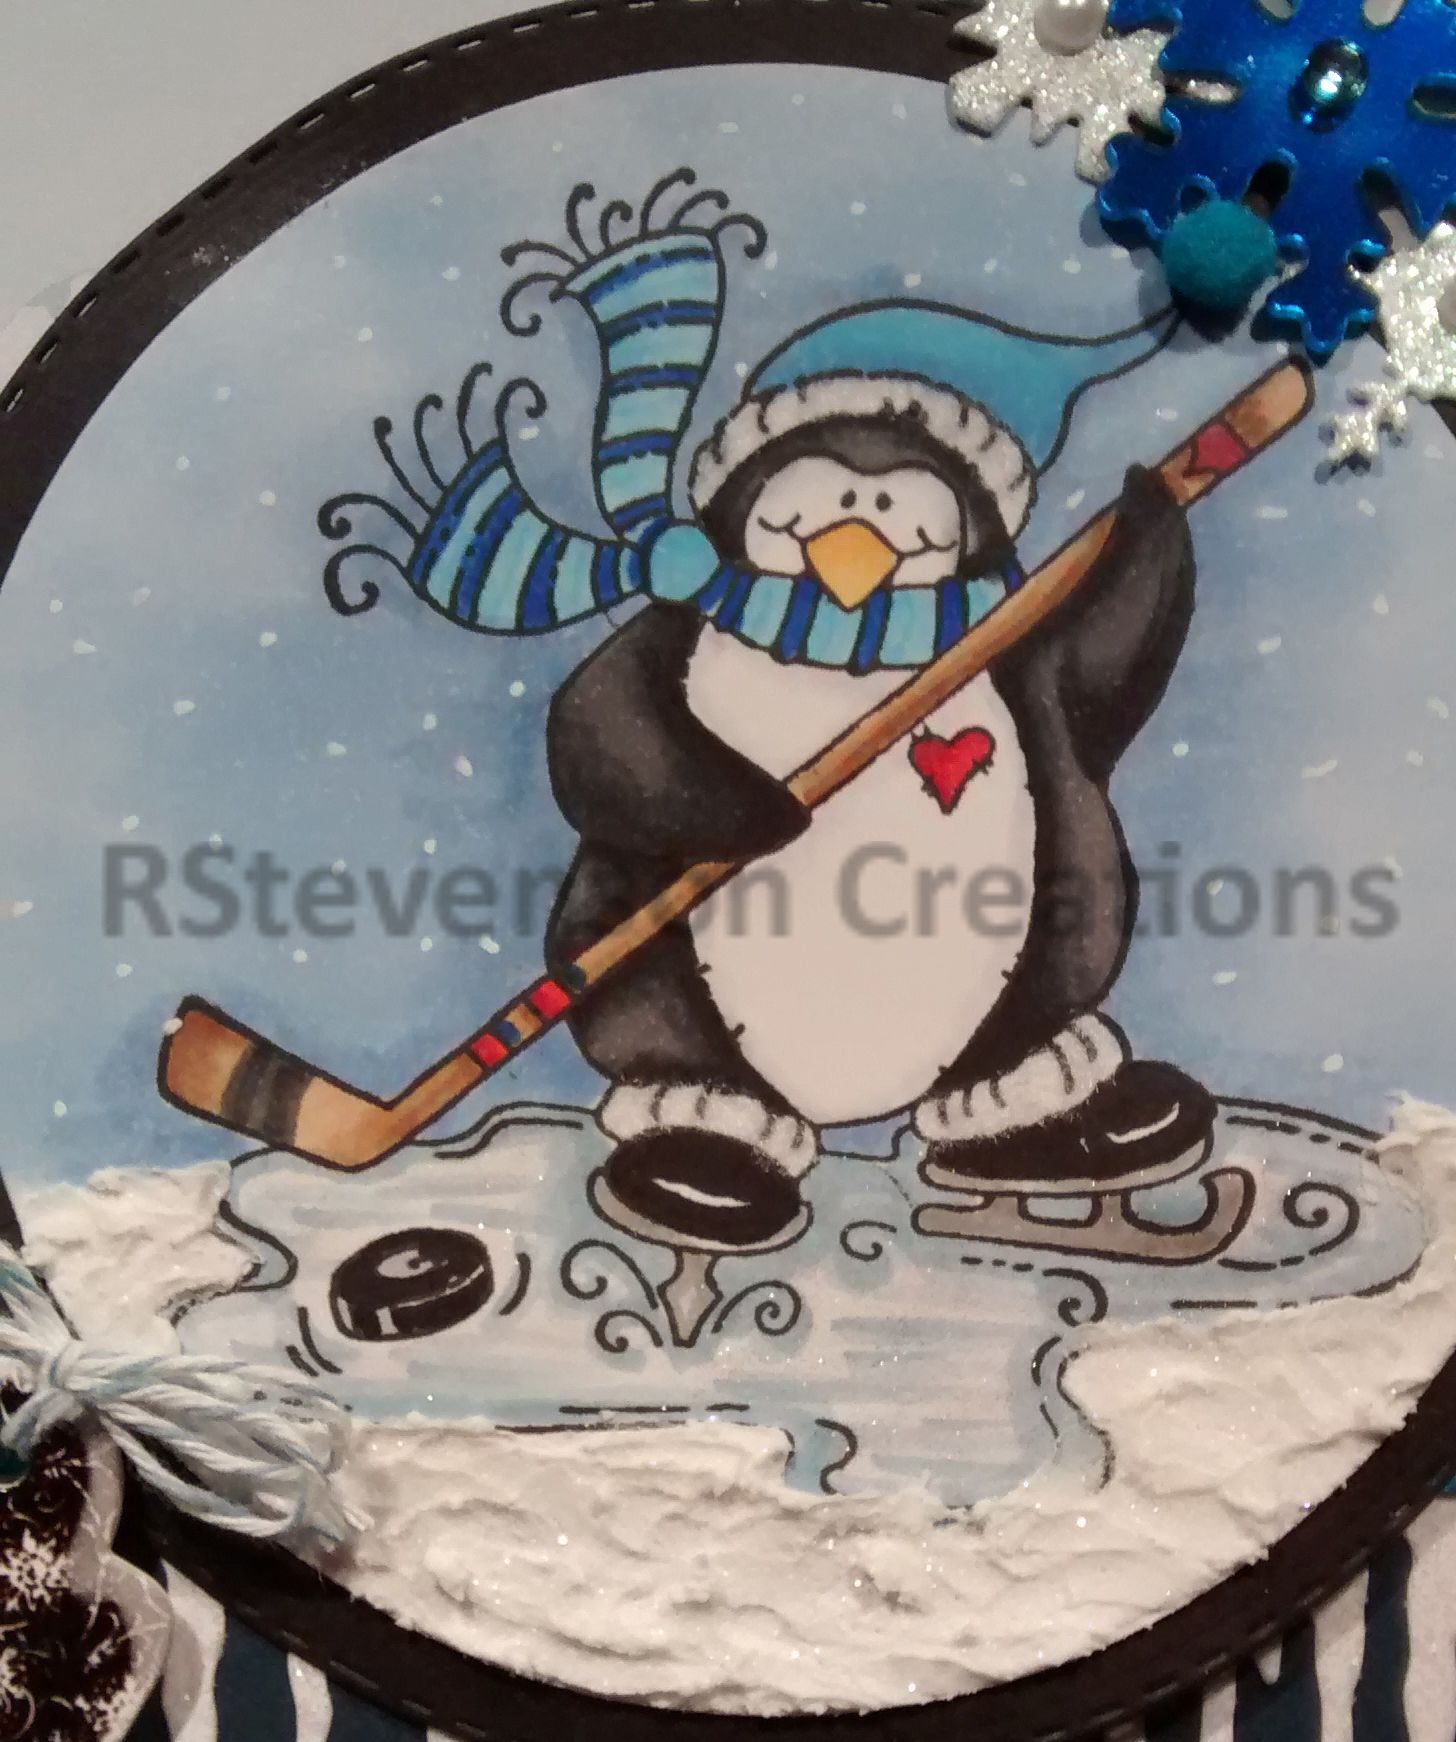
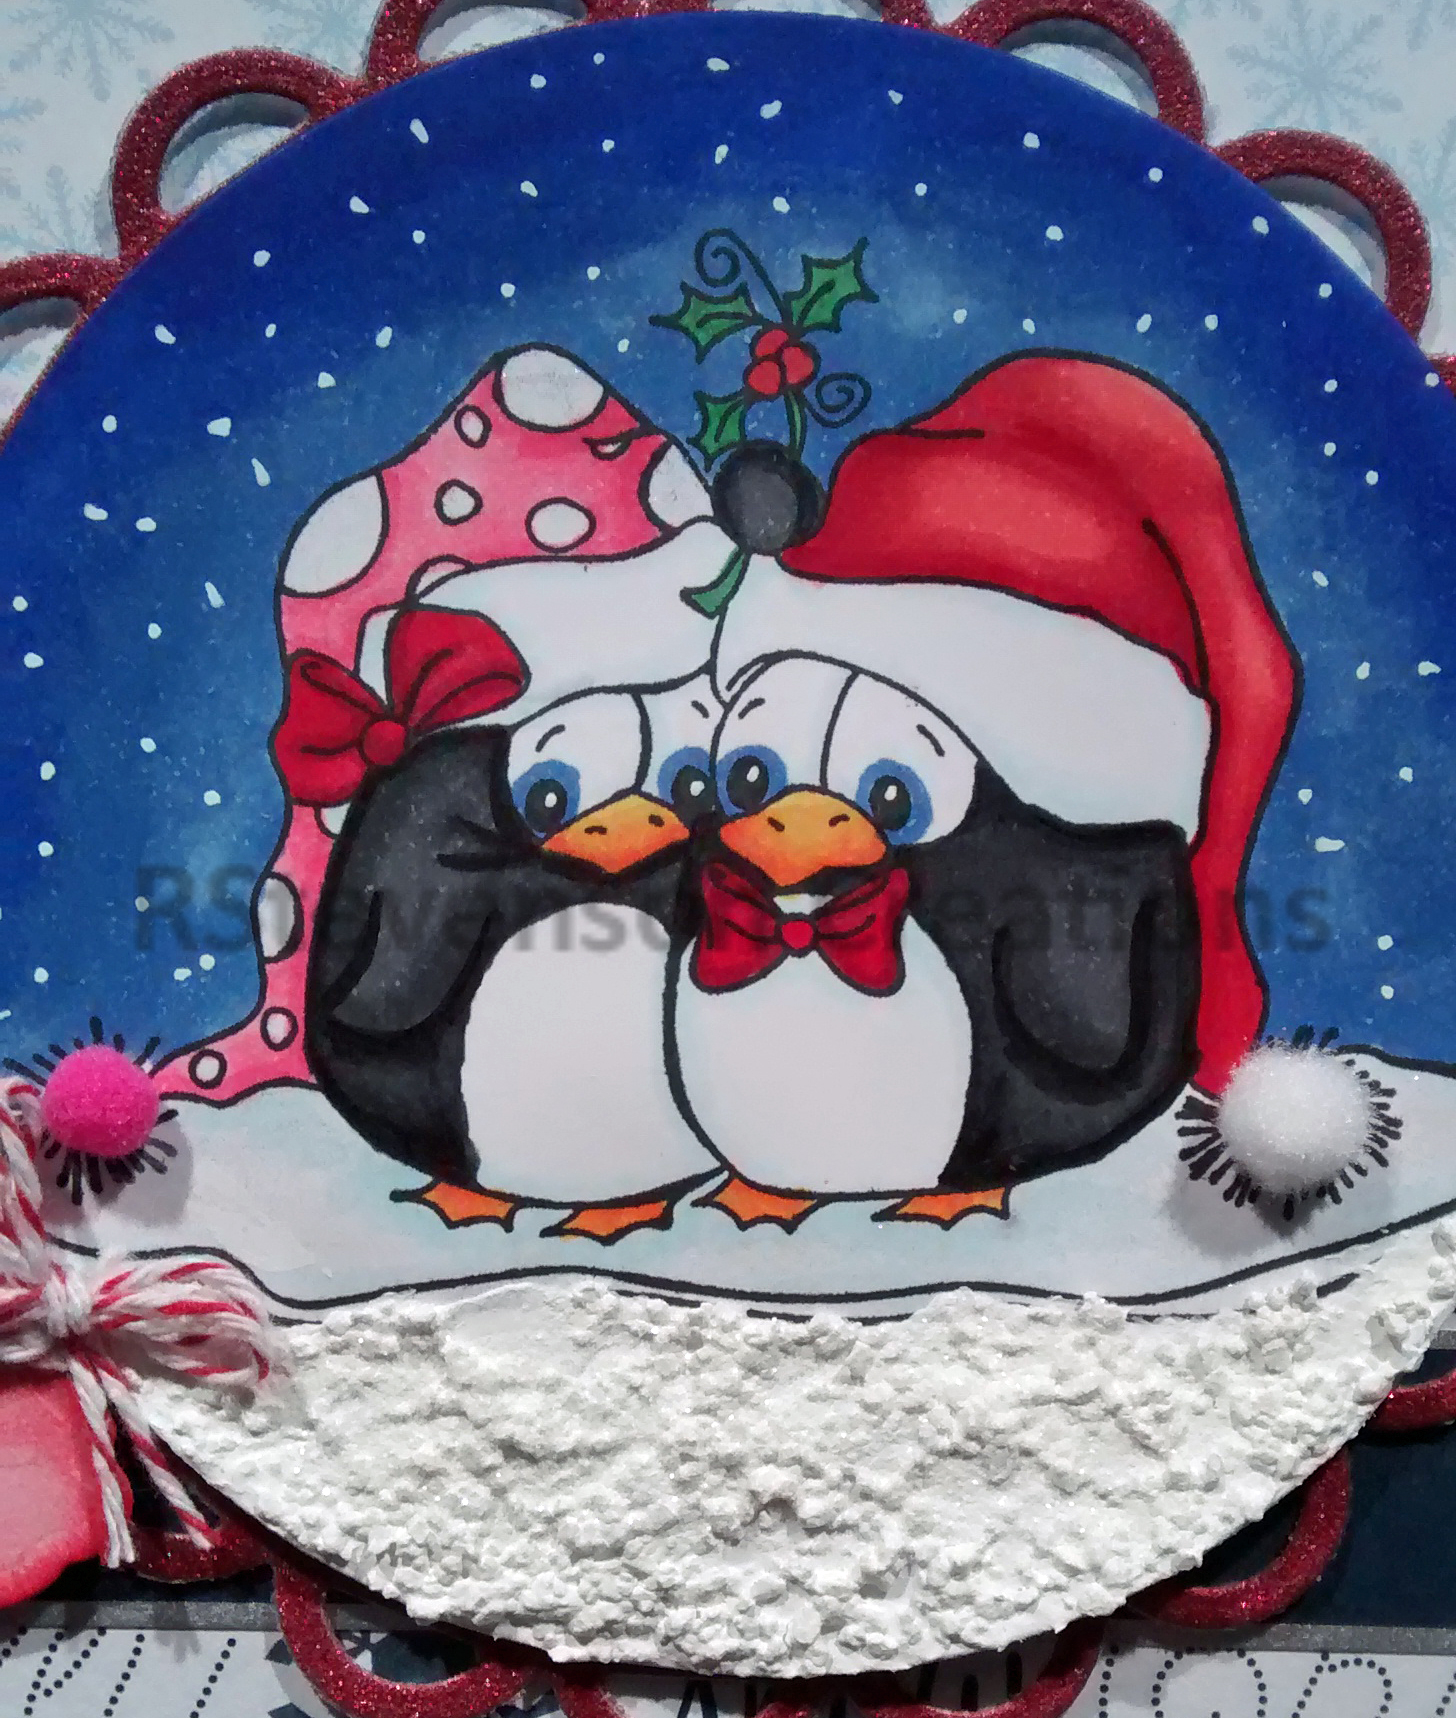
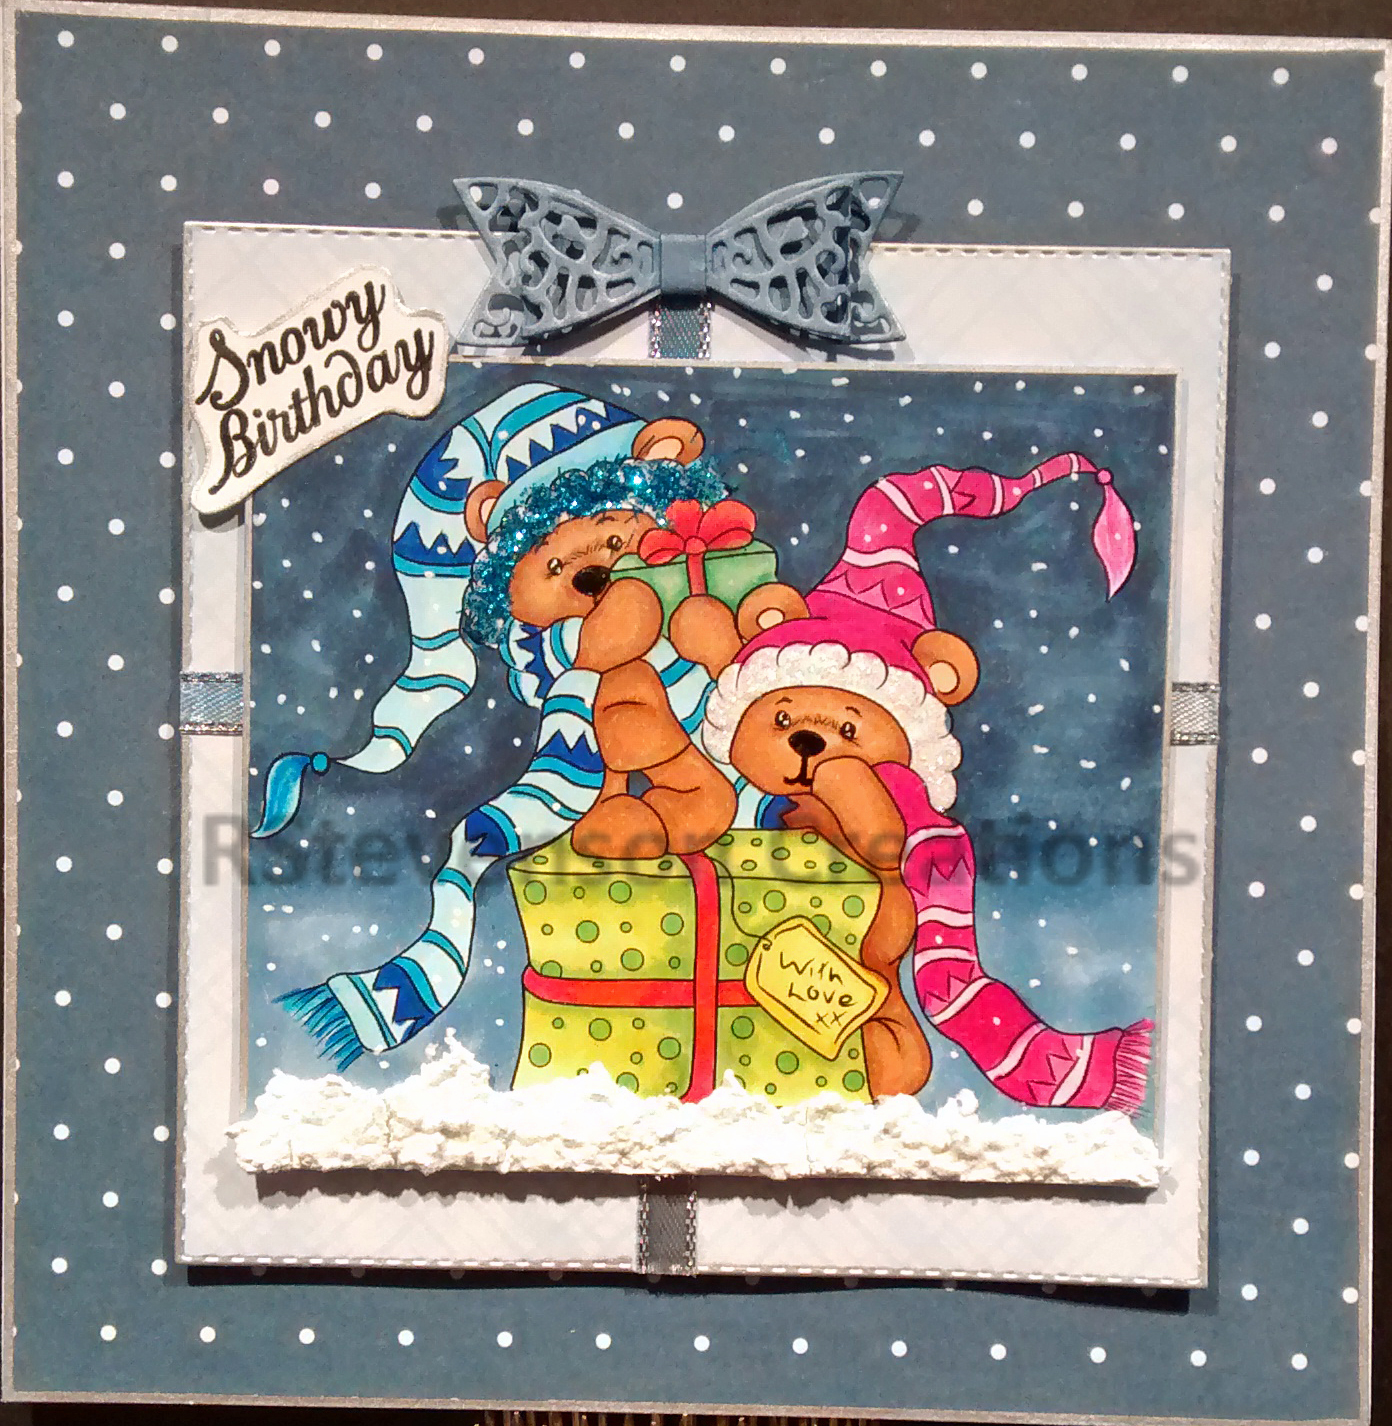
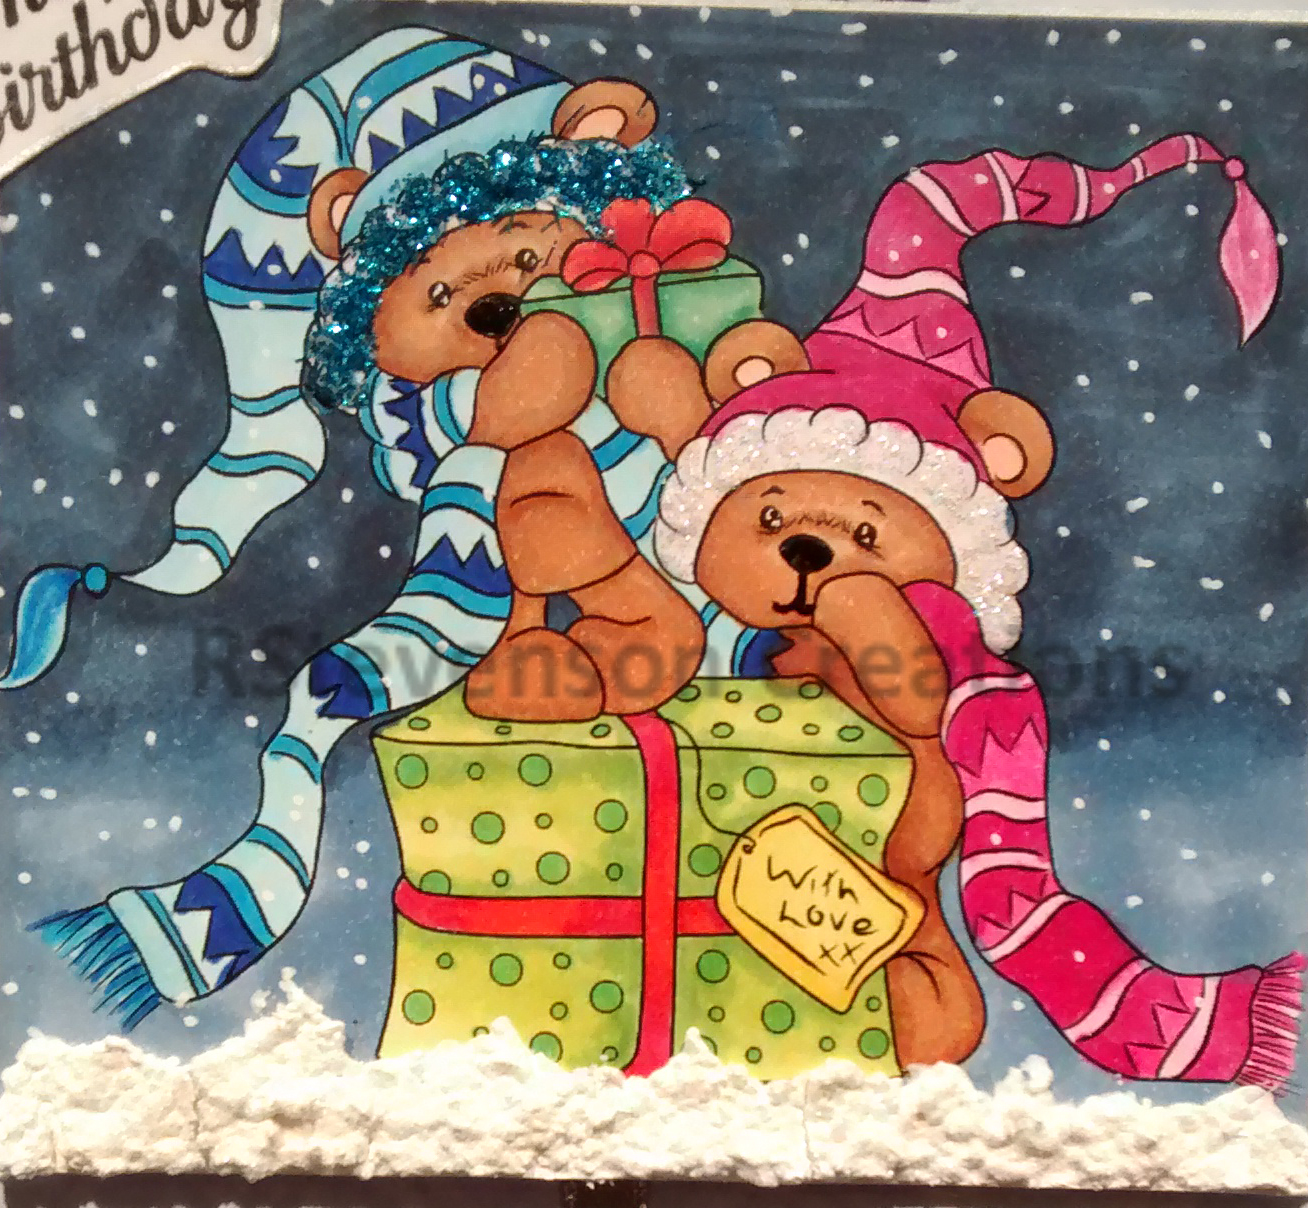
It’s Wednesday, and this week, I made a Christmas card using Polar Friends – TT058 by High Hopes Rubber Stamps for the main image and All Hearts – HDG004 (High Hopes Rubber Stamps) for the sentiment. Sharing Christmas with loved ones is always something to look forward to.
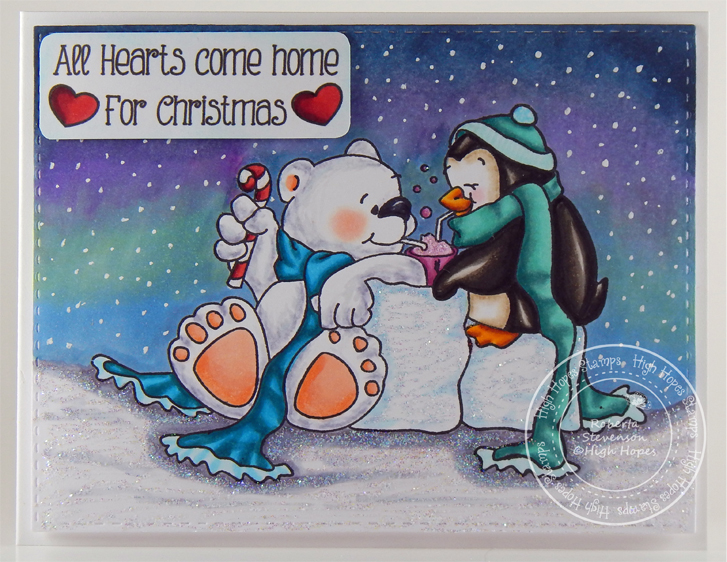
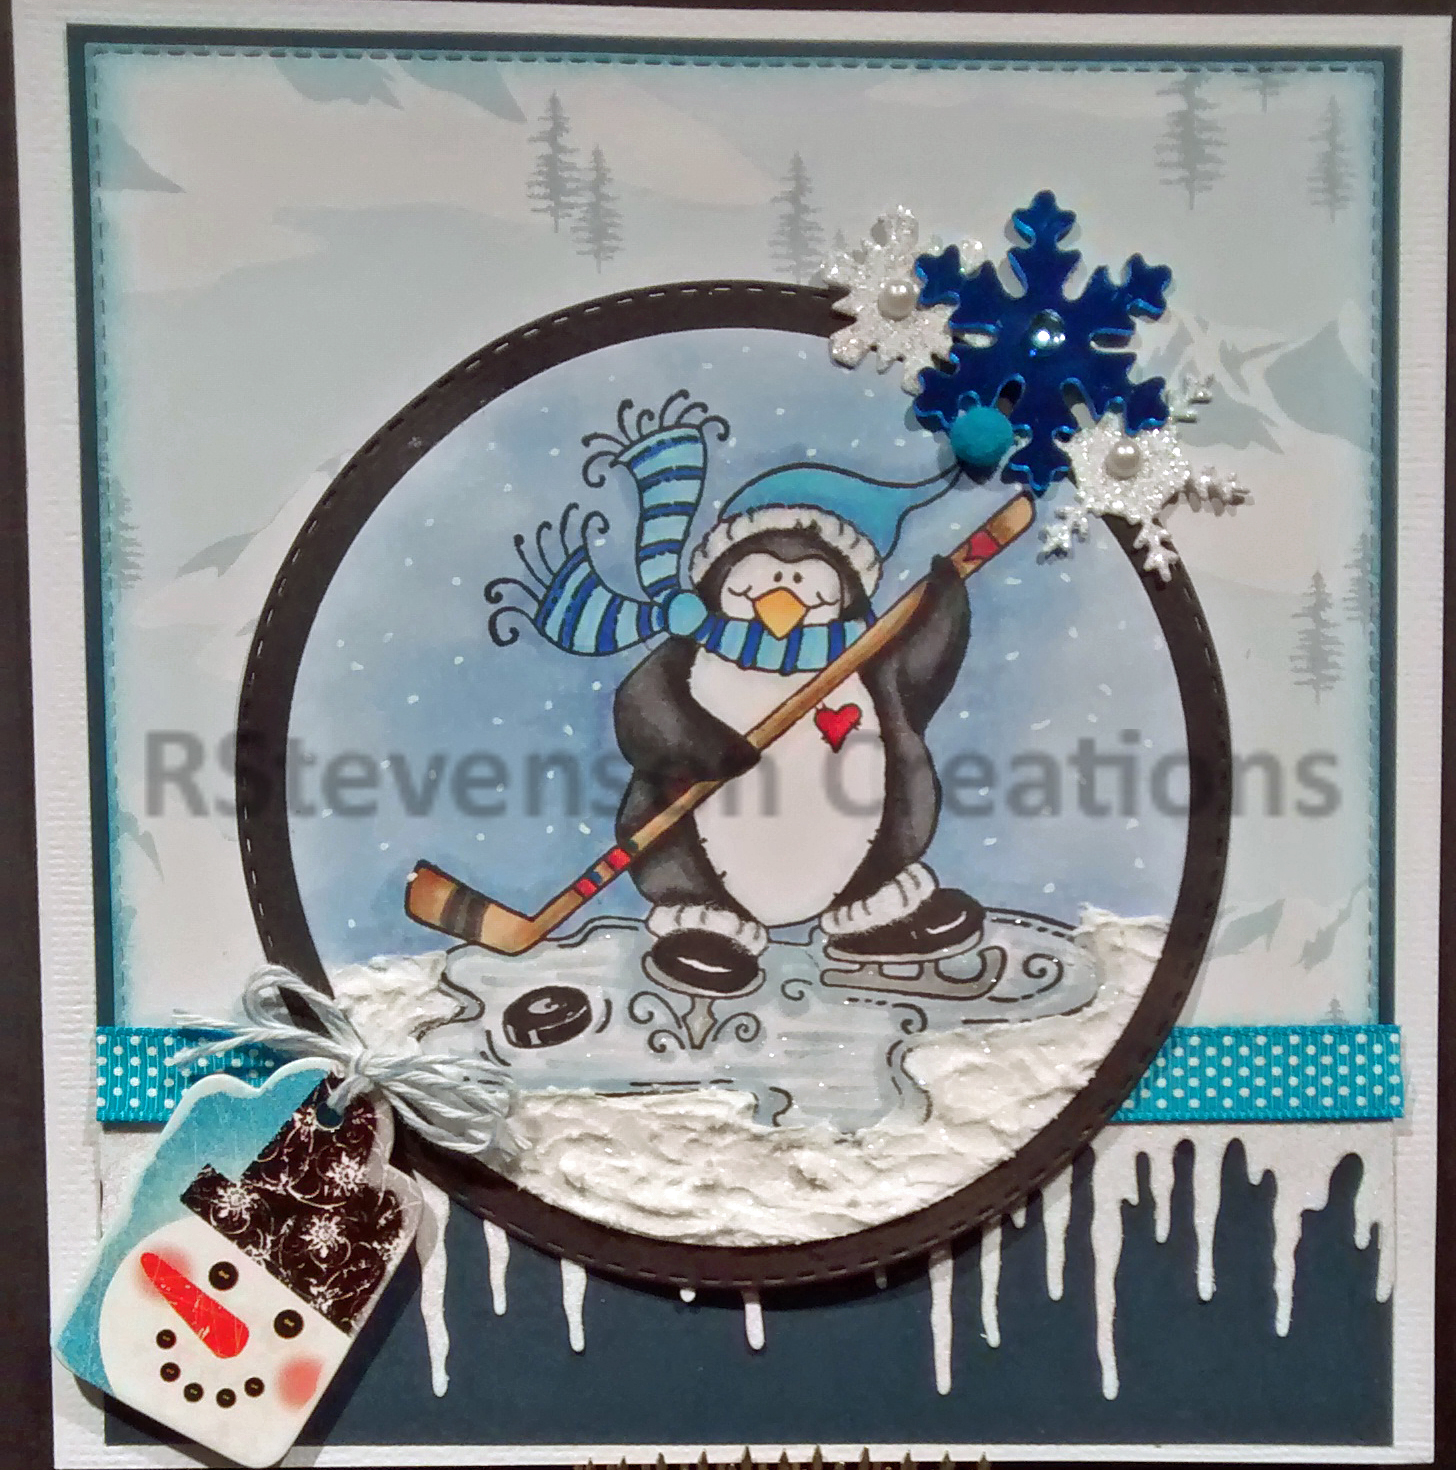
Using My Creative Time – Rectangle Frame Dies and my Cuttlebug, I die cut a 5.25″ x 4″ rectangle from Copic Marker X-Press It Blending Card paper. With my MISTI and Memento – Tuxedo Black ink, I stamped the image onto it. I coloured in the image with Copic markers and then added some snow to the sky using a Gelly Roll Sakura #8 Pen and Sharpie Water Based Paint – White – Extra Fine Point. Stickles – Diamond was added to the ice cubes and Wink of Stella – Clear was applied to the candy cane. Stickles – Star Dust was added to all of the snow. This was then set aside to dry.
Once everything was dry, I popped up the image onto Hammermill – Premium Colour 100 lb. paper cut and folded to 5.5″ x 4.25″ with U-Line double-sided tape. I stamped out the sentiment onto Copic Marker X-Press It Blending Card and coloured in the hearts with Copics and tinted the white paper with Lawn Fawn – Peacock ink. To finish off the card, I popped this up with 3M VHB – 2 sided tape.
Card Recipe:
Stamp: Polar Friends – TT058 (High Hopes Rubber Stamps)
Sentiment: All Hearts – HDG004 (High Hopes Rubber Stamps)
Inks: Memento – Tuxedo Black, Lawn Fawn – Peacock Ink
Paper: Copic Marker X-Press It Blending Card, Hammermill – Premium Colour 100 lb.
Die Cut: My Creative Time – Rectangle Frame Dies
Stickles: Star Dust, Diamond
Tools: MISTI – Most Incredible Stamping Tool, Cuttlebug, Gelly Roll Sakura #8 Pen, Sharpie Water Based Paint – White – Extra Fine Point, Wink of Stella – Clear, U-Line double-sided tape, 3M VHB – 2 sided tape
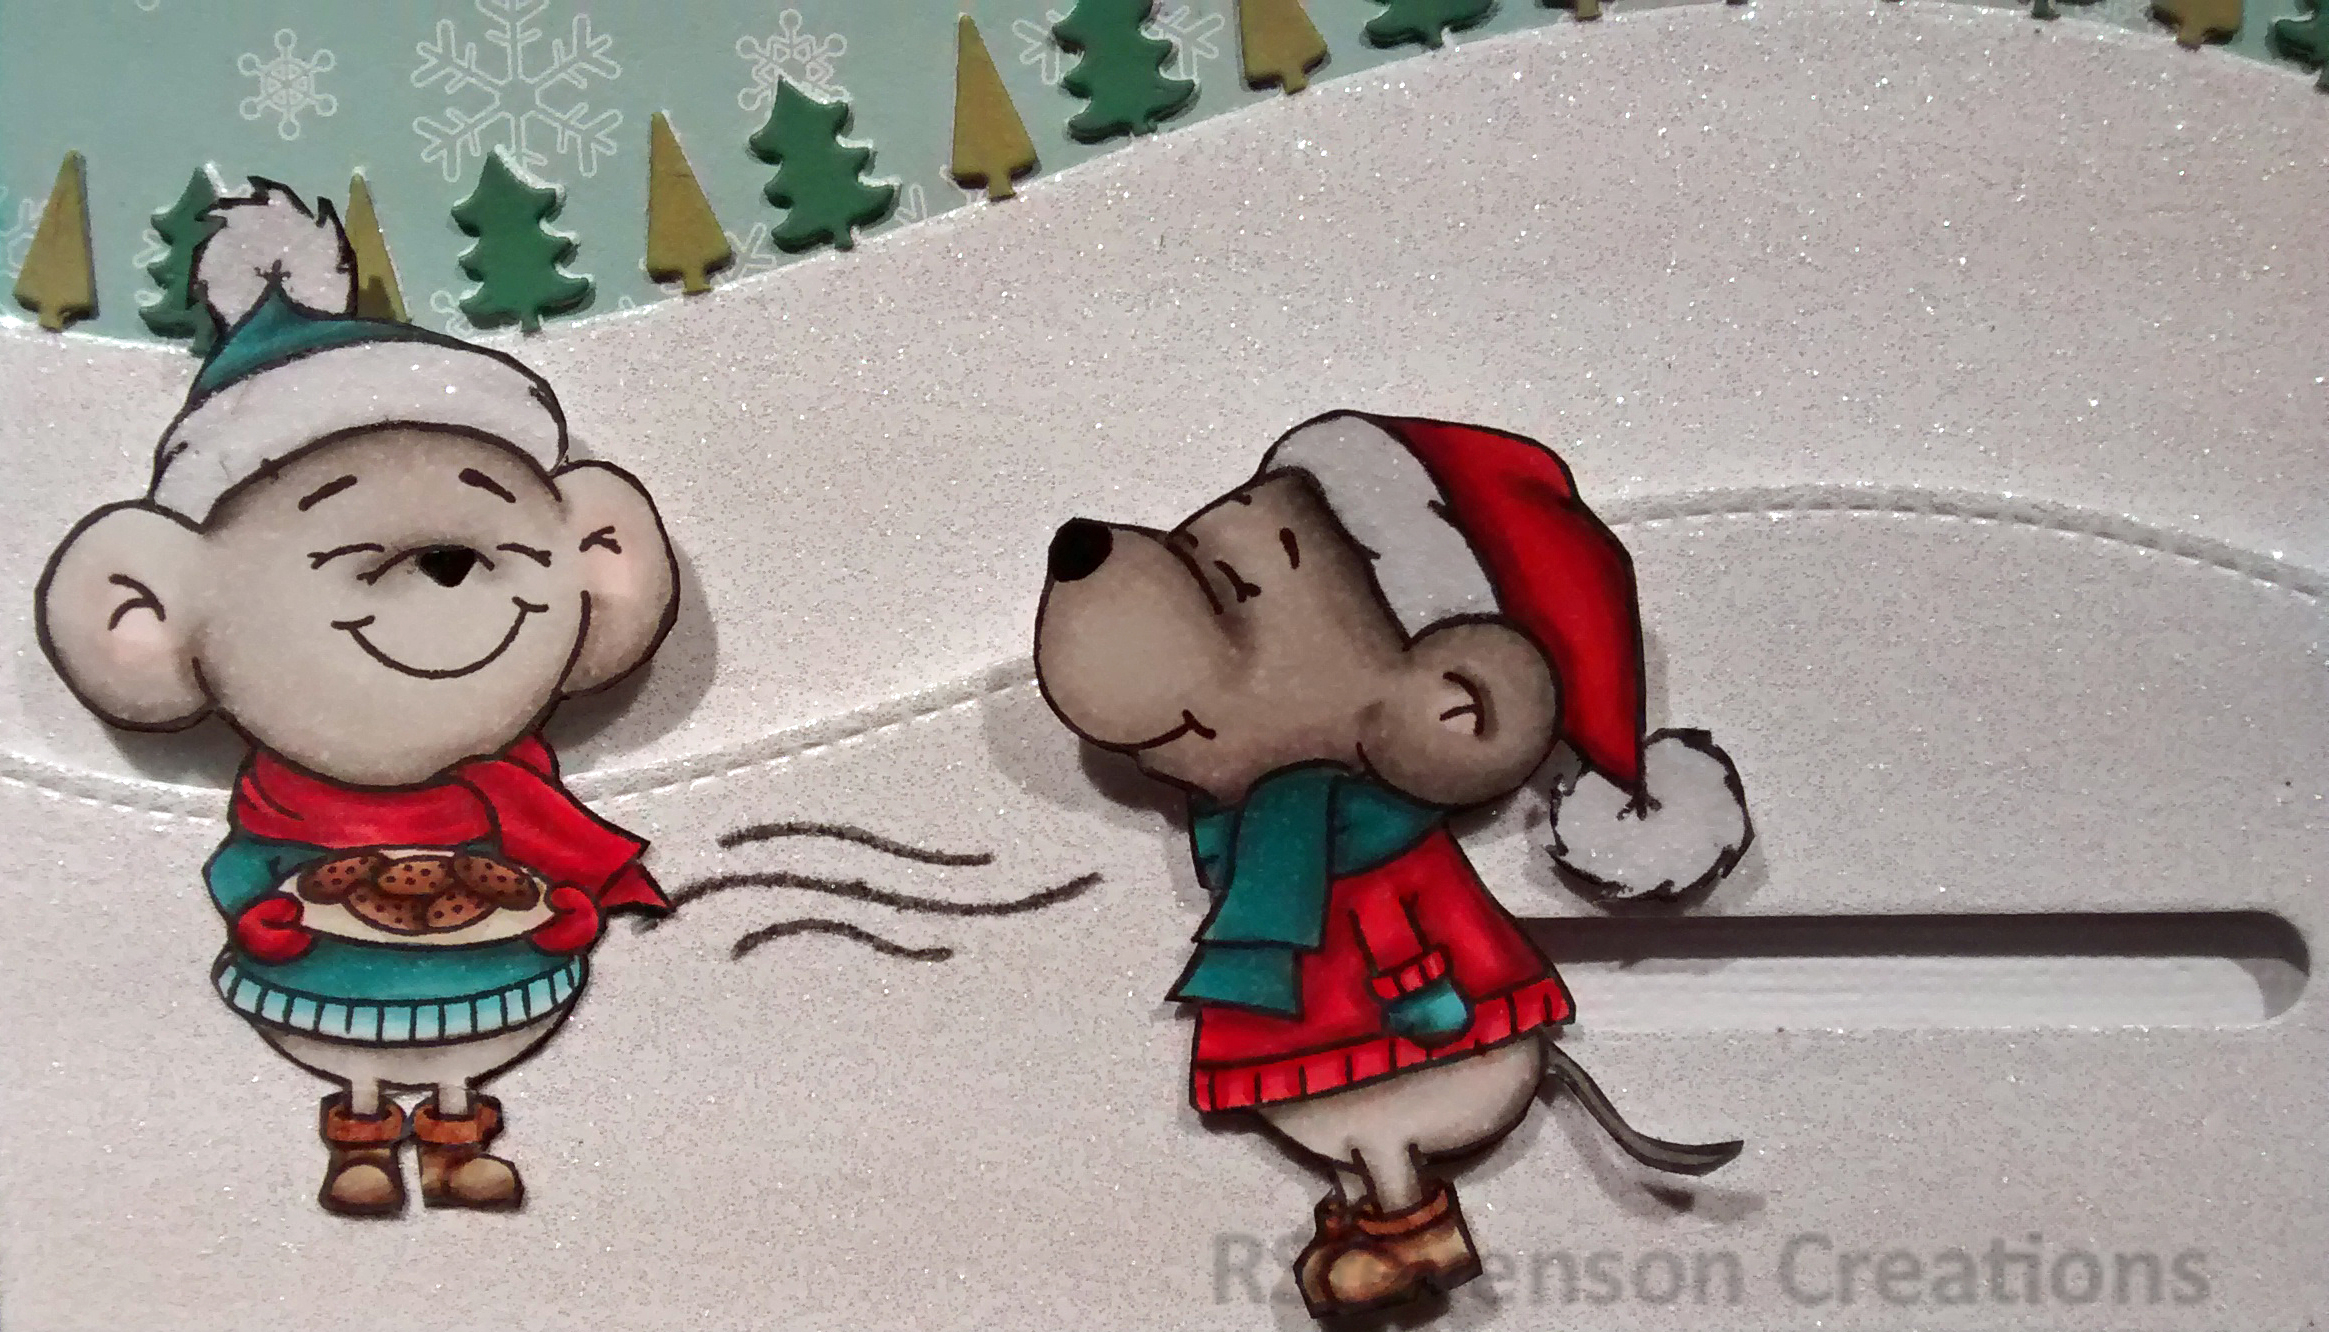
Image coloured with Copic Markers:
Polar Bear: B60, BV23, BV20, C1, C00, R30, R20, R02, Colorless Blender
Penguin: W9, W7, W5, W3, W00, E15, YR14, Y17, Y11, R11, RV00, E43, E42, E41, E40
Penguin Scarf and Hat: BG72, BG57, BG05, BG11, BG10, BG000, BG0000
Bear Scarf: RV66, RV63, RV55, BG09, BG07, BG02, BG01, B00, B000, B0000
Ice: B60, B000, B0000
Sky: B99, B97, B95, B93, B45, B41, BG45, BG11, BG10, BV25, BV23, BV20, BV04, V04, V01, YG11, RV04, RV63
Snow: BV23, BV20, Colorless Blender, Stickles – Star Dust
Soda: RV66, RV63, RV55, RV52
Candy Cane and Hearts: R59, R37, R35
Hope you like it and have a fantastic week!
You can find lots of inspiration from the Design Team Divas at the High Hopes blog, and the High Hopes Rubber Stamps Facebook Fan page plus you can also follow us on
Instagram, Twitter and Pinterest.