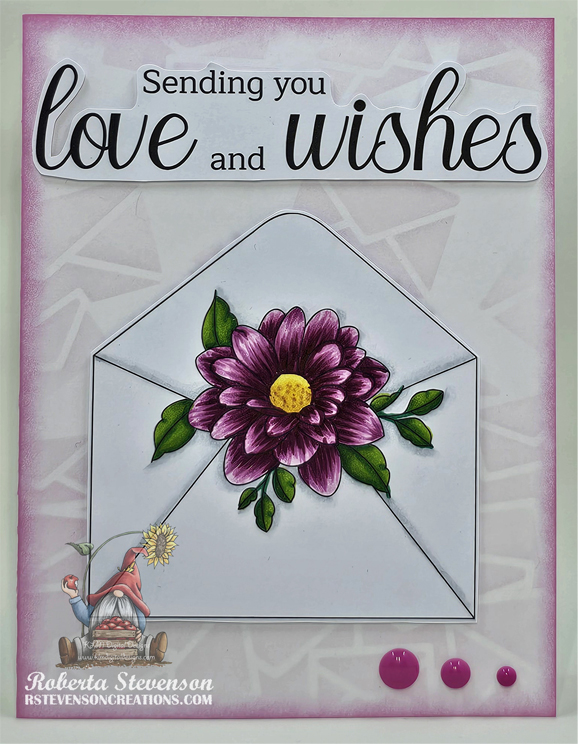
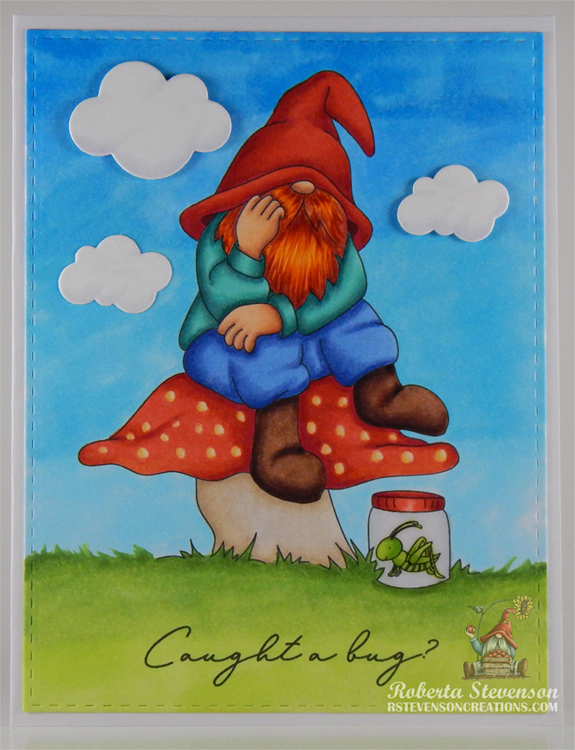
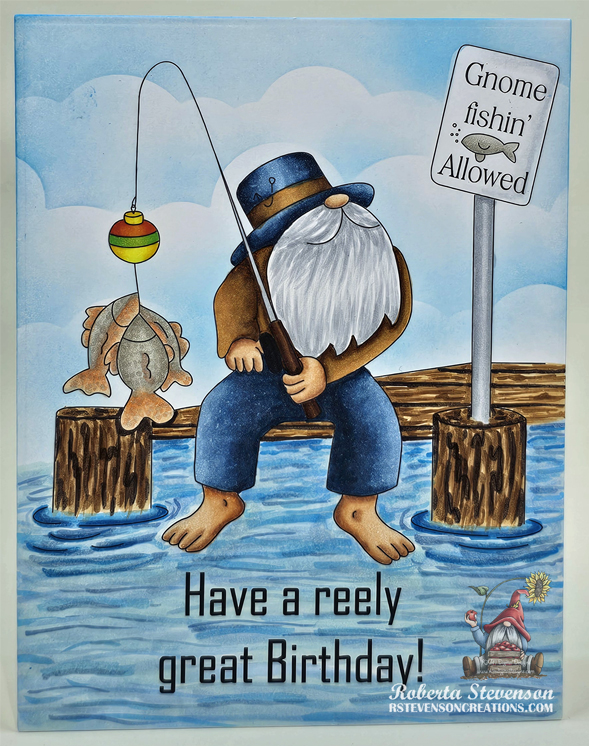
Today I’m sharing a Birthday card using KLM Digital Design – Fisherman Gnome from the new April 2024 release that I made for my dad. This image also comes with 2 more sentiments, “May all your fishes come true” and “…I’m hooked on you”. My dad loves fishing and goes every chance he gets!
The image and sentiment were imported into Microsoft Word and printed out onto Copic Marker X-Press It Blending Card. I had created a 5.5″ x 4.25 frame around the image before printing it out with a HP Printer. I also printed out a second image onto plain photocopy paper and fussy cut around it. I attached the mask that I had created out of the plain paper over top of the coloured image. Using some stencils that I had created previously with Avery Elle – Pierced Clouds Dies and Tim Holtz Distress Ink – Salty Ocean, I created the clouds with a blender brush.
The image was coloured in with the Copics listed below and then attached to the base card.
Card Recipe:
Stamp and Sentiment: KLM Digital Design – Fisherman Gnome
Inks: HP Printer Grayscale, Tim Holtz Distress Ink – Salty Ocean
Paper: Copic Marker X-Press It Blending Card, Hammermill – Premium Cardstock 110 lb.
Dies \ Stencil: Avery Elle – Pierced Clouds Die (D-05-01)
Image coloured with Copic Markers:
Skin: E21, E11, E04, E00, E000
Beard: C3, C2, C1,C0
Jeans and Hat: B99, B97, B95, B91
Shirt: E57, E55, E53
Dock: E79, E57, E53, E23
Fish: YR61, YR02, YR00, R02, W3, W2, W1, Y35, E93
Pole and Sign: C2, C1,C0, C00, W3, W2, W1, Colorless Blender
Fishing Rod and Ball: E27, E25, E23, YR09, YR07, YR04, YG07, YG06, YG03, Y08, Y06, Y04
Water: B93, B91, B45, B41, B32, B05, B02, BG10
Hope you like it and have a great week!
You can find more cards to inspire you at KLM Designs, KLM Digital Design Team and KLM Digital Designs on the Facebook Fan page from the rest of our design team.