Today I’m sharing a card using KLM Digital Design – Floral Envelope – Daisy from the new April 2024 release. This stamp also comes with 2 other sentiments, “Happy Mail” and “Just for you”.
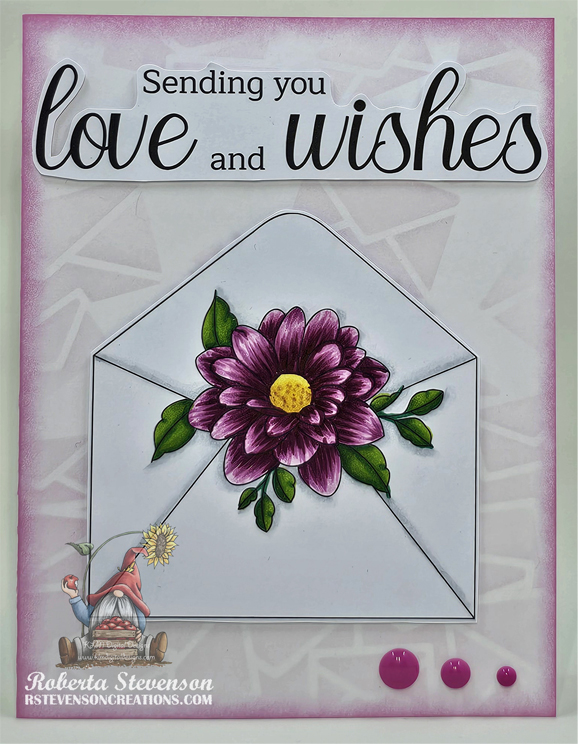
I began with a card base of 5.5″ x 4.25″ using Hammermill – Premium Cardstock 110 lb. cardstock. The background was created using Kraftin’ Kimmie – Mountains of Mail stencil and Krafty Kolours – Flirty Flamingo. The same ink was also used to create a border around the card using a finger dauber.
The image and sentiment were imported into Microsoft Word and printed out onto Copic Marker X-Press It Blending Card. Copics were used to colour in the image and then it was fussy cut along with the sentiment. U-Line Double-Sided Foam Tape was applied to the sentiment and image and both were popped up onto the card. Lastly, I added in a few Kraftin’ Kimmie pop dots to finish off the card.
Card Recipe:
Stamp and Sentiment: KLM Digital Design – Floral Envelope – Daisy
Inks: HP Printer Grayscale, Krafty Kolours – Flirty Flamingo
Paper: Copic Marker X-Press It Blending Card, Hammermill – Premium Cardstock 110 lb.
Stencil: Kraftin’ Kimmie – Mountains of Mail
Miscellaneous: U-Line Double-Sided Foam Tape, Kraftin’ Kimmie pop dots
Image coloured with Copic Markers:
Leaves: G16, YG25, YG23
Flowers: E15, YR23, Y15, Y11, Y00, RV69, RV66, RV55, RV000
Shadow: C2, C00, Colorless Blender
Hope you like it and have a great week!
You can find more cards to inspire you at KLM Designs, KLM Digital Design Team and KLM Digital Designs on the Facebook Fan page from the rest of our design team.