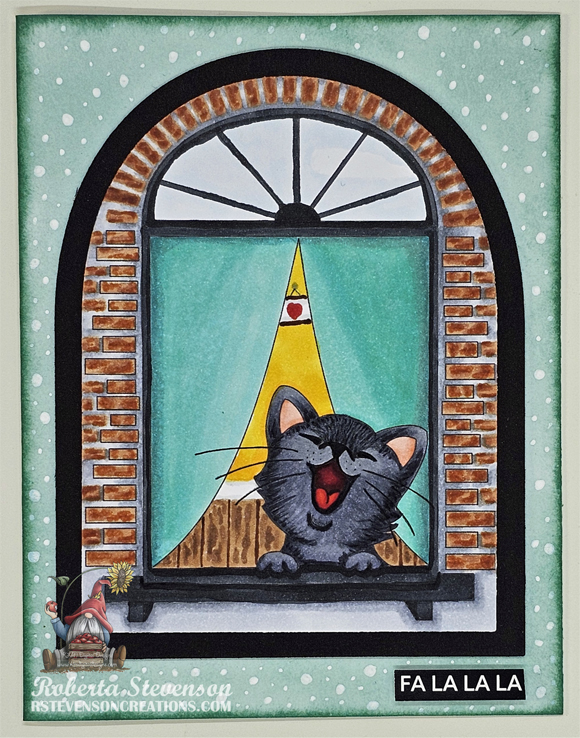
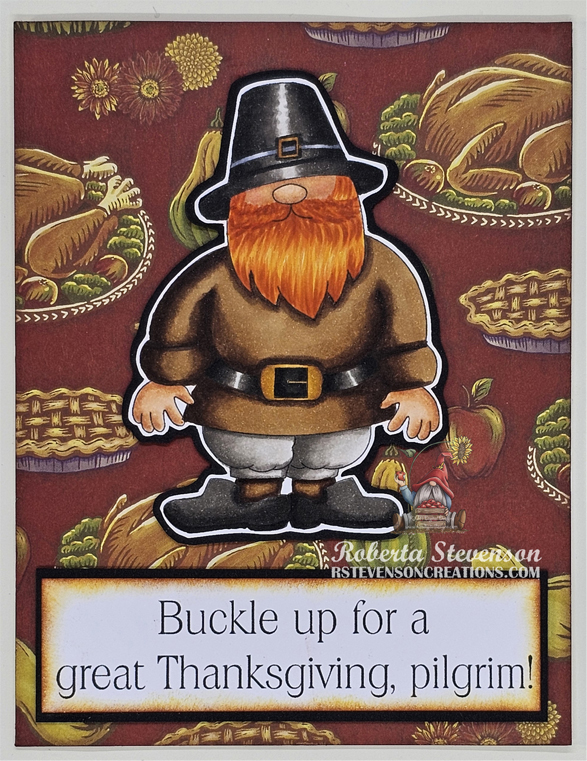
Today I’m sharing a simple Thanksgiving card that I made using KLM Digital Designs – Pre-Colored Dinosaur Pumpkin from the new November 2024 Release. Our Canadian Thanksgiving has past, but the American Thanksgiving is happening soon!
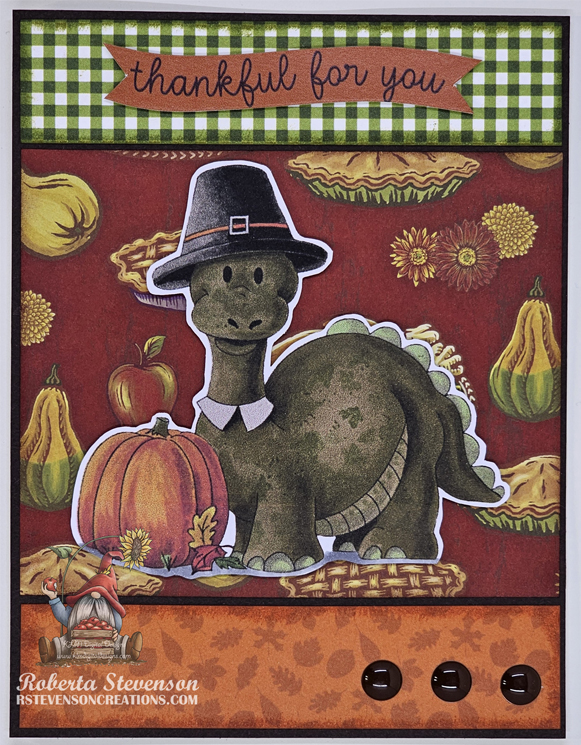
The base card was created to the size of 4.25″ x 5.5″ out of Hammermill – Premium 110 lb. cardstock. Chocolate brown paper from the Creative Memories – Croptoberfest 2021 Sampler Pack , was cut to the same size as the base and adhered to the card. Next, I cut 2 strips from PhotoPlay – Gnome for the Holidays Thanksgiving paper to the size of 4-1/8″ x 1″ and some Thanksgiving paper 4-1/8″ x 3-3/8″ from my scrap stash paper. The followings inks were used to apply ink around the edges of the papers: Tim Holtz Distress Ink – Carved Pumpkin, Tim Holtz Distress Ink – Aged Mahogony and Tim Holtz Distress Inks – Peeled Paint. All of the pieces were adhered to the base with liquid glue.
I chose a sentiment from PhotoPlay – Autumn Greetings by Becky Moore – Element Stickers and applied it to some regular cardstock and then fussy cut around it. U-Line Double-Sided Foam Tape was applied to the image and sentiment and both items were popped up onto the card. Kraftin’ Kimmie Dots were added to the bottom to complete the card.
Card Recipe:
Stamp: KLM Digital Designs – Pre-Colored Dinosaur Pumpkin
Sentiment: PhotoPlay – Autumn Greetings by Becky Moore – Element Stickers
Inks: HP Printer, Tim Holtz Distress Ink – Carved Pumpkin, Tim Holtz Distress Ink – Aged Mahogony, Tim Holtz Distress Inks – Peeled Paint
Paper: Copic Marker X-Press It Blending Card, Hammermill – Premium Cardstock 110 lb., Creative Memories – Croptoberfest 2021 Sampler Pack (12″ x 12″), PhotoPlay – Gnome for the Holidays Thanksgiving
Miscellaneous: U-Line Double-Sided Foam Tape, Kraftin’ Kimmie Dots
Hope you like it and have a great week!
You can find more cards to inspire you at KLM Designs, KLM Digital Design Team and KLM Digital Designs on the Facebook Fan page from the rest of our design team.