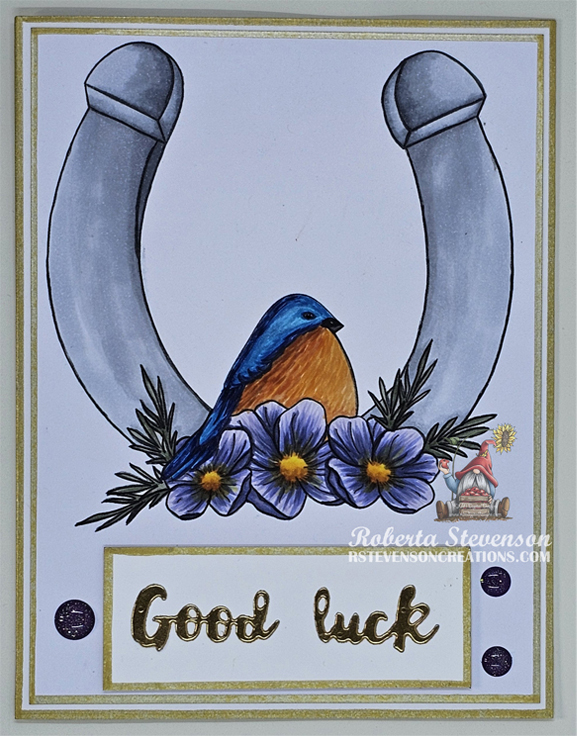
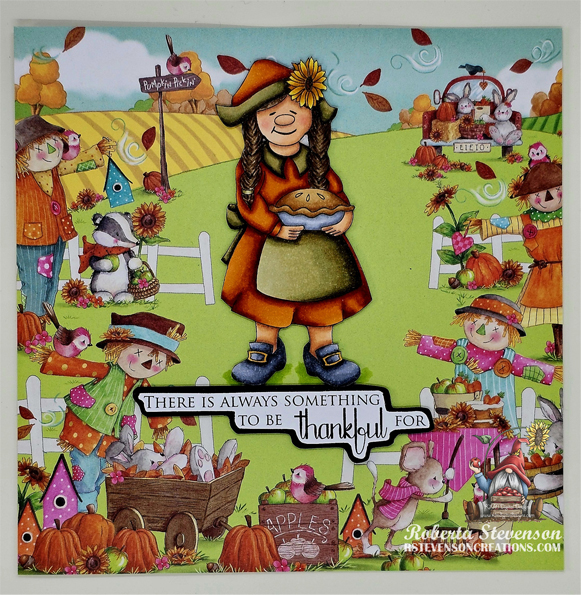
Today I’m sharing a Thanksgiving card using KLM Digital Design – Pilgrim Gnome from the new August 2024 release that I made. This image also comes with 2 more sentiments, “There is always something to be thankful for” and “Oh my gourd, you’re handsome”. Canadian Thanksgiving is only a couple of months away, time to start preparing now!
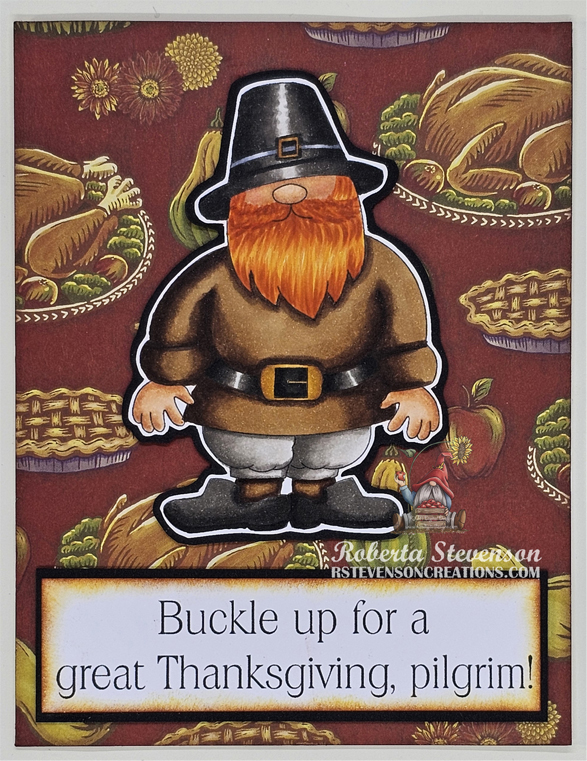
The image and sentiment were imported into Microsoft Word and printed out onto Copic Marker X-Press It Blending Card. The image was coloured in with Copic markers and then fussy cut leaving a thin white border. I wanted the image to stand out on the card, so I attached the image to Recollections – Black cardstock and repeated the process. The sentiment was trimmed down to 3.75″ x 1″. The edges were inked with Tim Holtz Distress Ink – Aged Mahogony and Tim Holtz Distress Ink – Fossilized Amber. The sentiment was attached to Recollections – Black cardstock using liquid glue and trimmed down to 3-7/8″ x 1-1/8″.
The card was now ready to assemble. I began with a 5.5″ x 4.25″ base card using Hammermill – Premium Cardstock 110 lb.. Thanksgiving paper was trimmed to be the same size as the base and was attached with liquid glue. Tim Holtz Distress Ink – Aged Mahogony and a finger dauber were used to ink around all of the edges of the card. U-Line Double-Sided Foam Tape was applied to both the image and sentiment and both were popped up onto the card.
Card Recipe:
Stamp and Sentiment: KLM Digital Design – Pilgrim Gnome
Inks: HP Printer Grayscale, Tim Holtz Distress Ink – Aged Mahagony, Tim Holtz Distress Ink – Fossilized Amber
Paper: Copic Marker X-Press It Blending Card, Hammermill – Premium Cardstock 110 lb., Recollections – Black
Miscellaneous: U-Line Double-Sided Foam Tape
Image coloured with Copic Markers:
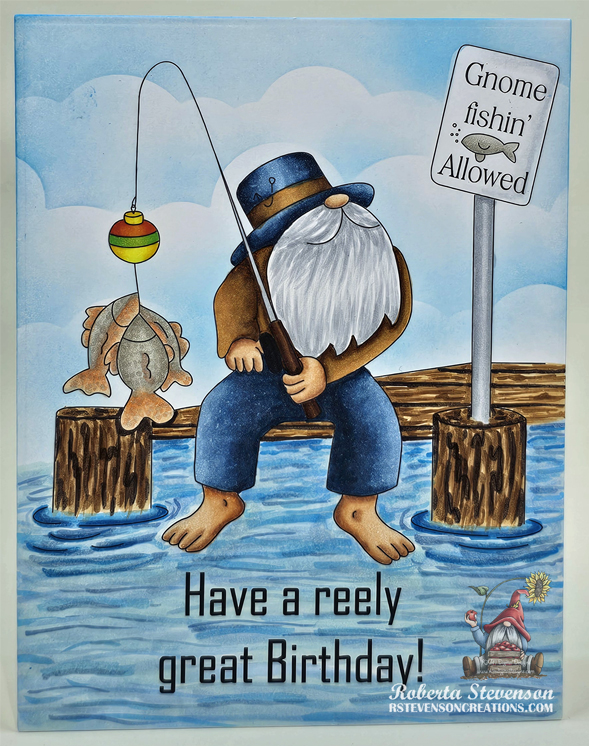
Skin: E21, E11, E00, E000, R22, R20
Hair and Beard: YR68, YR31, YR18, Y38
Man’s Top and Socks: E79, E59, E57, E55
Man’s Pants: W5, W3, W1
Shoes, Man’s Hat and Belt: W9, W7, W5, W1
Hat Band: C5, C3, C1
Buckles: E15, Y28, YR24, YR23
Hope you like it and have a great week!
You can find more cards to inspire you at KLM Designs, KLM Digital Design Team and KLM Digital Designs on the Facebook Fan page from the rest of our design team.