Today I’m sharing an outdoors camping card using KLM Digital Design – Camper Girl from the new March 2024 release. This image also comes with 2 more sentiments, “Make S’more memories” and “Work hard, travel harder“. As a child, I used to love going camping and sitting around the campfire at night with the family. How about you?
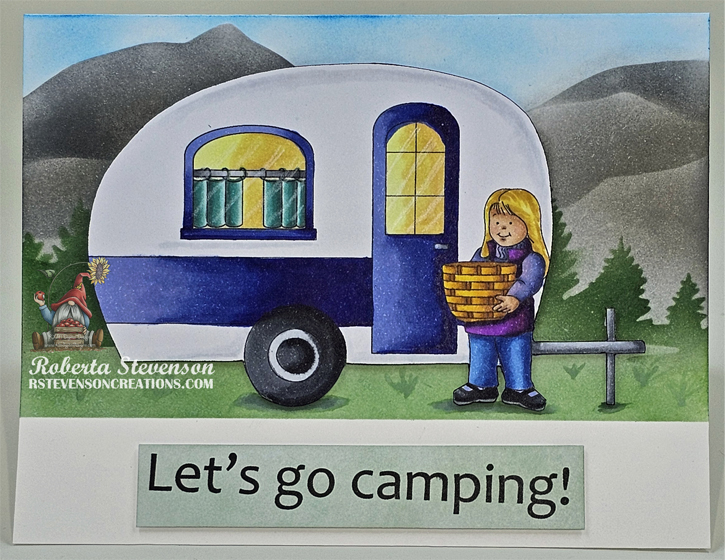
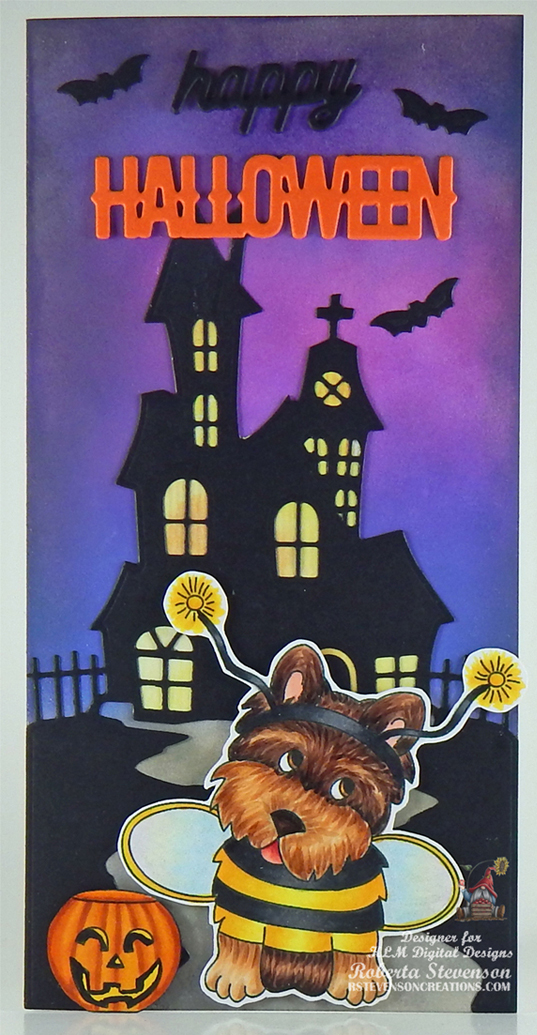
I began making my card by creating a 5.5″ x 4.25″ base made from Hammermill – Premium Colour 100 lb. cardstock. With blending brushes and Concord & 9th – Cardscapes (C9 Summer Camp) stencils I created the background. I first created the sky using the mountain stencil from the set and Tim Holtz Distress Ink – Salty Ocean. I traced the stencil onto some regular copy paper and cut it out with some scissors to get the reverse of the stencil. This was placed over the sky and Tim Holtz Distress Ink – Lost Shadow was applied onto the scene. With the same stencil as before, I used the opposite side and added in the next layer using Tim Holtz Distress Ink – Hickory Smoke. Lastly, for the bottom mountains, I just inked over everything with Tim Holtz Distress Ink – Pumice Stone. I taped off the bottom of the card and applied Tim Holtz Distress Ink – Mowed Lawn up to the base of the mountains. From the same set, I applied the evergreen trees using Tim Holtz Distress Ink – Rustic Wilderness.
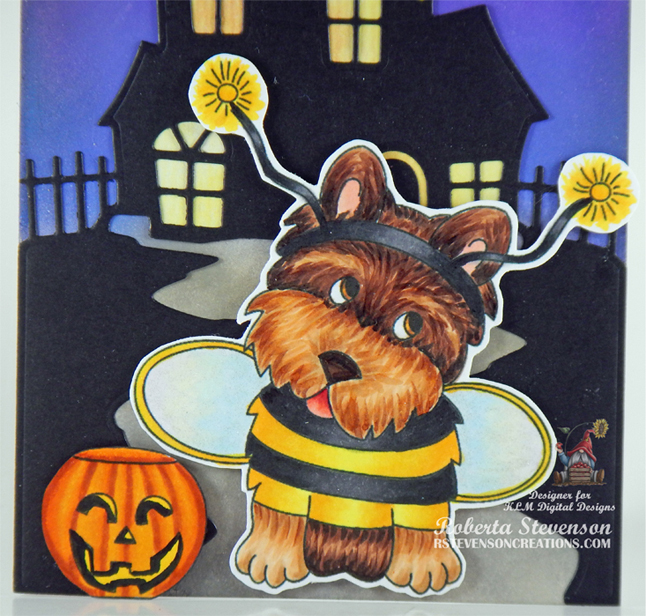
The image and sentiment were imported into Microsoft Word and printed out onto Copic Marker X-Press It Blending Card. The image was coloured in with the Copics listed below and then fussy cut. The edges were all inked with black marker. The sentiment was cut using a cutter. With a blending brush and green ink left over from the forest and trees, I blended some ink over top of the sentiment. U-Line Double-Sided Foam Tape was applied to the image and sentiment and they were both popped up onto the card. I added in some small shadows and grass using some water, #1 Paintbrush liner and some ink from Tim Holtz Distress Ink – Rustic Wilderness to complete the card.
Card Recipe:
Stamp and Sentiment: KLM Digital Design – Camper Girl
Inks: HP Printer Grayscale, Tim Holtz Distress Inks: Salty Ocean, LostShadow, Hickory Smoke, Pumice Stone, Mowed Lawn and Rustic Wilderness
Paper: Copic Marker X-Press It Blending Card, Hammermill – Premium Colour 100 lb.
Stencils: Concord & 9th – Cardscapes (C9 Summer Camp)
Miscellaneous: U-Line Double-Sided Foam Tape
Image coloured with Copic Markers:
Skin: E21, E11, E00, E000
Hair: YR23, Y15, Y11, Y00
Sweater and Vest: BV04, BV02, BV00, V09, V06, V04
Jeans: B26, B23, B21
Shoes: C9, C7, C5
Trailer: B69, B66, B63, C9, C7, C5, C3, C2, C1, C0, C00, Colorless Blender, White PrismaColor Premier Pencil – PC938 (Windows)
Basket: E15, YR27, YR24, Y35, Y08
Drapes: BG18, BG15, BG13, BG10
Trailer Inside: Y23, Y21, Y00
Trailer Hitch, Door Handle, Curtain Rod: C5, C3, C1
Hope you like it and have a great week!
You can find more cards to inspire you at KLM Designs, KLM Digital Design Team and KLM Digital Designs on the Facebook Fan page from the rest of our design team.