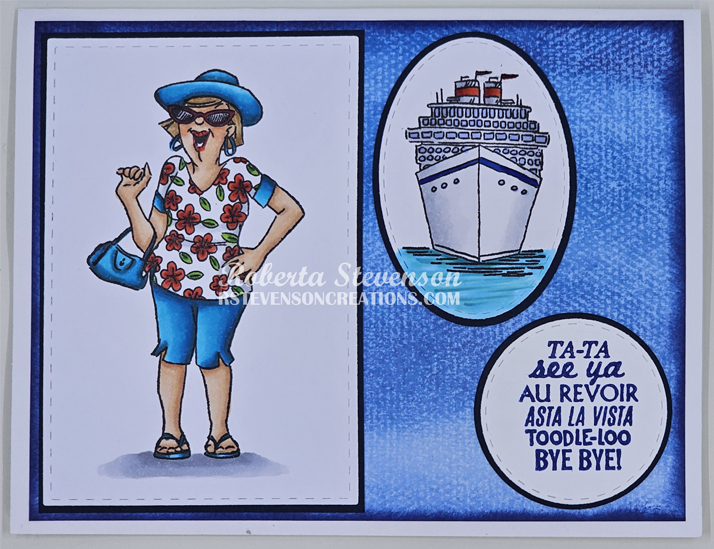
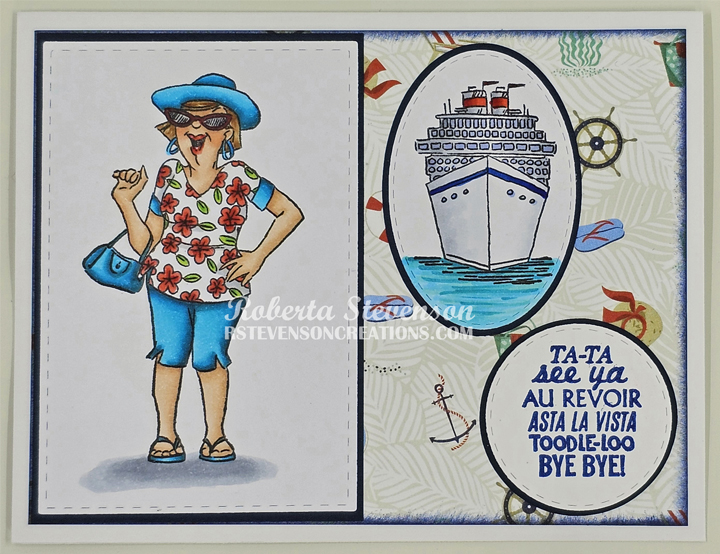
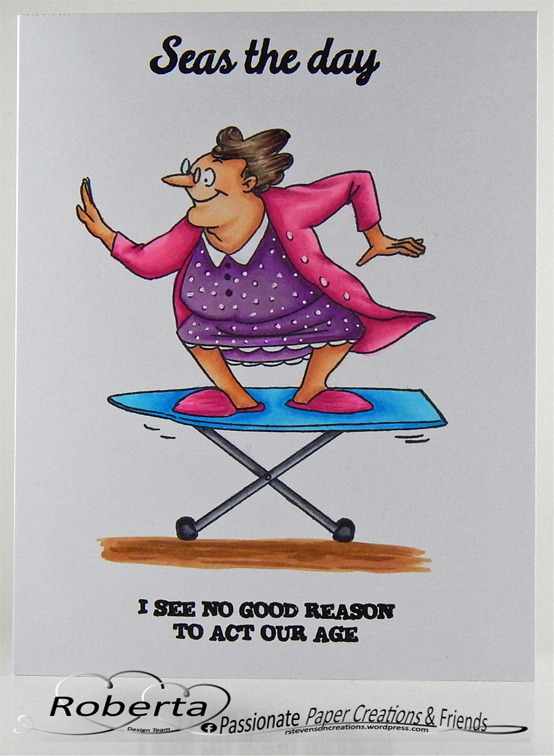
Sharing a birthday card I made for a friend using Art Impressions – AHH Set – A4671 and Rock On Laugh Lines – 5422. I was late getting this birthday card out to my friend as usual and this face says it all. LOL!

To make the card, I began with the base of 8.5″ x 7″ Hammermill – Premium Colour cardstock, scored and folded to the size of 8.5″ x 3.5″. Using my MISTI and Memento – Tuxedo Black ink, the images were stamped onto Copic Marker X-Press It Blending Cardstock and coloured in with Copic Markers. Once the images were coloured, I fussy cut around them both. For the blouse, I stamped the image again onto DCWV – Pocket Blossom paper and paper-pierced it onto the image after I had run it through my Xyron Create a Sticker. For the image on the front page, a black marker was used to outline all of the edges.
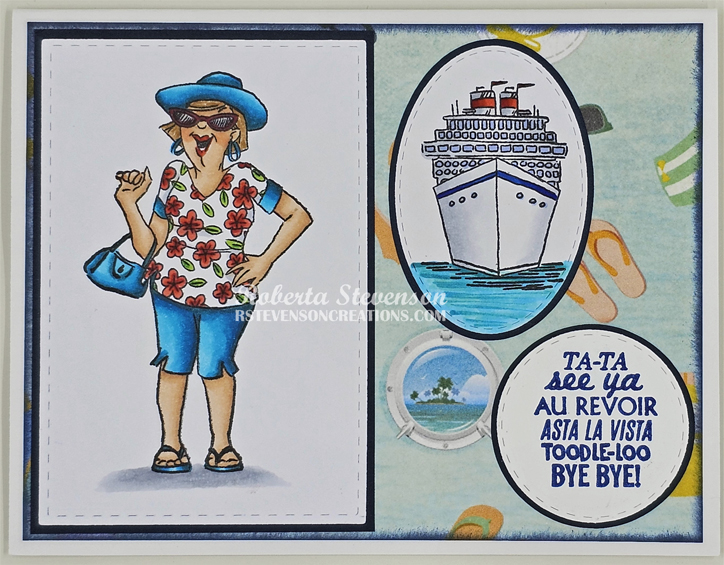
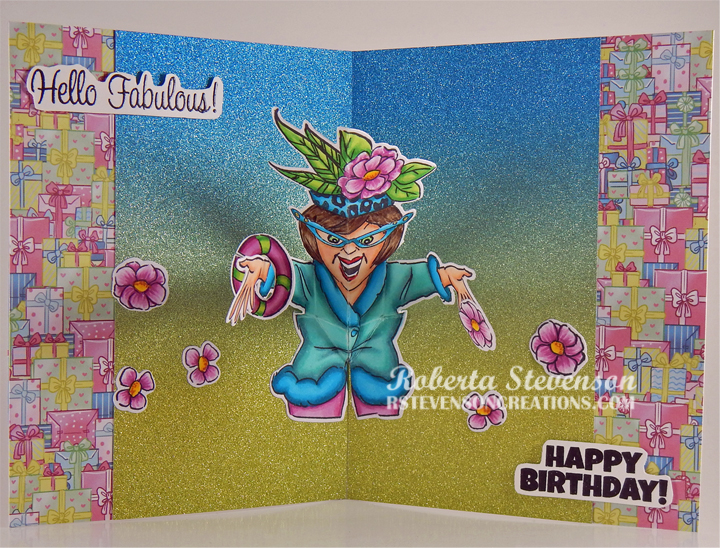
For the front of the card, I die cut 3 balloons using my Anna Griffin Empress Mini Machine, Concord & 9th – Pop-Up Par-Tay dies and Pergamano Parchment Paper – Rainbow Pastel and 1 balloon out of a spare piece of patterned paper to use for the inside of my card. The numbers were cut from Recollections – Black cardstock using my cutting machine and Lawn Fawn Lawn Cuts – Henry’s 123s. To create the background, I used multiple Tim Holtz Distress inks listed below, multiple brushes and Lawn Fawn – Confetti Stencils to create the background on the base card front. The sentiment was stamped with a MISTI, Versa Fine – Onyx Black ink and then embossed with Ranger – Clear Super Fine Detail Embossing Powder. Marvy Uchida – Embossing Heat Tool was used to heat the embossing powder. Then, I fussy cut around it.
The front of the card was now ready to assemble. I ran each of the numbers through my Xyron Create a Sticker and the balloons through my Xyron Creative Station. The numbers were then placed onto the balloons. I attached the first 2 balloons to the card and then drew in the strings with a black marker. I then added the last balloon and drew another string. A white pencil was used to create a bit of glow along the left side of the balloons. After attaching U-Line double-sided tape to the back of the sentiment and the image, I popped them up onto the front of the card.
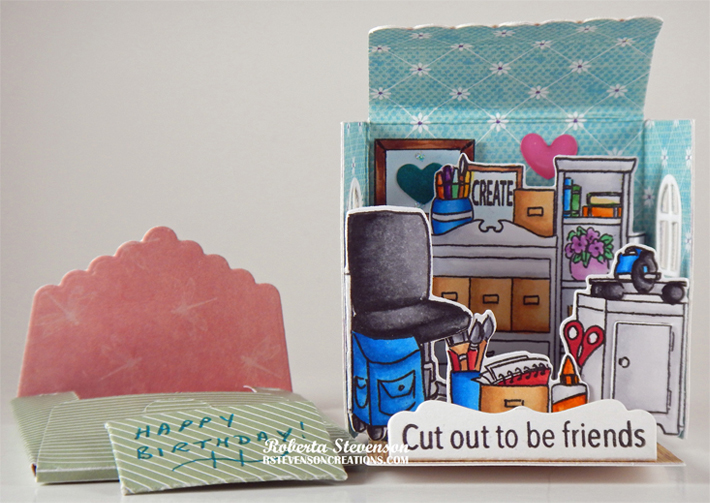
Inside of the card:
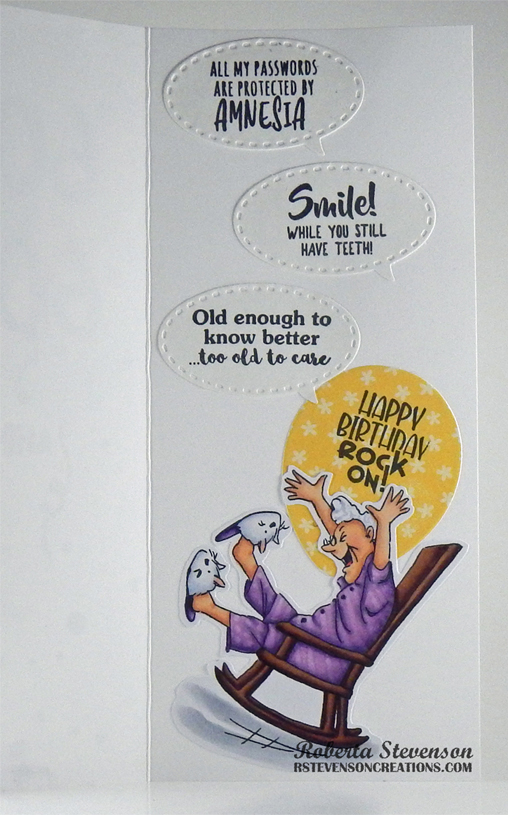
For the inside of the card, I used Rock On Laugh Lines – 5422 – Art Impressions, Dance It Out Set – 5278 – Art Impressions, Be Happy Laugh Lines – 5279 – Art Impressions for the sentiments. I cut out 3 sentiment bubbles using Anna Griffin Empress Mini Machine, Spellbinders – Die D-Lites Conversation Bubble 3 Etched Dies out of white cardstock. I stamped each of sentiments using a MISTI, Versa Fine – Onyx Black ink and then embossed with Ranger – Clear Super Fine Detail Embossing Powder. Marvy Uchida – Embossing Heat Tool was used to heat the embossing powder. I ran each of the sentiment bubbles and my image through my Xyron Creative Station.
The inside of the card was now ready to assemble. I placed the 1 bubble sentiment at the top of the card and then using my image as a guide for placement, I attached the patterned balloon to the card first. The image was attached on top of it and then I added the bottom bubble sentiment. Lastly, I placed the final bubble sentiment to the card in between the other top 2 bubble sentiments to complete the card.
Thankfully, she loved her card and I hope you do too!
Card Recipe:
Stamp and Sentiments: AHH Set – 4671 – Art Impressions, Rock On Laugh Lines – 5422 – Art Impressions, Dance It Out Set – 5278 – Art Impressions, Be Happy Laugh Lines – 5279 – Art Impressions
Inks: Memento – Tuxedo Black, Versa Fine – Onyx Black, Tim Holtz Distress Ink – Peacock Feathers, Mustard Seed, Wilted Violet and Evergreen Bough, Saltwater Taffy, Mowed Lawn, Spiced Marmalade
Paper: Copic Marker X-Press It Blending Card, Hammermill – Premium Colour 100 lb., DCWV – Pocket Blossom – 12″X12″ (30.5cmx30.5cm), Pergamano Parchment Paper – Rainbow Pastel, Recollections – Black cardstock
Die Cuts: Lawn Fawn Lawn Cuts – Henry’s 123s, Concord & 9th – Pop-Up Par-Tay, Spellbinders – Die D-Lites Conversation Bubble 3 Etched Dies
Stencil: Lawn Fawn – Confetti Stencils (6″ x 6″)
Embossing Powder: Ranger – Clear Super Fine Detail
Miscellaneous: Marvy Uchida – Embossing Heat Tool, Gelly Roll Sakura #10 Pen, Anna Griffin Empress Mini Machine, Xyron Create a Sticker, Xyron Creative Station
Image coloured with Copic Markers:
Skin and Lips: E21, E11, E00, E000, R89, R59, R39, R37, R30, R20
Hair: E08, YR18, YR16, YR12, B60, BV20, C1
Clothing – Lady1
Pants: B26, B23, B21
Blouse: Paper Pieced: DCWV – Pocket Blossom – 12″X12″ (30.5cmx30.5cm), YG67, YG61, Colorless Blender
Earings: YG67, YG63, YG61
Shoes: YT9, T7, T5
Clothing – Lady2
PJ’s: BV08, V17, V15, V12, V01
Slippers: V17, V15, V12, R30, R20, B60, BV20, Colorless Blender
Chair: E29, E27, E25, E23
Shadow: C3, C2, C1
Hope you like it and have a great week!