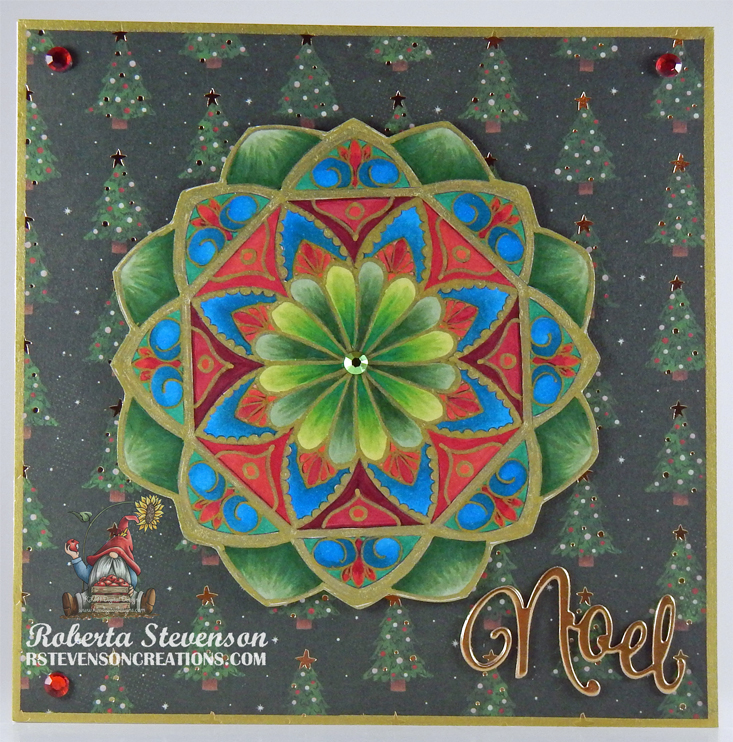
Today I’m sharing a Birthday card using KLM Digital Design – Feb Floral Hexagon from the new February 2024 release. This hexagon is very easy to colour and you can change the colours of the flowers and background to whatever pleases you!
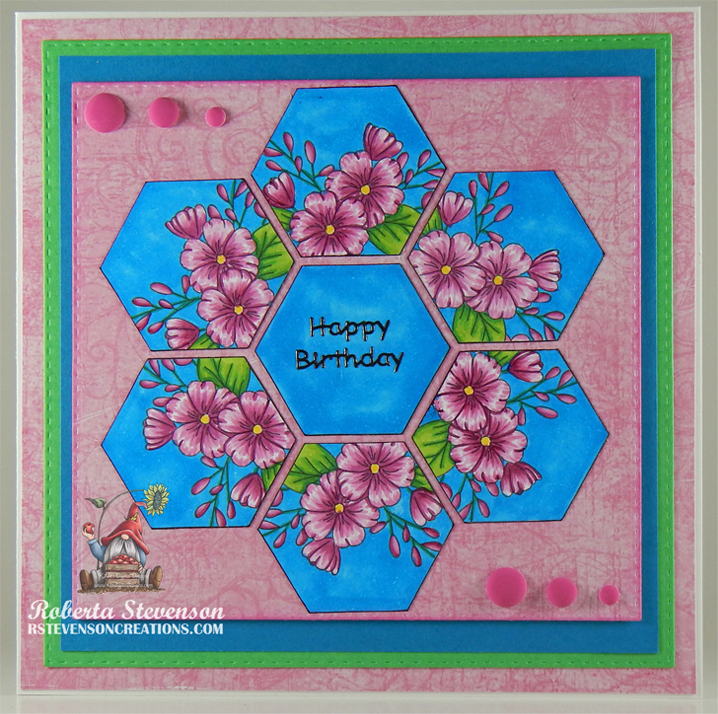
I began with a base card of 5.5″ x 5.5″. Using my Cuttlebug and My Creative Time – Stitched Squares Inside and Out, I die cut the smaller K&Company – Kelly Panacci – KP Valentine square (4.5″ x 4.25″) out of the larger pink square (5-3/8″ x 5-3/8″) and also the green paper (5″ x 5″). I added some glue and attached the largest square (K&Company – Kelly Panacci – KP Valentine) directly to the base. Next, using double-sided tape, the green and blue square (4.75″ x 4.75″) were attached to the base.
The image was imported into Microsoft Word and printed out onto Copic Marker X-Press It Blending Card using a HP Printer. I coloured in everything and then fussy cut around each hexagon. I took a picture first before I began cutting everything to know the proper placement. After cutting all of the pieces, I used my black Copic marker to go around all of the edges. Once this was done, I ran all of the pieces through my Xyron Creative Station to make stickers out of them. This made it very easy to place them on the smallest pink square. I arranged all of the pieces and then using a finger dauber, inked around all of the edges of the square with Tim Holtz Distress Ink – Picked Raspberry. U-Line Double-Sided Foam Tape was applied to the back of the finished piece and it was centred onto the card. Lastly, a few pop dots from Your Next Stamp and “Happy Birthday” Starform Stickers were added to complete the card.
Card Recipe:
Stamp: KLM Digital Design – Feb Floral Hexagon
Inks: HP Printer Grayscale, Tim Holtz Distress Ink – Picked Raspberry
Paper: Copic Marker X-Press It Blending Card, Hammermill – Premium Cardstock 110 lb., Green, Blue, K&Company – Kelly Panacci – KP Valentine – 30-599338
Dies: My Creative Time – Stitched Squares Inside and Out
Miscellaneous: Xyron Creative Station, U-Line Double-Sided Foam Tape, Your Next Stamp – Pop Dots, Starform Stickers
Image coloured with Copic Markers:
Background: B04
Flowers: RV66, RV63, RV55, Y15, Y02
Leaves and Stems: G16, YG25, YG23
Outline: Black (100)
Hope you like it and have a great week!
You can find more cards to inspire you at KLM Designs, KLM Digital Design Team and KLM Digital Designs on the Facebook Fan page from the rest of our design team.