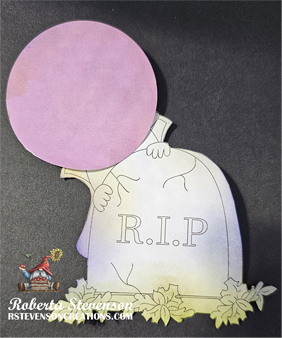
Today I’m sharing a Hallowe’en card using KLM Digital Design – Graveyard Gnome – Witch from the new September 2023 release. This image also comes with 2 more sentiments, “You totally rock, Ghoulfriend!” and “If the broom fits…”.

Hammermill – Premium Colour 100 lb. cardstock was used to create a 4.25″ x 5.5″ card base. Craft Consortium – Ink Drops Vivid Craft Papers was cut to the same size as the base. With my Cuttlebug and PhotoPlay – Say It With Stamps – #6 Haunted House Coverplate Die, I die cut the haunted house out of Recollections – Black cardstock and then cut along the bottom of the fence. I traced the fence bottom onto another piece of Recollections – Black cardstock and fussy cut it. The 2 pieces were then glued together. With some scraps of yellow cardstock, I cut out a few pieces and glued them to the back of the house. The entire house and base were attached to the Vivid Paper background with glue. Now that the pieces were assembled, I adhered the finished background directly to the base using double-sided tape. Lastly, the top edges were inked with Tim Holtz Distress Ink – Black Soot and a finger dauber. The moon was also cut out using the same die cut set from Copic Marker X-Press It Blending Card.
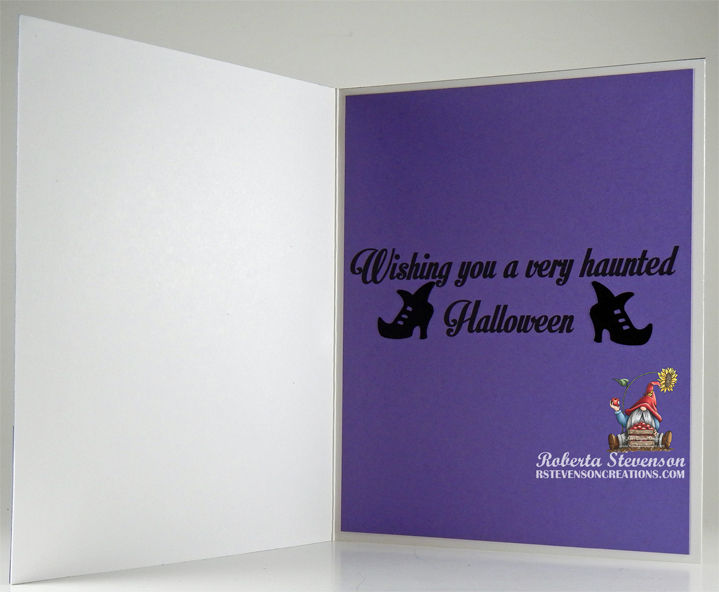
The image was imported into Microsoft Word and printed out onto Copic Marker X-Press It Blending Card cardstock and the sentiment onto Recollections – Purple Passions cardstock. The image and the moon were coloured in with Copic markers. I fussy cut the image and then used a black marker to go around all of the edges. With U-Line Double-Sided Foam tape, the image and moon were attached to the front of the card. The sentiment piece was cut to the size of 4″ x 5.25″ and it was adhered to the inside of the card using double-sided tape. Lastly, to finish the card off, I added in 3 little bats onto the front of the card and 2 shoes on the inside using Stampendous – class a’peel stickers – Cats & Bats Black.
Card Recipe:
Stamp and Sentiment: Graveyard Gnome – Witch – KLM Digital Designs
Inks: HP Printer Grayscale, Tim Holtz Distress Ink – Black Soot
Paper: Copic Marker X-Press It Blending Card, Hammermill – Premium Colour 100 lb., Recollections – Black cardstock, Craft Consortium – Ink Drops Vivid Craft Papers, Yellow cardstock, Recollections – Purple Passions 8.5″ x 11″
Dies: PhotoPlay – Say It With Stamps – #6 Haunted House Coverplate Die
Miscellaneous: Stampendous – class a’peel stickers – Cats & Bats Black (AC969K), U-Line Double-Sided Foam tape
Image coloured with Copic Markers:
Skin: E21, E11, E04, E00, E000
Hair: C9, C7, C5, B41
Hat, Dress: V09, V06, V04, C9, C7, C5, Y38, Y35, Y32
Pumpkin: YR68, YR31, YR18, Y38, YG67
Gravestone: C9, C5, C3, C1
Leaves: E15, E13, E11, R05, R02, Y15, YG07, YG01, YR20, YR14, YR12, Y02
Moon: E41, E40, Y11, Y000, BV20, Colorless Blender
Hope you like it and have a great week!
You can find more cards to inspire you at KLM Designs, KLM Digital Design Team and KLM Digital Designs on the Facebook Fan page from the rest of our design team.