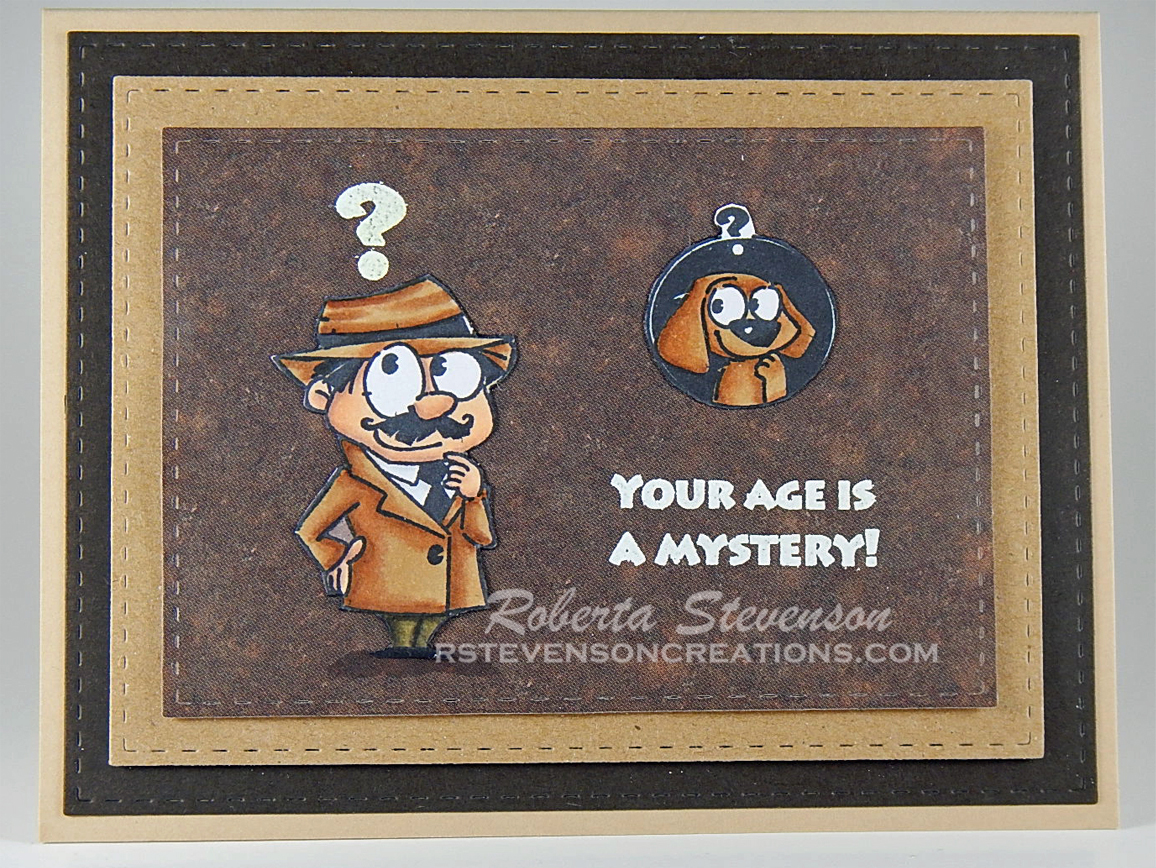
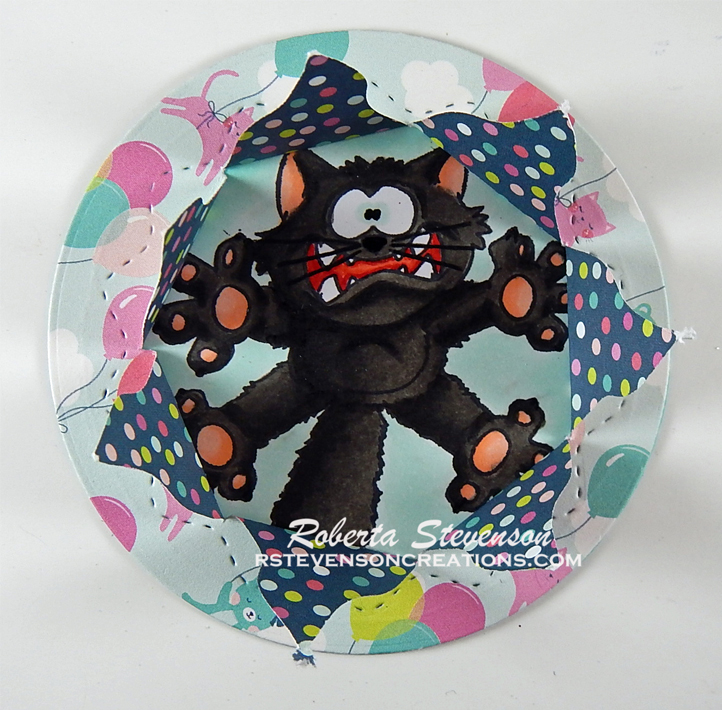
Today I’m sharing a birthday card that I made for my sister-in-law whose nickname is “Kitty”. I have a lot of fun trying to come up with new creations with cats for her birthday each year. This year, I decided to use Going Catty – DP1021 (Clearly Whimsy Stamps), for my main image on the front of the card. Shown below is how it looked before I placed the die cut from Peek A Boo Poppers (YNSD219) – (#Your Next Die) over top of it.

To create the die-cut, I first used Lifestyle Crafts Cutting Dies – Nesting Circles to cut out the main image and then again to cut out the pop-out die cut using Echo Park Paper Co. – Imagine That. I then added glue all around the outside of the circle and glued the two pieces together as shown below.
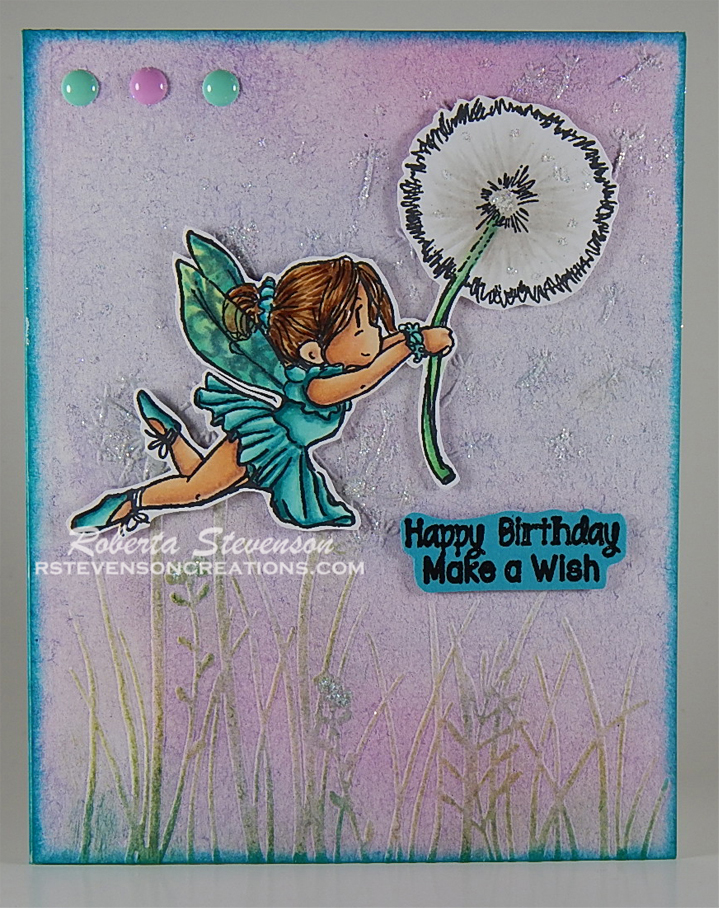
I created a card base 5.5″ x 4.25″ and then mounted paper from Doodle Bug Designs Inc. – Sugar Shoppe. I popped up the circle previously cut out with 3M VHB – 2 sided tape. I used the sentiment from the same Whimsy Stamp Set. I embossed it using VersaMark and Ranger Embossing Powder White – Extra Fine Detail. Then I cut it out using Ribbon End Dies – My Creative Time. Lastly, I edged around all of the edges using Tim Holtz Distress Ink – Picked Raspberry. Shown below is the card with the pop-up closed.
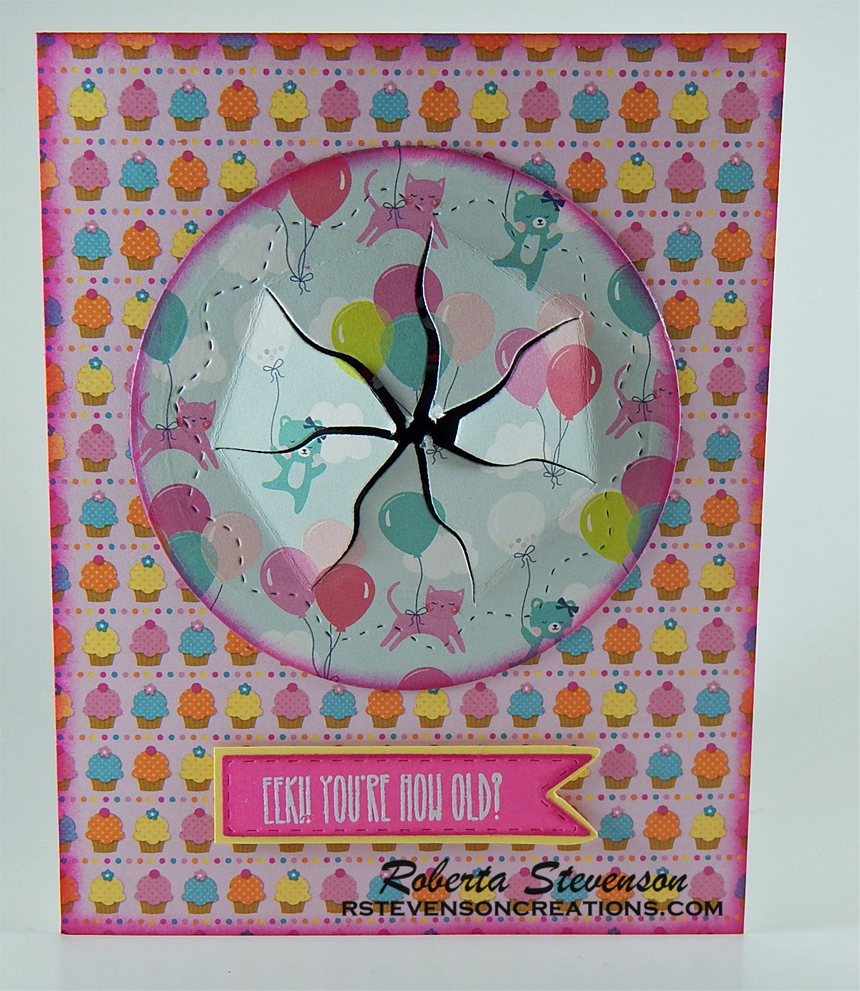
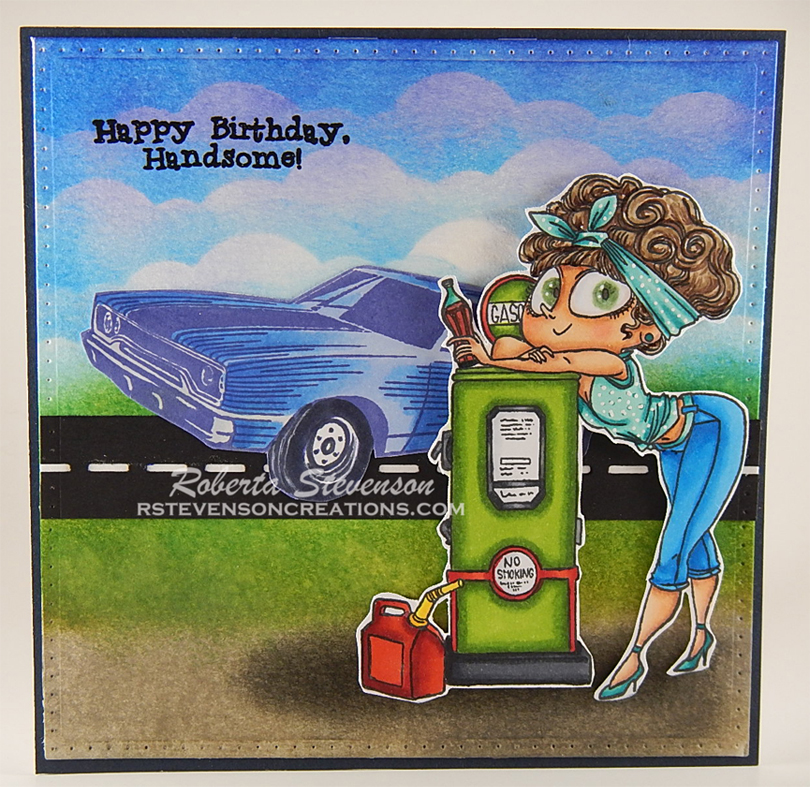
This is the front of the card with the pop-up open.

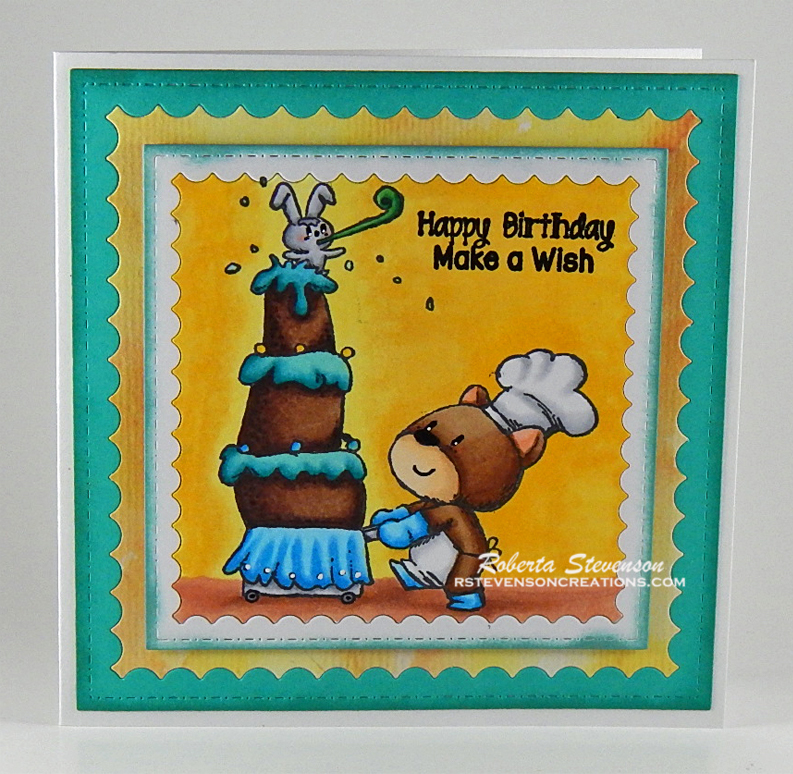
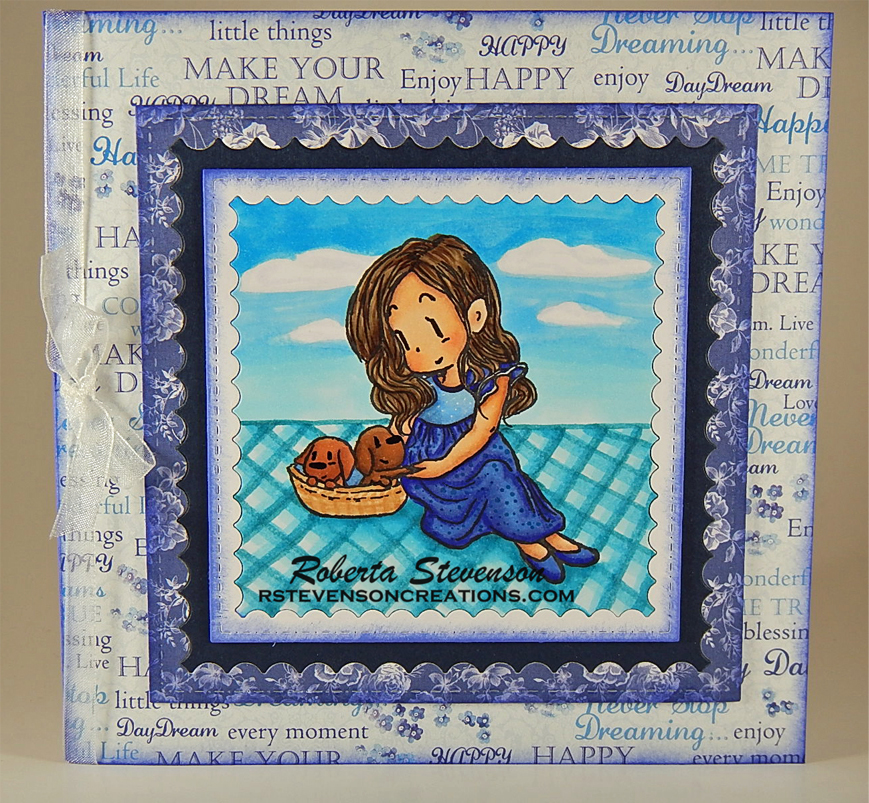
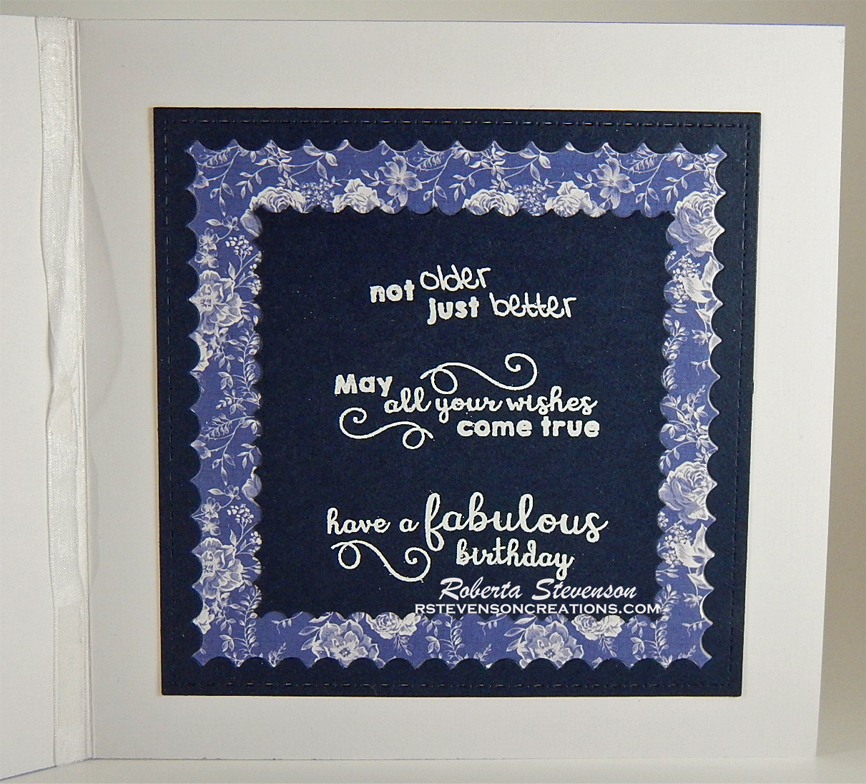
On the inside of the card, I used the image from Birthday Critters – 30-466 (Penny Black) and sentiment from
Whatnot Sentiments Set Twelve – CYNS638 (#Your Next Stamp).
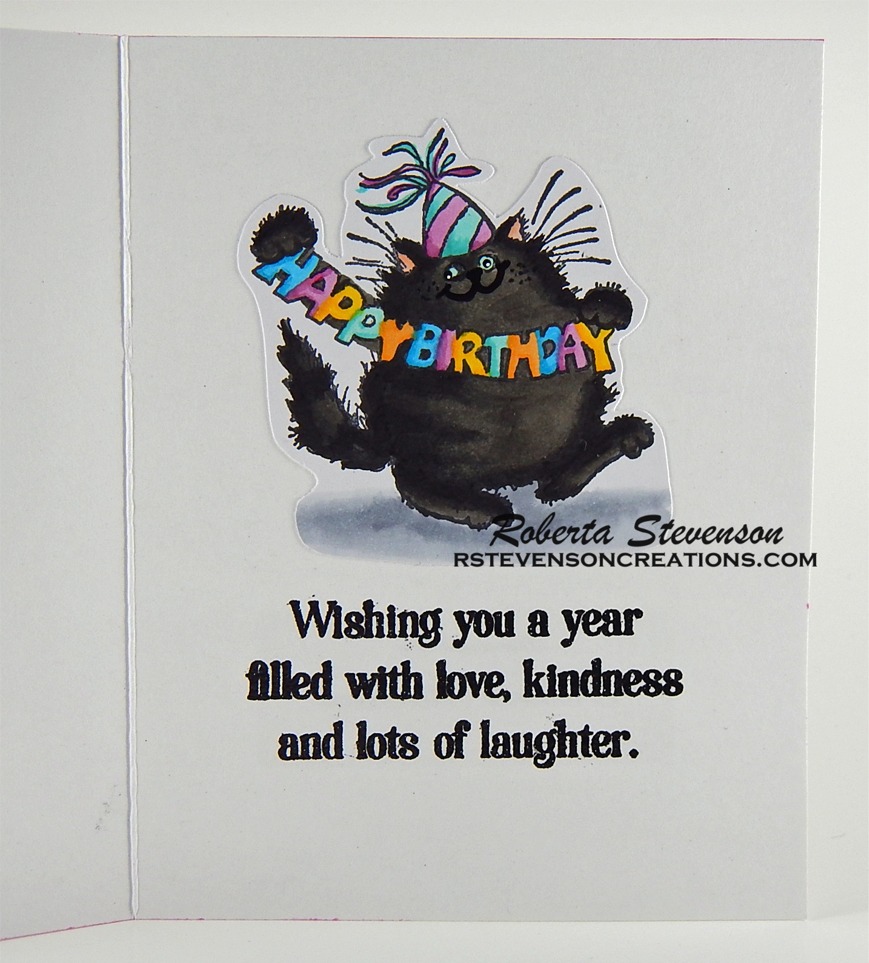
All images were stamped onto Copic Marker X-Press It Blending Card using Memento – Tuxedo Black ink and my MISTI.
Card Recipe:
Stamps: Going Catty – DP1021 (Clearly Whimsy Stamps), Birthday Critters – 30-466 (Penny Black)
Sentiment: Going Catty – DP1021 (Clearly Whimsy Stamps), Whatnot Sentiments Set Twelve – CYNS638 (#Your Next Stamp)
Inks: Memento – Tuxedo Black, Tim Holtz Distress Ink – Picked Raspberry, Versa Fine – Onyx Black, VersaMark
Embossing Powder: Ranger Embossing Powder White – Extra Fine Detail, Ranger – Clear Super Fine Detail embossing powder
Paper: Copic Marker X-Press It Blending Card, Doodle Bug Designs Inc. – Sugar Shoppe – 6″ x 6″ paper pad, Echo Park Paper Co. – Imagine That 6″ x 6″
Die Cuts: Peek A Boo Poppers (YNSD219) – (#Your Next Die), Ribbon End Dies – My Creative Time, Lifestyle Crafts Cutting Dies – Nesting Circles
Tools: MISTI – Most Incredible Stamping Tool, Cuttlebug, 3M VHB – 2 sided tape, Marvy Uchida – Embossing Heat Tool
Image coloured with Copic Markers:
Cats: W9, W8, W6, W5, R30, R27, R24, R22, R02, Sakura Glaze – Black
Party Hat and Birthday Banner: BG13, BG11, YR16, YR12, RV66, RV63, Y17, Y08, BG05, BG02
Background: BG13, BG11, BG10
Hope you like it and have a great week!
You can find more cards to inspire you at Roberta Stevenson on my Facebook page.