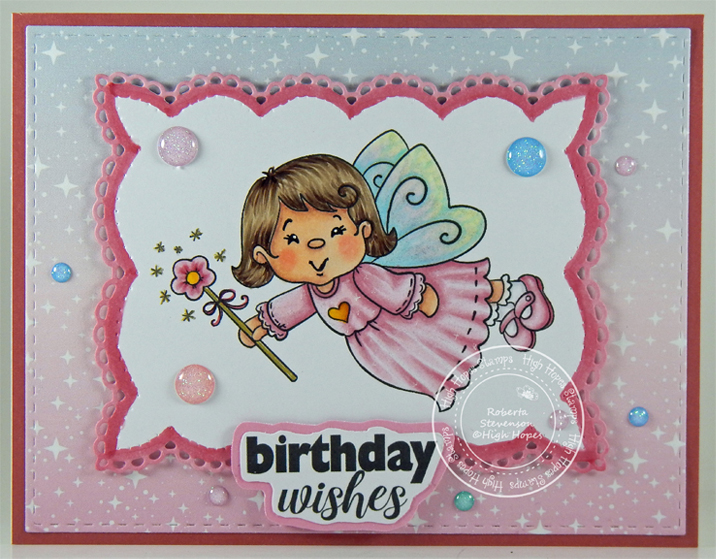
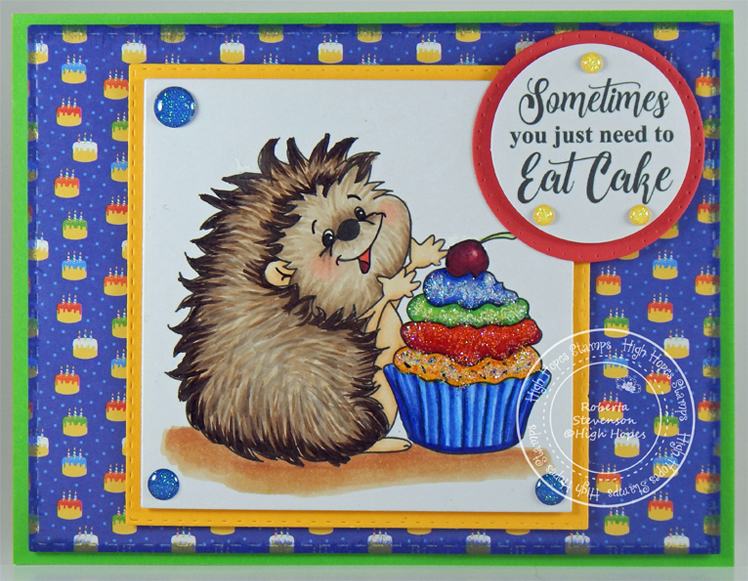
It’s Wednesday, and this week, I made a birthday card using High Hopes Rubber Stamps Cupcake Hedgie – TDG035 for the image and Eat Cake – FDG026 for the sentiment. I think the expression on this little hedgie says it all! Birthdays should always be an excuse to eat some cake! LOL!
To make my card this week, I began with a card base of Hammermill – Premium Colour 100 lb. cardstock, cut and scored to be 5.5″ x 4.25″. I adhered Scrapbook.com – Brights Smooth Cardstock which was the same size as the base to the card using double-sided tape. Using my Anna Griffin Empress Mini Machine die cutting machine, I die cut the cake background paper with Your Next Stamp Designer Pad – Birthday Boy and My Creative Time – Rectangle Frame Layers. Tim Holtz Distress Ink – Blueprint Sketch was then inked around all of the edges. I add some U-Line double-sided tape and popped it up onto the base card. Again, using my Empress die cutter, I die cut some golden yellow cardstock using My Creative Time -Stitched Squares Inside and Out. I added some U-Line double sided tape and added it to the patterned background. Waffle Flower – Nesting Square dies were used to die cut the smaller square out of Copic Marker X-Press It Blending Card and My Creative Time – Bunch of Fun Circle Die was used to die cut the circle from some Red cardstock.
The image and sentiment were stamped onto the Copic Marker X-Press It Blending Card. I coloured in the image with Copic Markers. I added Stickles – Star Dust to the cupcake to make the layers sparkle. A 1.5″ Circle punch was used to cut out the sentiment. U-Line double sided tape was added to the backs of the image and sentiment. I popped up the image onto the smaller square and the sentiment onto the red circle. I added another layer of U-Line double sided tape to the right side of the red circle and a little bit of glue to the left side and popped it up over top of the main image. To finish off the card, I added on some YNS Gumdrops – Firefly Magic Sparkly Gumdrops and YNS Gumdrops – Sugar Rush Sparkly Gumdrops.
Card Recipe:
Stamp: Cupcake Hedgie – TDG035 (High Hopes Rubber Stamps)
Sentiment: Eat Cake – FDG026 (High Hopes Rubber Stamps)
Inks: Memento – Tuxedo Black, Tim Holtz Distress Ink – Blueprint Sketch
Paper: Copic Marker X-Press It Blending Card, Hammermill – Premium Colour 100 lb., Your Next Stamp Designer Pad – Birthday Boy (6″ x 6″), Scrapbook.com – Brights Smooth Cardstock (4.25″ x 5.5″)
Die Cuts: My Creative Time -Stitched Squares Inside and Out, My Creative Time – Rectangle Frame Layers, My Creative Time – Bunch of Fun Circle Dies, Waffle Flower – Nesting Square dies
Tools: MISTI – Most Incredible Stamping Tool, U-Line double-sided tape, Anna Griffin Empress Mini Machine, Stickles – Star Dust, YNS Gumdrops – Firefly Magic Sparkly Gumdrops, YNS Gumdrops – Sugar Rush Sparkly Gumdrops
Image coloured with Copic Markers:
Hedgehog: E53, E51, E50, E49, E44, E43, E42, E41, W4, R30, R20, R08, W4
Cupcake Wrapper: B29, B26, B24, B21
Cupcake: Y17, Y15, Y11, R46, R14, R08, G14, YG23, YG11, B26, B24, B21
Cherry: R89, R59, R39, R21
Ground: E34, E33, E3
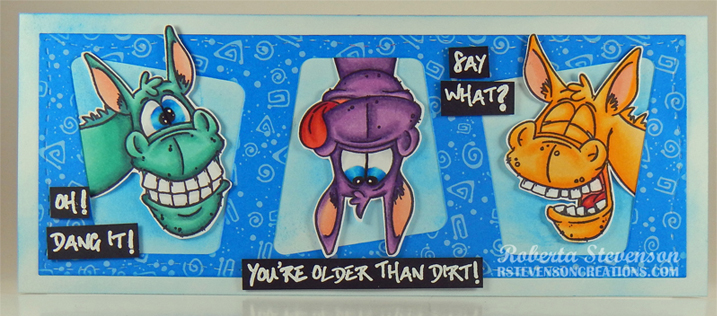
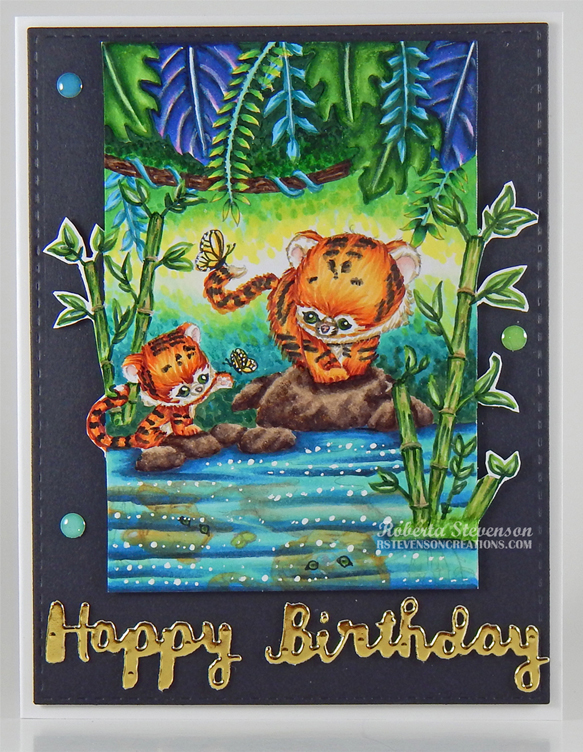
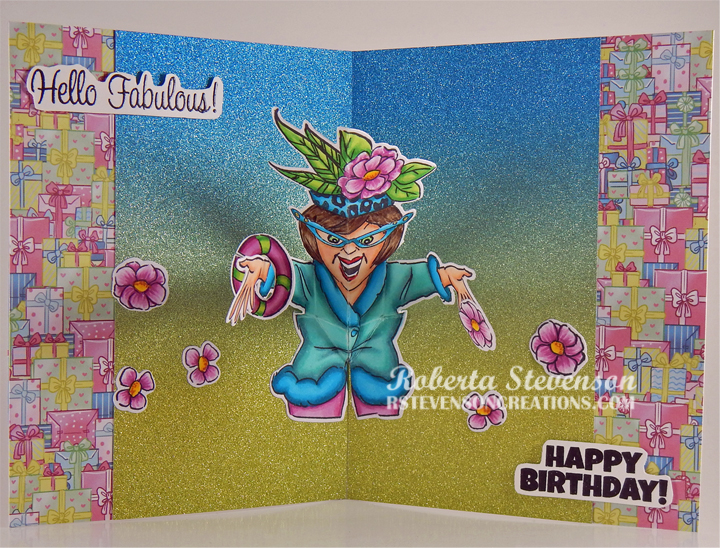
Check out our new re-release of some fun images for our “Let’s Celebrate Release”!
Hope you like it and have a fantastic week!
You can find lots of inspiration from the Design Team Divas at the High Hopes blog, and the High Hopes Rubber Stamps Facebook Fan page plus you can also follow us on
Instagram, Twitter and Pinterest.