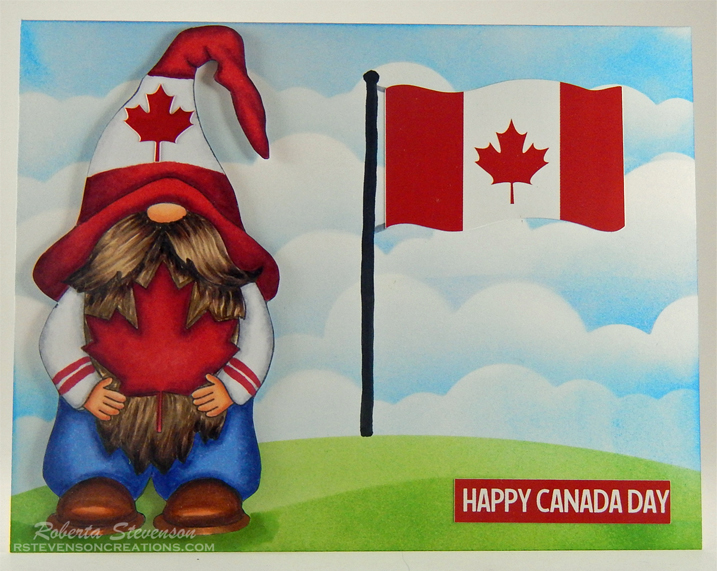
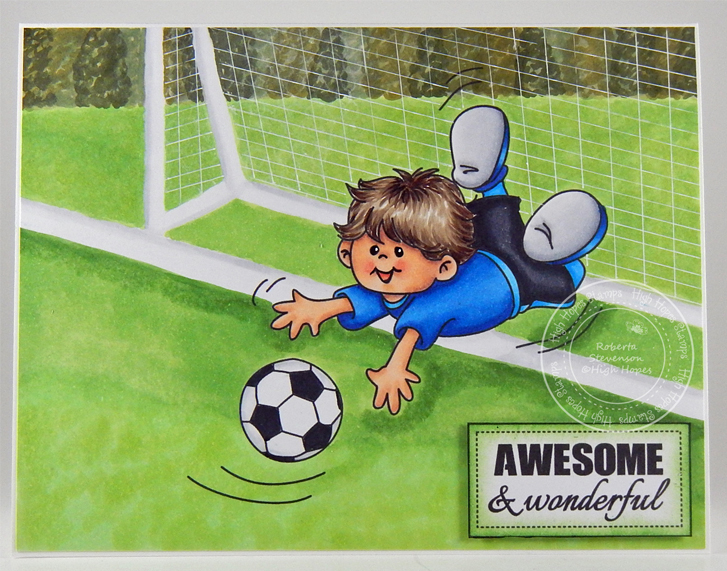
Sharing a card I made today using KLM Digital Designs – Soccer Gnome from the new May release. This image also comes with 3 more sentiments, “I Bet You Play Soccer”, “Because Your A Keeper” and “I Get A Kick Out of You!”.

To make the card, I first imported the image into Microsoft Word and printed it out onto Copic Marker X-Press It Blending Card and then again on to plain paper using my HP Printer. Using my Brother Scan and Cut, I cut the image out of the plain paper to use as a mask. I put this over top of my main image character and added in the clouds using Tim Holtz Distress Ink – Salty Ocean, Broken China and Tumbled Glass and a mixture of cloud stencils I created using Avery Elle – Pierced Clouds Dies. Then I removed the mask. I coloured in the remainder of the image with Copic markers and then trimmed it off to be 5.25″ x 4″.
For the base, The Paper Studio – Christmas Box of Cards 2012 pre-made cards was used at the size of 5.5″ x 4.25″. I attached the coloured image directly to the base card using double-sided tape.
Card Recipe:
Stamp and Sentiment: Soccer Gnome – KLM Digital Designs
Inks: HP Printer Grayscale, Tim Holtz Distress Inks – Salty Ocean, Broken China and Tumbled Glass
Paper: Copic Marker X-Press It Blending Card, The Paper Studio – Christmas Box of Cards 2012
Die Cuts Stencils: Avery Elle – Custom Steel Dies – Made in the USA – D-05-01 PiercedCloudsDie
Image coloured with Copic Markers:
Skin: E21, E11, E04, E00, E000
Beard: E49, E47, E44, E43, E42
Shirt, Hat and Shoes: R59, R39, R37, R35
Pants and Shoes: C1, C00, Colorless Blender
Soccer Ball: C1, C00, Colorless Blender
Grass: YG17, YG13, YG11, YG03, YG01
Hope you like it and have a great week!
You can find more cards to inspire you at KLM Designs, KLM Digital Design Team and KLM Digital Designs on the Facebook Fan page from the rest of our design team.